|
You will need:
1 landscape JPG image (or other theme)
1 female misted tube
*
Save the selections to the PSP Selections folder
Double-click the Alien Skin preset to install it in the
plugin
*
Step 1
1. Open a new image measuring 900x550px
2. Selections / Select all
3. Copy the landscape image
4. Paste into the selection
5. Select none
Step 2
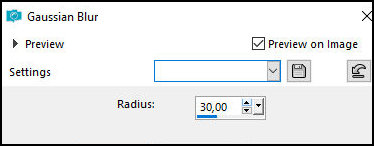
6. Adjust / blur / Gaussian Blur: 30
7. Layers / Duplicate
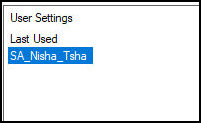
8. Effects / plugins / Alien Skin Snap Art / Comics -
preset [SA-Nisha_Tsha]
9. Layers / Properties / Blend Mode: Soft Light
10. Layers / Duplicate
Step 3
11. Image / Mirror / Mirror Horizontal
12. Layers / Properties / Blend Mode: Overlay
13. Add new layer
14. Paint with white
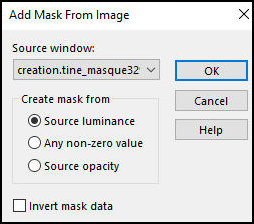
15. Layers / New Mask Layer / From Image / Mask [creation.tine-masque329]
Step 4
16. Layers / Duplicate
17. Merge group
18. Layers / Properties / Blend Mode: Overlay
19. Layers / Duplicate
20. Layers / Properties / Blend Mode: Dodge
Step 5
21. Merge Visible
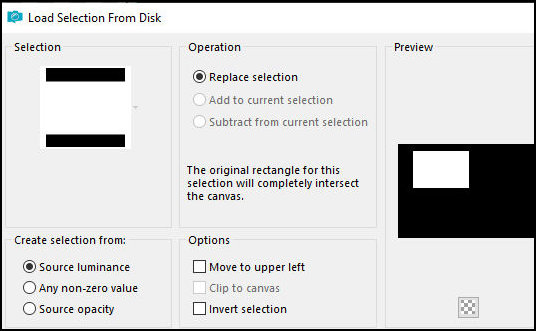
22. Selections / Load selection from disk / Selection [Nisha-tsha]
23. Selections / Promote selection to layer
24. Keep the selection
25. Add a new layer
Step 6
26. Paint with white
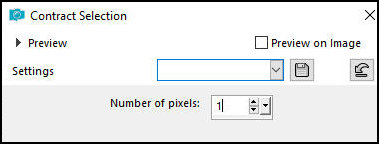
27. Selections / Modify / Contract: 1
28. Press Delete
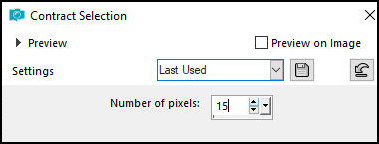
29. Selections / Modify / Contract: 15
30. Add a new layer
Step 7
31. Copy the landscape image
32. Paste into the selection
33. Select none
34. Activate the second layer from the bottom Up -
Promoted Selection
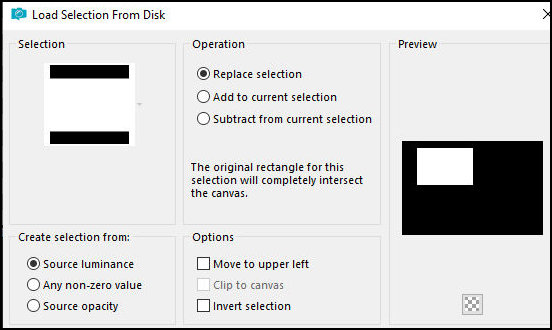
35. Selections / Load Selection from Disk / Selection [Nisha-tsha]
Step 8
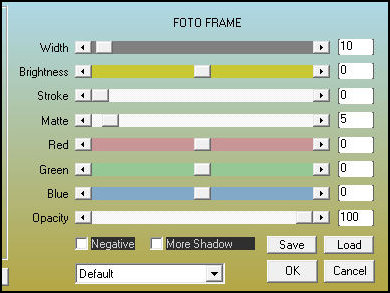
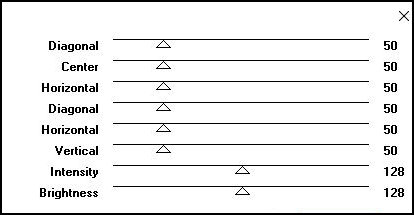
36. Effects / Plugins / AAA Frames / Foto Frame
37. Select None
38. Activate the top layer - Raster 2
39. Merge Down - Apply 2 times
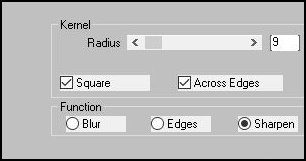
40. Adjust / Sharpness / Sharpen
Step 9
41. Layers / Duplicate
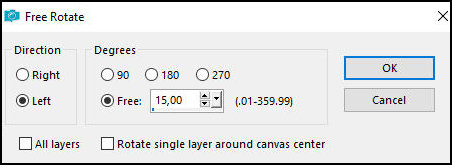
42. Image / Free Rotate / Left 15
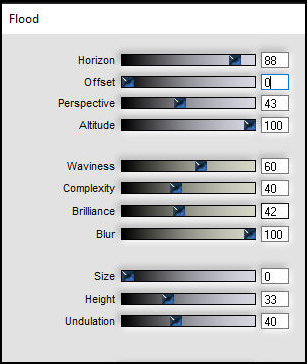
43. Effects / Plugins / Flaming Pear / Flood
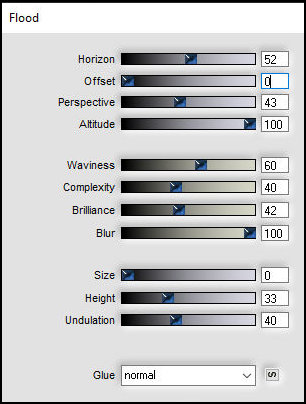
(Note: This effect may look different depending on the
images used. In this case, you can adjust the settings
until you get something similar)
44. Layers / Arrange / Move Down
45. Position according to the model
Step 10
46. Activate the top layer
47. Drop Shadow: 15 0 100 25 black
48. Drop Shadow: -15 0 100 25 black
49. Copy the female misted tube
50. Paste as a new layer
Step 11
51. Position according to the model
52. Effects / plugins / FilterMeister (FM Sample) /
Convoline
53. Layers / Properties / Blend Mode: Overlay (or
another according to your colors)
54. Activate the background layer
55. Copy the tube [Deko-nisha]
Step 12
56. Paste as a new layer
57. Borders:
1px / black
25px / white
1px / black
1px / white
1px / black
35px / white
1px / black
58. Set the background to black
59. Capture a predominant color from your image and
place it in the foreground
60. Activate the Text Tool
Step 13
61. Select the font Course (in the material) / Size 100
(or another of your choice) (Choose)
62. Type the text: "Nisha"
63. Right-click the text layer and select: convert to
raster layer
64. Effects / Plugins / Graphic Plus / Cross Shadow -
default
65. Layers / Duplicate
Step 14
66. Effects / Plugins / Flaming Pear / Flood - Set:
horizon=88
67. Layers / Arrange / Move down
68. Activate the top layer
69. Merge down
70. Move the text and position it according to the
template or as you prefer
Step 15
71. Border: 1px / black
72. Add the signatures
73. Merge all
74. Save as a jpeg |