|
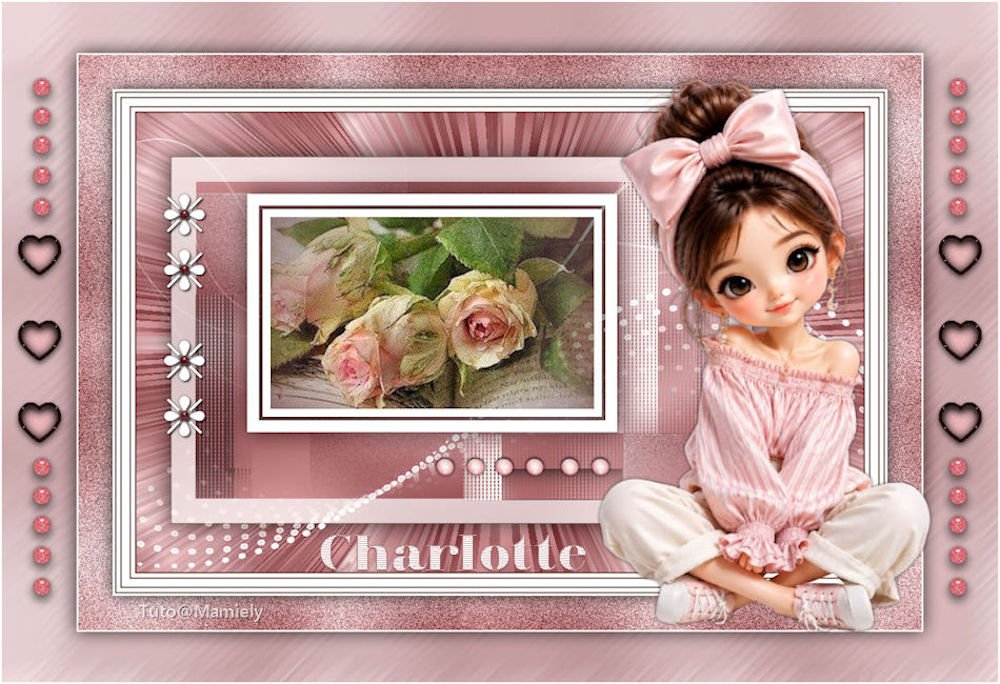
(imagem original de Mamiely)
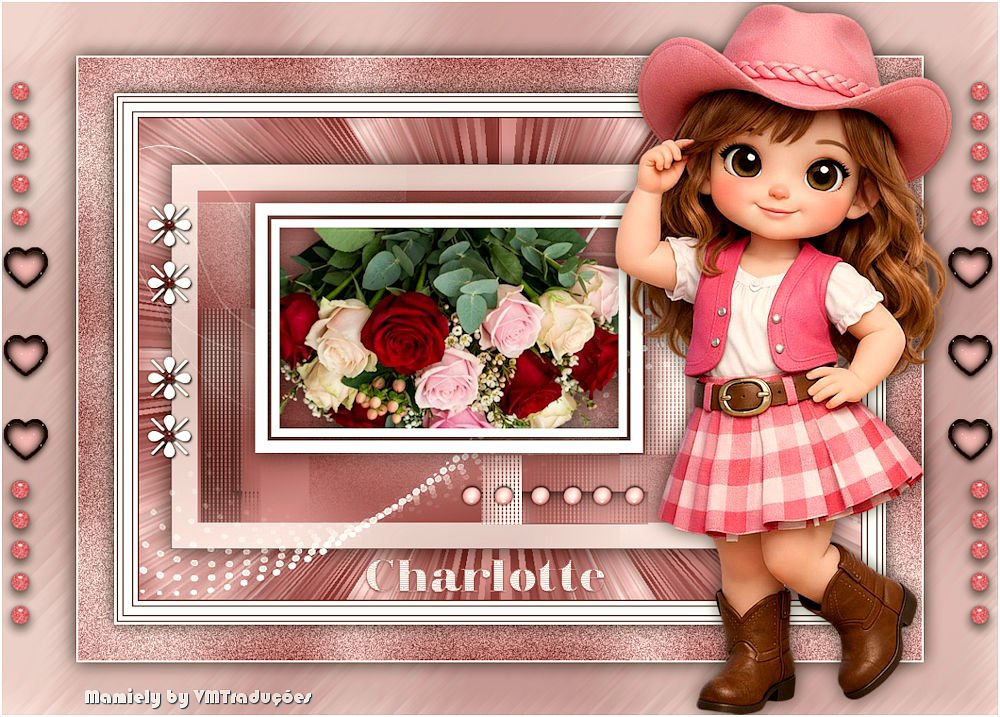
(minha versão)

This tutorial is from Mamiely who I thank for
letting me translate their tutorials.

Original here
Tubes

Material

Plugins
Simple - AAA Frames - Tilers -
L&K's - FunHouse - VM Stylize
You can find these plugins on the websites of:
Renée
Cloclo
You can also find this tutorial translated into these languages:
(Click on the flag)


|
Notes:
> Open the material / Duplicate (shift+d) / Close the originals
> Change the blend mode of the layers to match their colors.
> In older versions of PSP, Mirror Horizontal=Mirror / Mirror Vertical=Flip /
Pick tool=deformation
> Open the masks in psp and
minimize
>Adjust the size of the tubes according to your images
|
SCRIPT
Images:
1 tube of a girl (or another one of your choice)
***
My images
***
1. Colors: Foreground: color 1 - Background: color 2
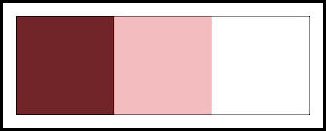
Open a new transparent image measuring 950x600px
2. Paint with a Linear gradient
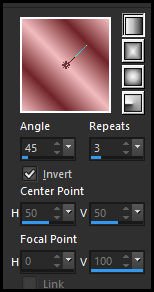
3. Effects - Edge Effects - Enhance
4. Layers - Duplicate
5. Image - Mirror - Mirror Horizontal
6. Layers - Properties - Opacity: 60%
7. Merge down
8. Adjust - Blur - Gaussian Blur: 20
9. Put white in the background
10. Add new layer
11. Paint with the gradient
12. Adjust - Blur - Gaussian Blur: 20
13. Layers - New mask layer - From Image - Mask [narah-mask0179]
15. Effects - Edge Effects - Enhance
16. Merge group
17. Effects - Image Effects - Seamless Tiling
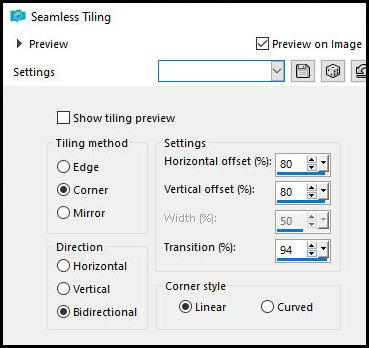
18.Adjust - Sharpness - Sharpen
19. Adjust - Add/remove Noise - Add Noise
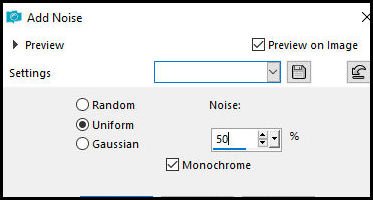
20. Merge down
21. Layers - Duplicate
22. Selections - Select all
23. Effects - plugins - AAA Frame - Photo Frame
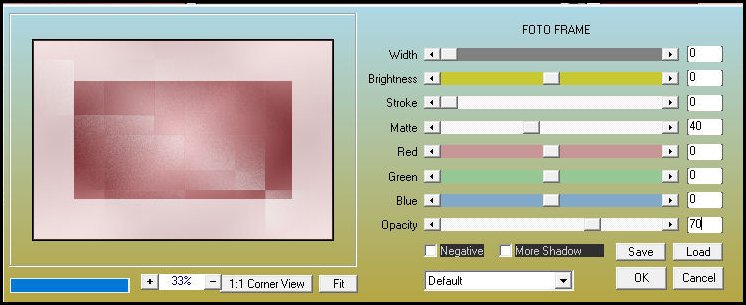
24. Select none
25. Image - Resize: 80% - all layers unchecked
26. Activate the bottom layer
27. Effects - Plugins - Tilers - Ring Tile
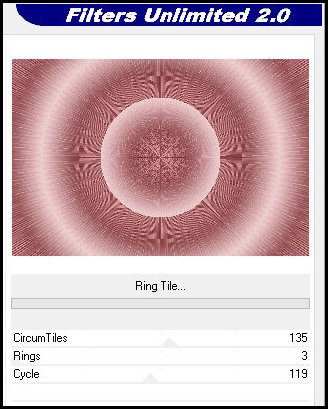
28. Effects - Plugins - Simple - Half Wrap
29. Activate the top layer
30. Drop Shadow: 0 0 65 40 black
31. Activate the bottom layer
32. Selections - load selection from disk
33. Selections 12-8-ML
34. Selections - Promote selection to layer
35. Layers - Arrange - Bring to top
36. Adjust - Blur - Gaussian Blur: 25
37. Effects - Plugins - AAA Frames - Photo Frame
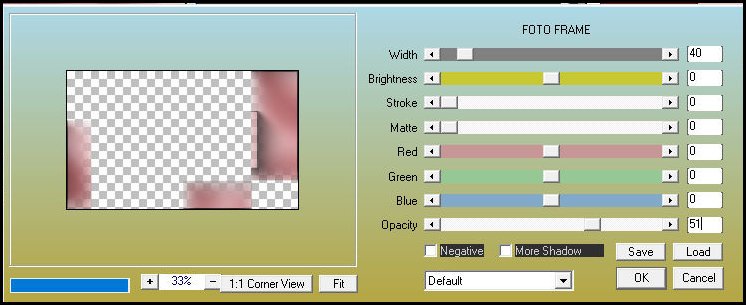
38.Effects - Plugins - l & K's - L &K's Katherina
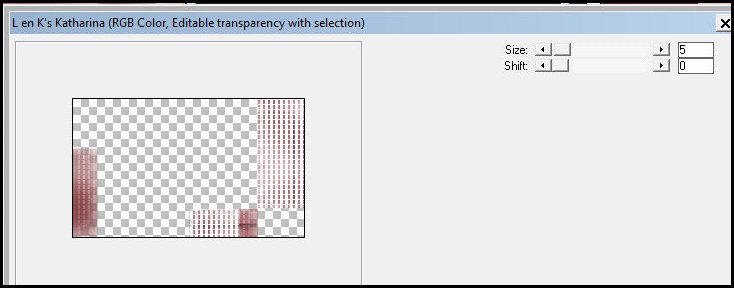
39. Select none
40. Merge down
41. Effects - Image Effects - Offset
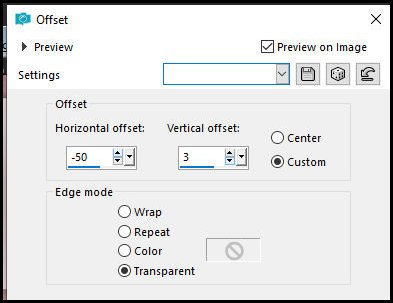
42. Add new layer
43. Flood fill with white
44. Layers - New mask layer - From image
45. Mask [masque 511 franie margot]
46. Effects - Edge Effects - Enhance
47. Merge group
48. Add new layer
49. Selections - Load selection from disk
50. Selection [12-8-1-ML]
51. Flood fill with white
52. Selections - Modify - Contract: 15
53. Press Delete
54. Selections - Modify - Contract: 5px
55. Flood fill with white
56. Selections - Modify - Contract: 10
57. Press Delete
58. Copy tube [Misted-roses-ML]
59. Paste as new layer
Position within the selection using the Move Tool, as preferred
Selections - Invert
60. Press Delete
61. Selections - Invert
62. Layers - Arrange - Move down
63. Activate the top layer
64. Merge down
65. Select none
66. Drop Shadow: 0 0 65 40 Black
67. Copy tube [Deco feurs ML]
68. Paste as new layer
69. Effects - Image Effects - Offset
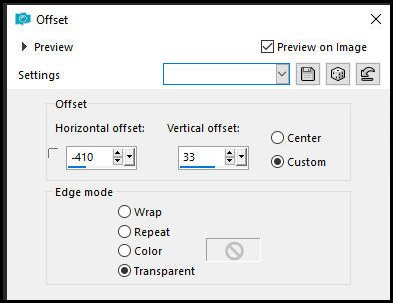
70. Drop Shadow: 0 0 65 5 Black
71. Copy tube [Deco Perles ML]
72. Paste as new layer
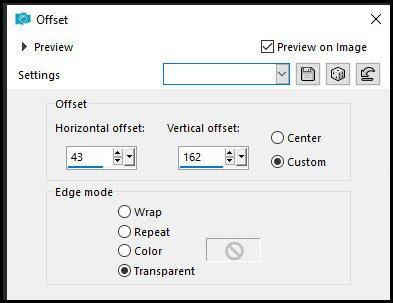
73. Effects - Image Effects - Offset [43/162]
74. Drop Shadow: 0 0 65 5 Black
75. Copy text [Charlotte]
76. Position according to the example or as preferred
77. Activate the bottom layer
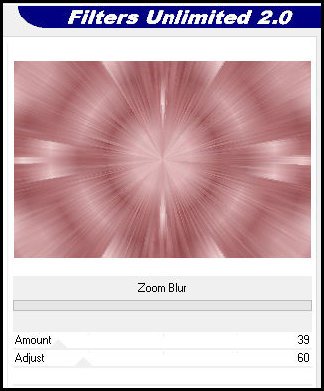
78. Effects - Plugins - Unlimited 2 - VM Stylize - Zoom Blur
79. Merge all
80. Copy (it will be stored in memory)
81. Image - Add borders:
82. 2px - color 1
83. 5px - white
84. 2px - color 1
85. 10px - white
86. 2px - color 1
87. 5px - white
88. 2px - color 1
89. 3px - white
90. Selections - Select all
91. Image - Add borders
92. 45px - white
93. Selections - Invert
94. Paste the image from memory into the selection
95. Adjust - Blur - Gaussian Blur: 25
96. Adjust - Add/Remove Noise - Add Noise - same as before
97. Selections - Invert
98. Drop Shadow: 0 0 75 30 black
99. Select none
100. Image - Add borders:
101. 2px - white
102. Layers - Duplicate
103. Image - Resize: 85% - "all layers" unchecked
104. Activate the layer below
105. Adjust - Blur - Gaussian Blur: 25
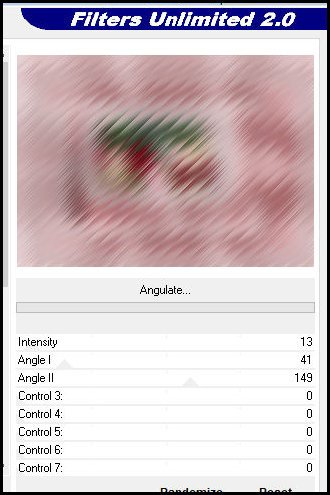
106. Effects - Plugins - FunHouse - Angulate
107. Effects - Edge Effects - Dilate
108. Activate the top layer
109. Activate the Magic Wand (Tolerance/Feather = 0)
110. Click on the border to select
111. Selections - Invert
112. Drop Shadow: 0 0 75 30 black
113. Select none
114. Copy the tube [Deco Perles 2 ML]
115. Paste as a new layer
116. Drop Shadow: 0 0 65 5 black
117. Copy the tube [5896 00 ML]
118. Paste as a new layer
119. Position to the right as shown template
120. Drop Shadow of your choice
121. Copy the tube [Deco Coeur ML]
Note: In my version, I reduced it to 98% and positioned it
122. Paste as a new layer
123. Image - Add borders
124. 2px - white
124-1 Copy the text [charlotte] - paste as a new layer - position as
desired
125. Image - Resize: 950px (width)
126. Add credits
Merge all
Save as JPEG

|