|
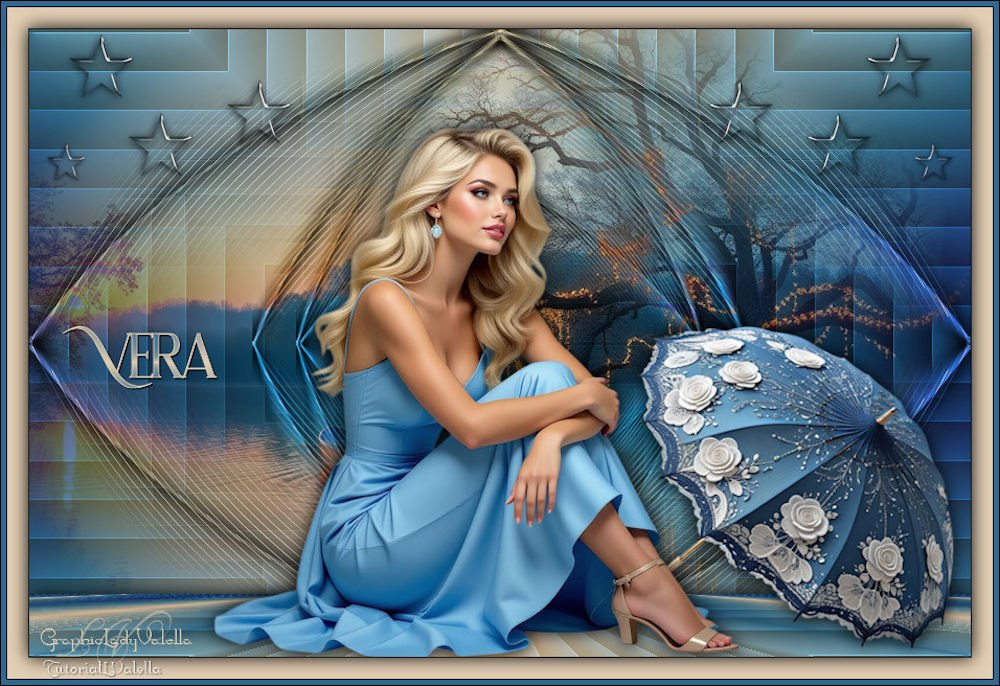
(imagem original de Lady Valella)
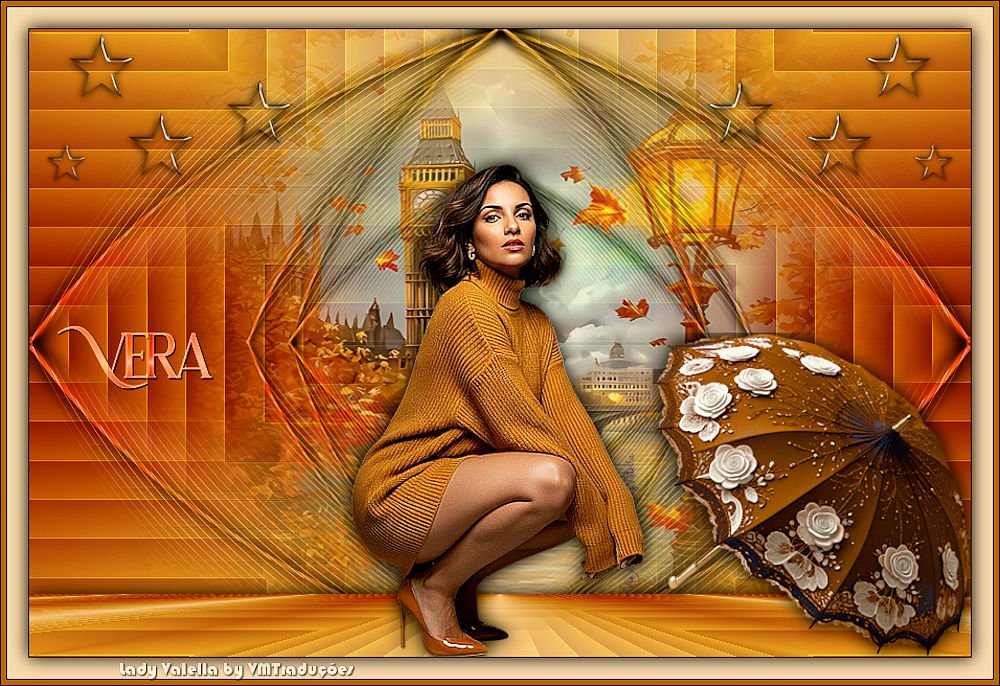
(minha versão)

This tutorial is from Lady Valella who I thank for
letting me translate their tutorials.
* I am deeply grateful to Lady Valella for gifting me such a
lovely present.
I hope to continue deserving such affection.

Original here
Tubes

Material

Plugins
Unlimited 2 - AP[Lines] - Mura's
meister
You can find these plugins on the websites of:
Renée
Cloclo
You can also find this tutorial translated into these languages:
(Click on the flag)


|
Notes:
> Open the material / Duplicate (shift+d) / Close the originals
> Change the blend mode of the layers to match their colors.
> In older versions of PSP, Mirror Horizontal=Mirror / Mirror Vertical=Flip /
Pick tool=deformation
> Open the masks in psp and
minimize
>Adjust the size of the tubes according to your images
|
SCRIPT
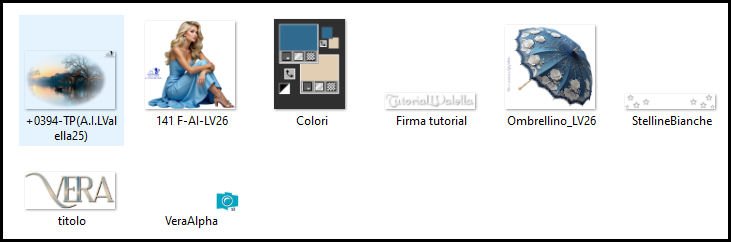
Images used:
1 female tube
1 landscape
1 decorative tube (parasol)
***
Materials
***
My images
***
Step 1
Colors: Foreground: #326a8f - Background: #e2cfb3
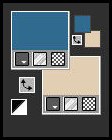
Open the alpha channel [VeraAlpha]
Duplicate (Shift+D) - Close the original
Prepare a Radial gradient
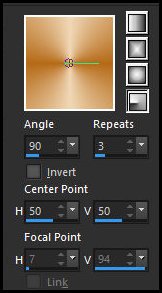
Fill the image with this gradient
Add a new layer
Set the Background color to #082a58 (the gradient color will change)
Fill this new layer with the gradient
Effects - Plugins - Unlimited 2 - <bkg Designer sf10 II> -
Downstairs
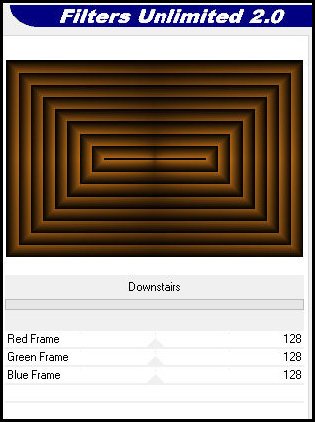
Blend mode: Overlay - Opacity: 70%
Effects - Edge Effects - Enhance
Step 2
Effects - Image Effects - Seamless Tiling - default with Direction=20
Merge visible
Selections - Load selection from alpha channel - Selection
[Vera-1LV]
Selections - Promote selection to layer
Effects - Plugins - AP [Line] - SilverLining
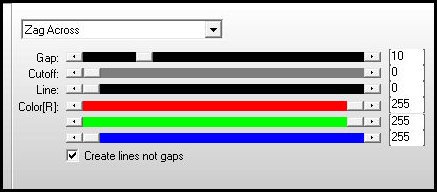
Select none
Drop Shadow: 0 0 100 25 Black
Layers - Duplicate
Image - Mirror - Mirror Horizontal
Merge down
Layers - Duplicate
Image - Mirror - Mirror Vertical
Merge down
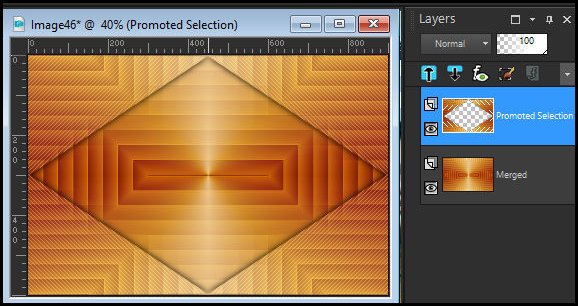
The layers will look like this:
Step 3
Effects - Image Effects - Seamless Tiling - same as before
Layers - Duplicate
Image - Free Rotate [Left/90]
Image - Resize: 67% - "all layers" unchecked
Merge down
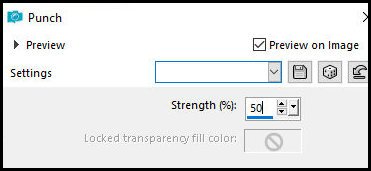
Effects - Distortion Effects - Punch
Layers - Duplicate
Image - Free Rotate [Left/90]
Image - Resize: 67% - "all layers" unchecked
Merge down
Blend Mode: Luminance
**************************************************
If you use light colors, this shadow might appear
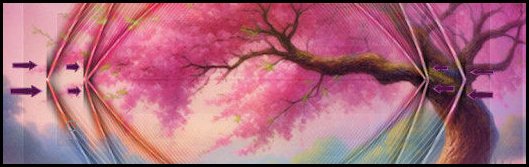
You can erase it using the Eraser Tool with Size 12, Hardness: 35,
Opacity: 45
**************************************************
Step 4
Activate the Merged layer
Copy the landscape [+0394-TP(A.I.LValella25)]
Paste as a new layer
Opacity: 85%
Activate the merged layer
Layers - Duplicate
Layers - Arrange - Bring to top
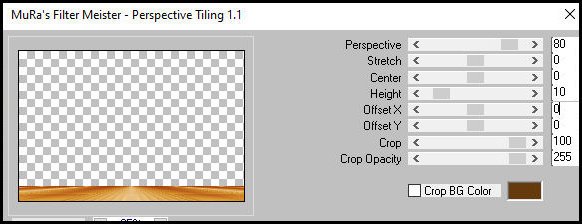
Effects - Plugins - Mura's Meister - Perspective Tiling - Change
only the Height value to 10
Drop Shadow: same as before
Step 5
Copy [Ombrellino_LV26]
Position at the bottom right as shown in the example
Drop Shadow: same as before
Copy [141 F-AI-LV26]
Paste as a new layer
Image - Resize: 75% (uncheck "all layers")
Position at the bottom as shown in the example
Drop Shadow: same as before
Step 6
Copy [Stelline Bianche]
Paste as a new layer
Objects - Align - Top
Copy [titolo]
Paste as a new layer
Position as desired
Blend mode: Luminance or another that suits your colors
Step 7
Image - Add borders - 1px - black
Selections - Select all
Image - Add borders - 20px - color #e2cfb3
Drop Shadow: 0 0 100 25 - black
Select none
Image - Add borders - 1px - black
Image - Add borders - 5px - #326a8f
Image - Add borders - 1px - black
Add credits
Merge all
Save as JPEG

|