|
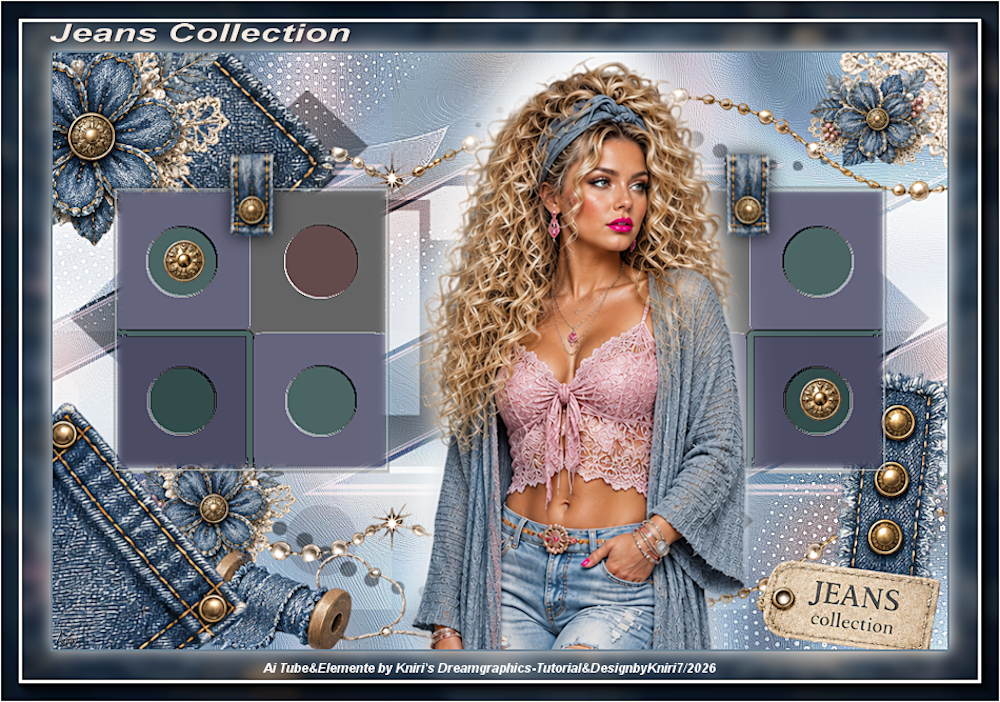
(imagem original de Kniri)
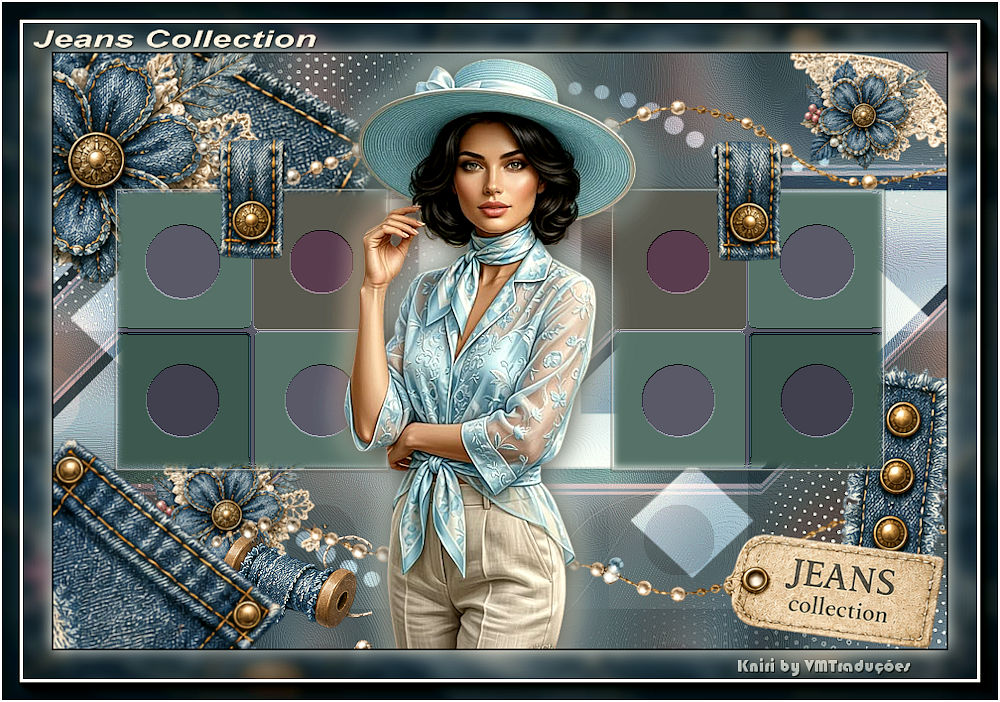
(minha versão)

This tutorial is from Kniri who I thank for
letting me translate their tutorials.

Original here

Tubes

Material

Plugins
AAA FRames
You can find these plugins on the websites of:
Renée
Cloclo
You can also find this tutorial translated into these languages:
(Click on the flag)


|
Notes:
> Open the material / Duplicate (shift+d) / Close the originals
> Change the blend mode of the layers to match their colors.
> In older versions of PSP, Mirror Horizontal=Mirror / Mirror Vertical=Flip /
Pick tool=deformation
> Open the masks in psp and
minimize
>Adjust the size of the tubes according to your images
|
SCRIPT
Images used:
1 female tube
***
Materials

***
My images
***
Place the two selections in the PSP Selections folder
Place the pattern in the PSP Patterns folder (if it doesn't work,
open it in the workspace and minimize it)
***
1
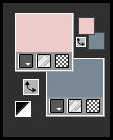
Original colors: foreground: #eecbcb - background: #788894
SCREENSHOT
Open [image 1]
Duplicate (Shift+D) - Close the original
Rename to Raster 1
Layers - Duplicate
Effects - Plugins - Unlimited 2 - <bkg Designer sf10 II> - NEO
Vasarely Mosaics
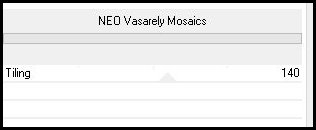
Blend Mode: Soft Light - Opacity: 66%
Effects - Reflection Effects - Rotating Mirror - Default
2
Selections - Load selection from disk - Selection [kniri1]
Selections - Promote selection to layer
Effects - Artistic Effects - Topography
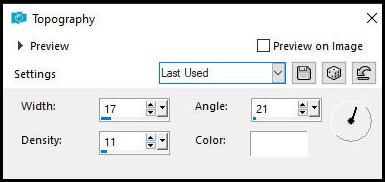
3
Effects - 3D Effects - Chisel
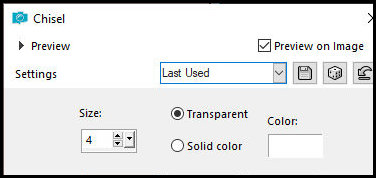
Select none
4
Activate the middle layer
Selections - Load selection from disk - Selection [kniri2]
Selections - Promote selection to layer
Flood fill with the foreground color
Selections - Modify - Contract: 3
Flood fill with the background color
Selections - Modify - Contract: 3
Flood fill with the foreground color
Selections - Modify - Contract: 5
Save the pattern [pattern-nmb-texture-stock-pack-12.a] in the PSP
Pattern folder
Click on the foreground - choose the pattern option - locate the
pattern above and configure according to the screenshot (if it doesn't
work, open the pattern in the workspace and minimize it)
SCREENSHOT
Flood fill the selection with this pattern
Selections - Modify - Contract: 15
Flood fill the selection with white
Select none
5
Layers - Duplicate
Image - Mirror - Mirror Horizontal
Merge down
Activate the top layer
Layers - Duplicate
Image - Mirror - Mirror Horizontal
Merge down
6
Activate the layer "Promoted selection 1"
Effects - Geometric Effects - Skew
SCREENSHOT
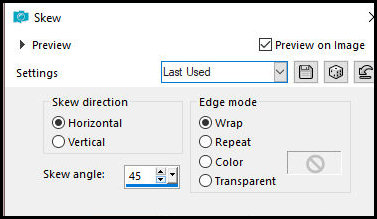
Blend Mode: Overlay - Opacity: 69%
7
Activate the layer "Copy of Raster" 1
Add a new layer
Fill with white
Layers - New Mask Layer - From Image - Mask [tine-masque-041] -
INVERT checked
Merge group
Blend Mode: Overlay - Opacity: 78%
Activate the "Copy of Raster 1" layer
Add a new layer
Fill with the background color
Layers - New Mask Layer - From Image - Mask [Silvie-Mask-Abstract82G]
Merge group
Effects - Edge Effects - Enhance More
Drop Shadow: 0 0 80 25 Black
8
Now choose elements from [AIelementebykniri]
Copy and paste as a new layer
Adjust size if necessary
Position them according to the example or as you prefer
Drop Shadow of your choice
Activate the top layer
Copy your main tube
Paste as a new layer
Adjust size
Position according to the example
Layers - Duplicate
Activate the layer below (the original)
Adjust - Blur - Gaussian Blur: 15
Blend Mode: Screen
Activate the layer above
Drop Shadow of your choice in white
9
Image - Add Borders - 2px - Black
Selections - Select All
Image - Add Borders - 50px - White
Selections - Invert
Copy [jeans]
Paste into selection
Adjust - Blur - Gaussian Blur: 7
Effects - Plugins - AAA Frames - Foto Frame
PRINT
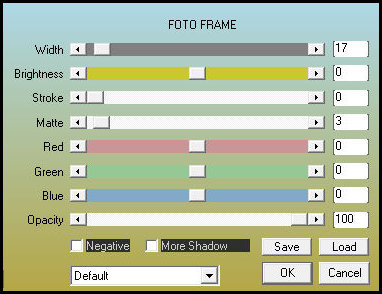
Selections - Invert
Drop Shadow: 0 0 80 25 White
Select None
Copy [Text]
Paste as a new layer
Position according to the example
10
Add credits:
"All Elements by Kniri"
Design by [your name]
Image - Add Borders - 2px - White
Adjust - Sharpness - Unsharp Mask [2 30 2 unchecked]
Image - Resize: 900px (width)
Merge All
Save as JPEG

|