|
>>You will
need a main tube
>>Save the selections in the PSP Selections folder
1. Open a new transparent image measuring 900x550px
2. Paint it white
3. Selections - Select all
4. Copy your main tube and paste it into the selection
5. Select none
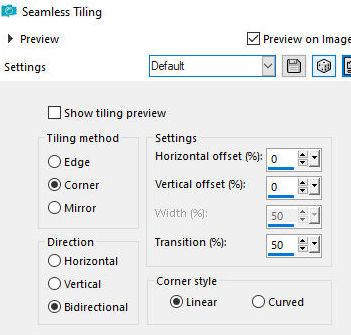
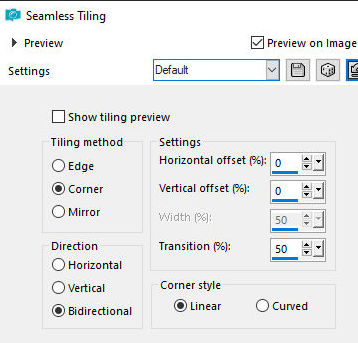
6. Effects - Image Effects - Seamless Tiling - Default
7. Adjust - Blur - Gaussian Blur: 25
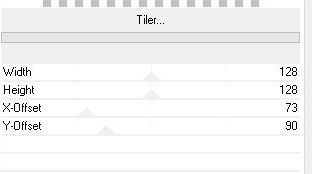
8. Effects - Plugins - Unlimited 2 -
BKG Kaleidoscope - Tiler - Default
9. Effects - Plugins - Unlimited 2 -
BKG Kaleidoscope - Tiler
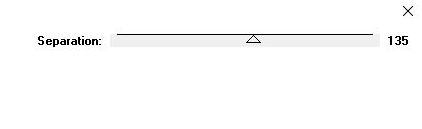
10. Effects - Plugins - RCS Filter Pak
1.0 - RGS Triple Exposure
11. Effects - Edge Effects - Enhance
more
12. Layers - Duplicate
13. Image - Resize: 50%
14. Effects - Plugins - Simple - Pizza Slice Mirror
15. Repeat the Pizza Slice Mirror
16. Layers - Duplicate
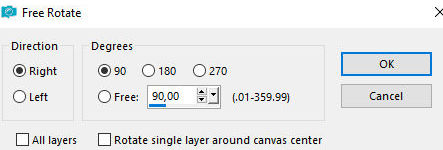
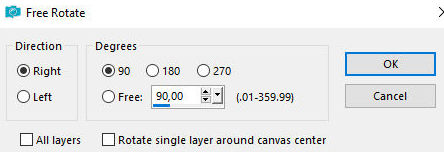
17. Image - Free Rotate - right/90
18. Merge Down
20. Drop Shadow: 0 0 80 30 black
21. Layers - Duplicate
22. Effects - Image Effects - Seamless Tiling - Default
23. Layers - Duplicate
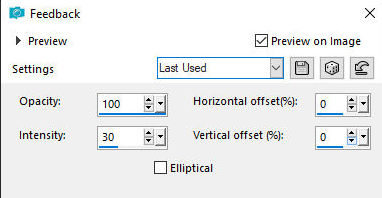
24. Effects - Reflection Effects - Feedback
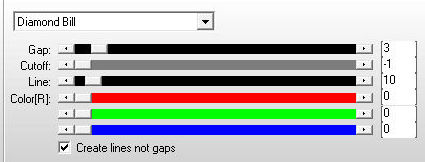
25. Effects - Plugins - AP [Lines] -
Lines-SilverLning
26. Layers - Properties - Blend Mode:
Luminance
27. Activate the background layer
28. Copy the tube [Deco_Shattered_Tsha] and paste it as
a new layer
29. Put white in the foreground and a color from your
image for the background
30. Activate the background layer again
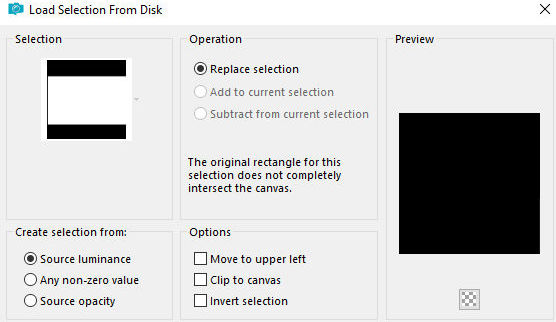
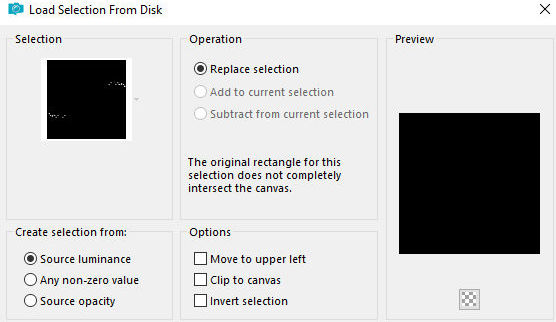
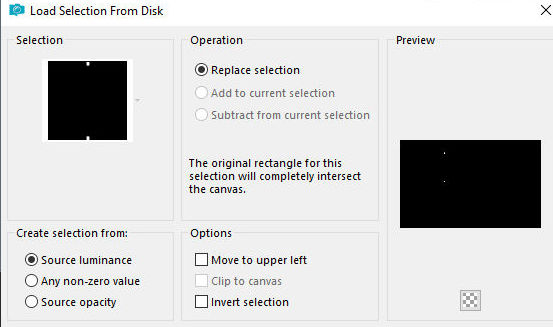
31. Selections - Load selection from disk - Selection
[Shattered1_Tsha]
32. Selections promote selection to
layer
33. Layers - Arrange - Bring to top
34. Activate a Copy (3) layer of Raster 1
35. Selections - Promote selection to layer
36. Layers - Arrange - Bring to top
37. Merge down
38. Select none
39. Edit - Cut (this option will cut the image and it
will be stored in memory)
40. Paste as new image
41. Minimize the main image and continue with this new
image
42. Image - Resize: 50% - all layers CHECKED
43. Effects - Edge Effects - Enhance more
44. Image - Add borders - 2px - white
45. Image - Add borders - 2px - background color
46. Image - Add borders - 15px - white
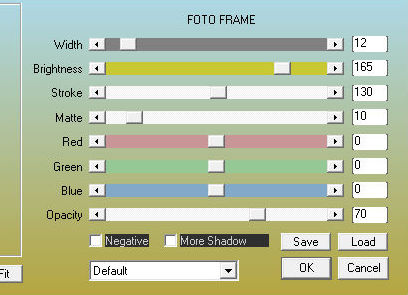
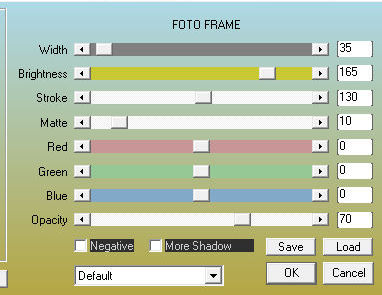
47. Effects - Plugins - AAA Frames - Photo Frame
48. Image - Free rotate [right/90]
49. Copy (will be stored in memory)
50. Maximize your main image
51. Activate the Layer Raster 2 (second from the bottom)
52. Paste as a new layer
53. Effects - Image Effects - Offset [-280/0]
54. Drop Shadow as before
55. Layers - Duplicate
56. Image - Mirror - Mirror Vertical
57. Activate the top layer - Promoted Selection
58. Selections - Load selection from disk - Selection
[Shattered1_Tsha]
59. Drop shadow as before
60. Select none
61. Add a new layer
62. Selections - Load selection from disk - Selection
[Shattered2-Tsha]
63. Paint the selection white
64. Add a new layer
65. Paint the selection with the background color
66. Select none
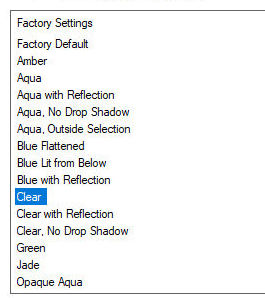
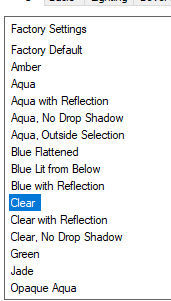
67. Effects - plugins - Eye Candy 5: Impact - Glass -
Preset [Clear]
68. Activate layer Raster 4 (second
from the top)
69. Image - Mirror - Mirror Vertical
70. Effects - Plugins - Eye Candy 5:Impact - Glass -
Preset [Clear]
71. Add new layer
72. Selections - Load selection from disk - Selection
[Shattered3_Tsha]
73. Paint the selection with the
background color
74. Select none
75. Effects - Plugins - Eye Candy 5: Impact - Glass
Preset [clear]
76. Image - Add borders - 5px - white
77. Image - Add borders - 1px - background color
78. Image - Add borders - 1px - white
79. Image - Add borders - 1px - background color
80. Image - Add borders - 5px - white
81. Image - Add borders - 1px - background color
82. Image - Add borders - 35px - white
83. Effects - Plugins - AAA Frames - Photo Frame
85. Copy your main tube and paste as a
new layer
86. Position as desired
87. Drop Shadow: 0 0 80 30 black
88. Image - Add borders - 1px - background color
89. Image - Add borders - 5px - white
90. Add your signature and the author's signature
91. Merge all
92. Save as jpeg |