|

This tutorial is from who I thank for
letting me translate their tutorials.

Original here

Tubes

Material

My images: Here
Plugins
Mehdi - Toadies - Simple - AP [Lines]
- AAA FRames
You can find these plugins on the websites of:
Renée
Cloclo
You can also find this tutorial translated into these languages:
(Click on the flag)


|
Notes:
> Open the material / Duplicate (shift+d) / Close the originals
> Change the blend mode of the layers to match their colors.
> In older versions of PSP, Mirror Horizontal=Mirror / Mirror Vertical=Flip /
Pick tool=deformation
> Open the masks in psp and
minimize
>Adjust the size of the tubes according to your images
|
SCRIPT
Images:
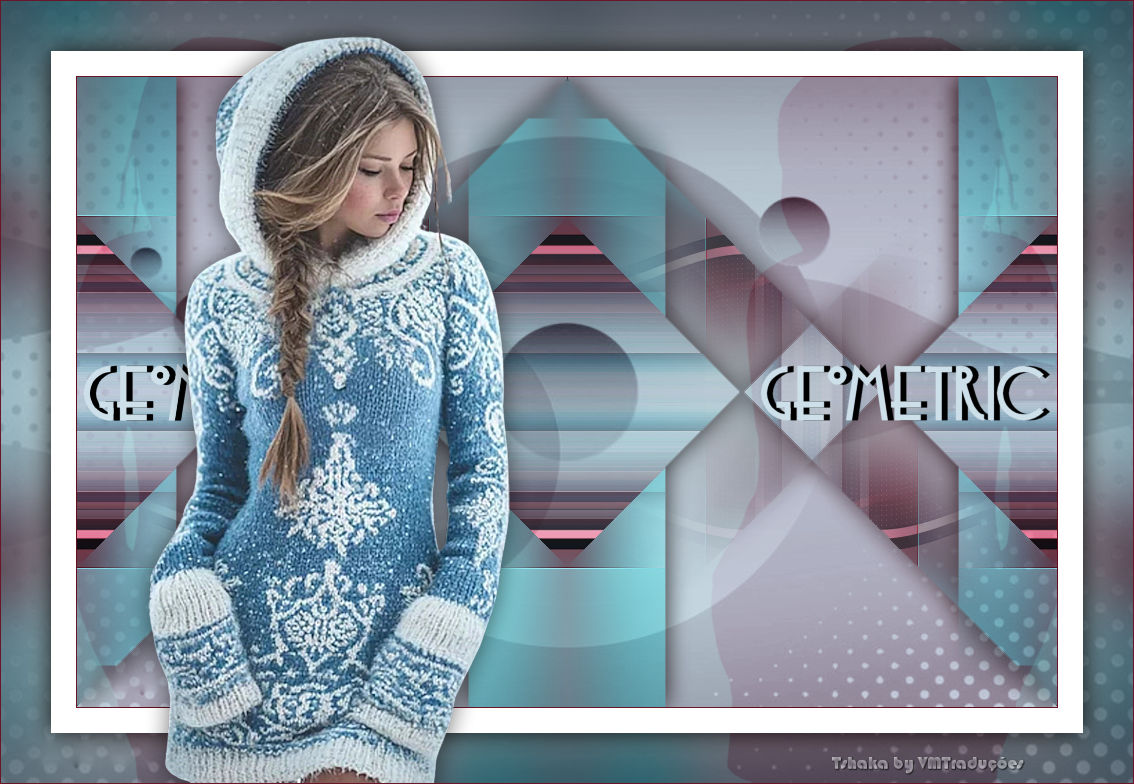
1 female tube
*
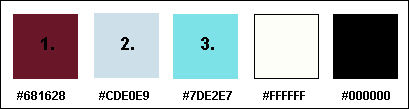
Original colors
Open your material in PSP
Choose a dark color for the foreground and a light color for the
background and a third color
Open a new transparent image with 900x275px
Effects / Plugins / Mehdi / Wavy Lab 1.1
Colors used: 2 - 1 - 3 - 4
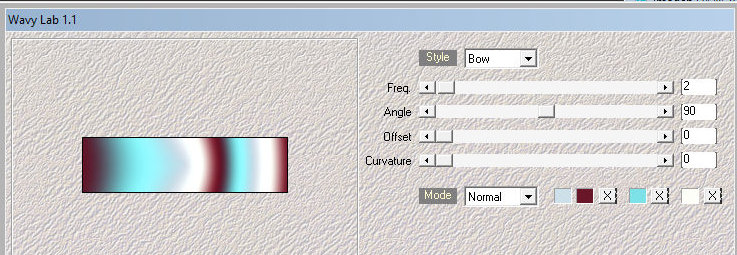
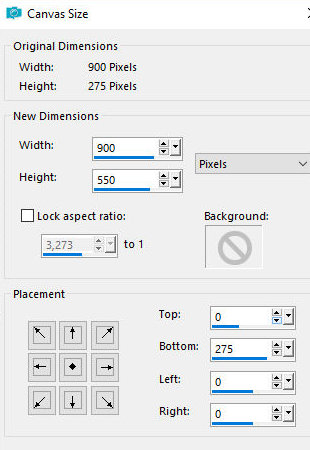
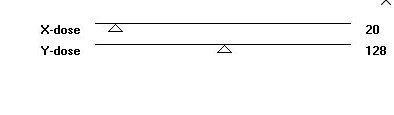
Image / Canvas Size
Layers / Duplicate
Image / Mirror / Mirror Horizontal
Image / Mirror / Mirror Vertical
Merge Down
Effects / Plugins / Unlimited 2 / Toadies / What are you?
Effects / Edge Effects Enhance
Layers/Duplicate
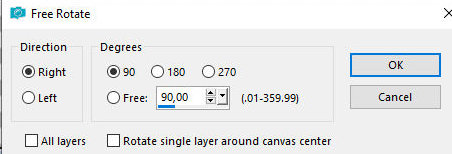
Image / Free rotate right 90
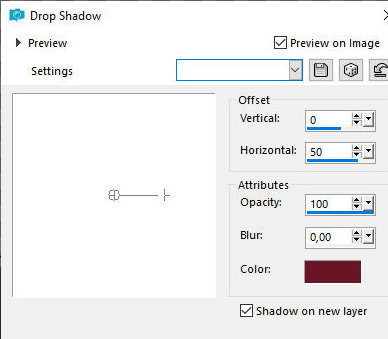
Drop Shadow: 0 50 100 0.00 color 1 - SHADOW ON NEW LAYER MARKED
Effects / Plugins / Simple / Diamonds
Effects / Plugins / Unlimited 2 / Toadies / What are you?
Blend Mode: Overlay
Activate the top layer Copy of Raster 1
Drop shadow: 0 0 85 35,00 black
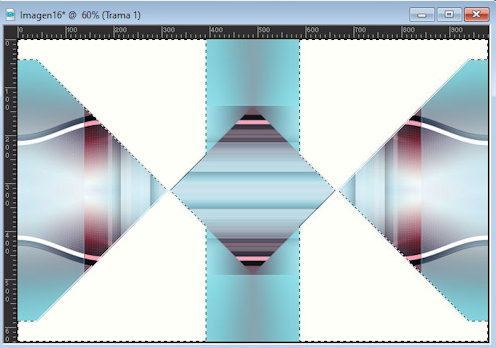
Activate the Selection Tool - mode: rectangle
Select the rectangle as shown in the screenshot
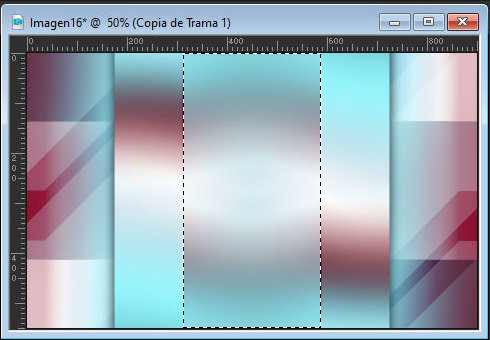
Selections / Promote selection to layer
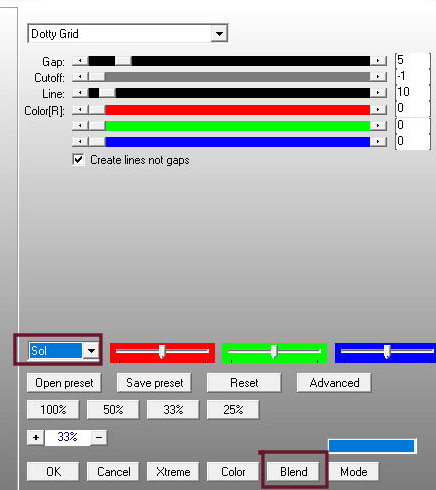
Effects / Plugins / AP [Lines] - SilverLining - blend Options: Sol
Click on blend options and choose the sol preset. If it doesn't
appear in the list, click on the blend option and click again on
blend options and see if it appears. Otherwise, click on blend again
until sol appears.
==
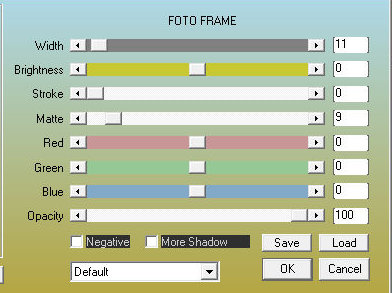
Effects / Plugins / AAA Frames / Photo Frame
Select none
Image / Free Rotate right 90
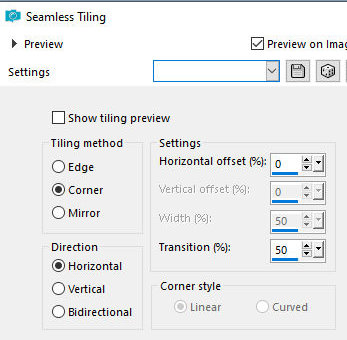
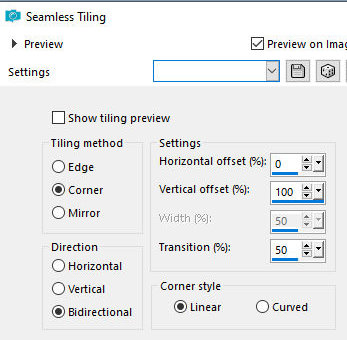
Effects / Image Effects / Seamless Tiling
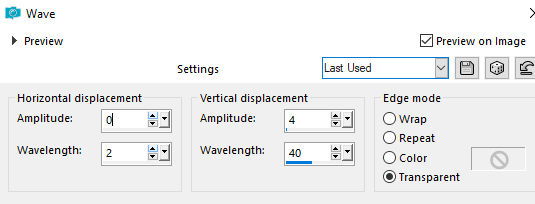
Effects / Distortion Effects / Wave
Blend mode: Overlay
Border: 40px / white
Effects / Image Effects / Seamless Tiling - same as above
Effects / Plugins / unlimited 2 / Simple / Pizza Slice Mirror
Effects / Plugins / Unlimited 2 / Simple / Top Left Mirror
Layers / Convert background to layer
Activate the Magic Wand and click on the white areas
Press Delete
Select none
Effects / Image Effects / Seamless Tiling
Drop shadow: 0 0 85 35 black
Add a new layer
Paint with foreground color - color 1
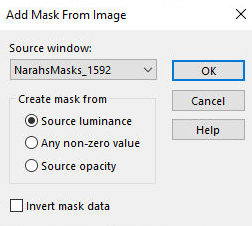
Layers/New Mask Layer / From Image / Mask [NarahMasks_1592]
Merge group
Blend Mode: Luminance (L)
Layers / Duplicate
Blend mode: Soft Light
Add new layer
Paint with background color - color 2
Layers / Arrange / Send to bottom
Merge all
Copy
Border:
1px / foreground color - color 1
25px / white
Selections / Select all
Border: 50px / white
Selections / Promote selection to layer
Selections / Invert
Activate the bottom layer
Paste the copied image above into the selection
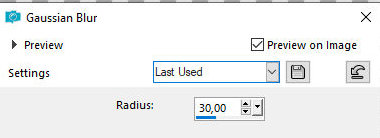
Adjust / Blur / Gaussian Blur: 30
Add new layer
Paint with foreground color - color 1
Layers / New Mask Layer / From Image / Mask [NarahsMasks_1592]
Merge Group
Blend Mode: luminance (L)
Layers / Duplicate
Image / Mirror / Mirror Vertical
Select none
Activate the top layer - promoted selection
Drop Shadow: 0 0 85 35.00 black
Copy your main tube
Paste as a new layer
Resize if necessary
Position as preferred
Drop shadow: 0 50 100 0.00 color 1 - SHADOW ON NEW LAYER MARKED
Still on the Raster 1 Shadow 1 layer, move the shadow to the right
according to the model
Blend Mode: Soft light / Opacity: 48%
Layers / Duplicate
Image / Mirror / Mirror Horizontal
Activate the top layer - Raster 1
Drop Shadow: 0 0 55 35.00 black
Copy the text [Text-Geometric-tsha]
Paste as a new layer
Layers / Arrange / Move Down
If you want, you can change the text color to one of your Colors
using Color Change
Border: 1px / foreground color - color 1
Add signatures
Merge all
Save as jpeg

|