|


This tutorial is by Manyi, who I thank for letting me translate his tutorials.

Original here
Tubes

Material

Many thanks to the creators of these materials
Plugins
Gmic Plugins-X86
Eyecandy 5 -Impact-Glass
User Defined Filter-Emboss 3
AAA Filters-Customs
PLUGIN GMIC
INFORMATION GMIC
You can find these plugins on the websites of:
Renée
Cloclo
You can also find this tutorial translated into these languages:
(Click on the flag)


SCRIPT
Notes:
> Open the material / Duplicate (shift+d) / Close the originals
> Change the blend mode of the layers to match their colors. > In
older versions of PSP Mirror Horizontal=Mirror / Mirror Vertical=Flip
/ Pick tool=deformation
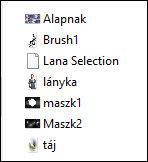
1. Open the masks on the PSP and minimize
2. Place the selections in the Selections folder on the PSP
3. Open a folder and name it gmic-lana
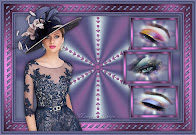
4. Open the base image [alapnak] or use another of your choice
measuring 800x500px
4b. Duplicate(shift+d) / Close the original, we'll work on the copy
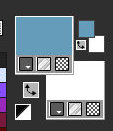
5. Colors: Foreground: #659cba / Background: #ffffff
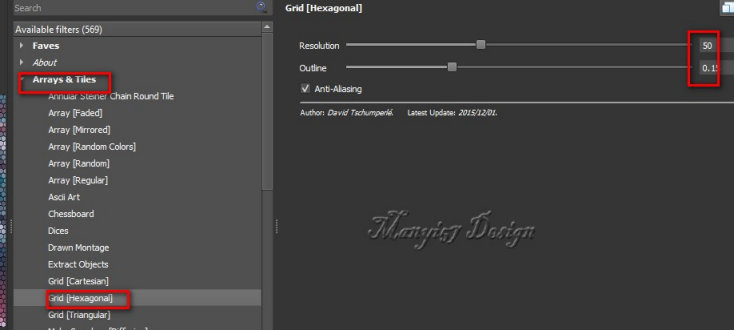
6. Effects / plugins /
GMIC-QT / Arrays & Tiles / Grid (hexagonal)
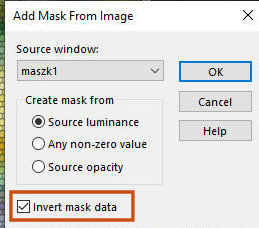
7. Layers / New Mask
Layer / From image / Mask [maszk1]
8. Merge Group
9. Add new layer
10. Selections / Load selection from disk / Selection [Lana-selection]
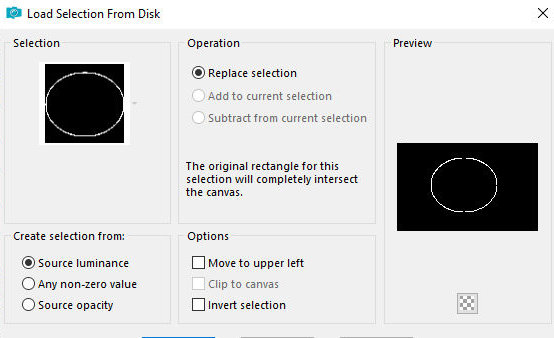
11. Color the selection
with the foreground color
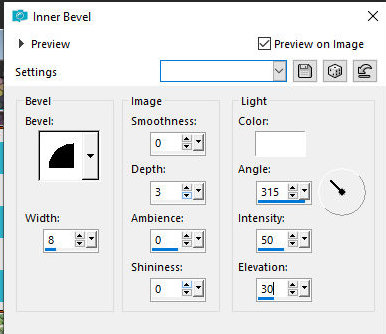
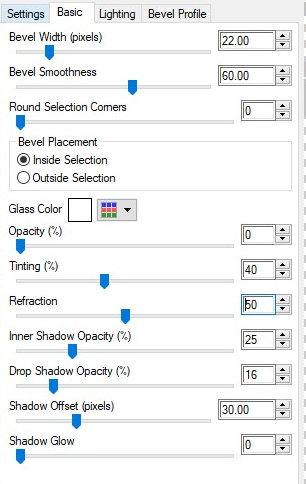
12. Effects / Plugins / Inner Bevel
12b. Select none
13. Click on the center circle with the Magic Wand (tolerance/feather=0)
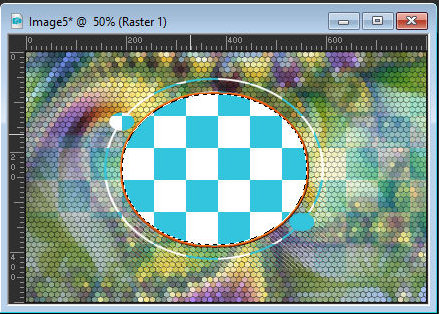
14. Add new layer
15. Copy the landscape [táj] and paste it into the selection
16. Effects / Plugins / Eye Candy 5: Impact / Glass
17. Select none
18. Layers / Arrange / Move Down
19. Add new layer
20. Paint the selection with the foreground color
21. Layers / Arrange / Send to Bottom
22. Activate the second layer from the bottom
23. Add new layer
24. Paint the layer with white color
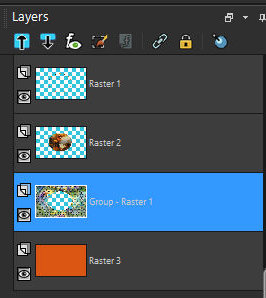
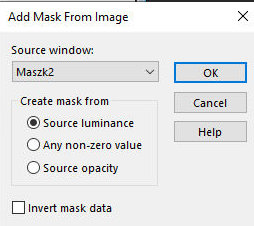
25. Layers / New mask layer / From Image / Mask [Maszk2]
26. Merge Group
27. Merge all
28. Note the foreground color code (#659cba)
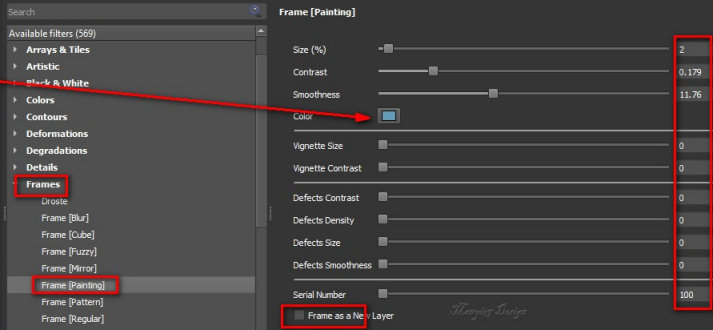
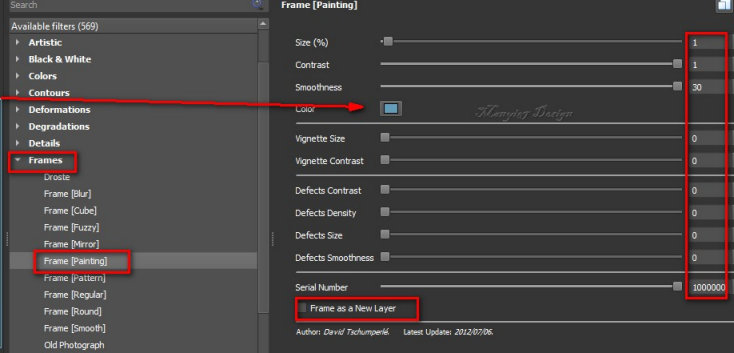
29. Effects / Plugins / GMIC_QT / Frames / Frame (painting) - put
the foreground color code in the color field
30. Return to the PSP
31. Save the image in the gmic-lana folder and rename it to 1 (the
image name can be something else at your discretion, just to make it
easier to find)
32. Delete the image you were editing or set it aside to delete
later
33. Open image 1 saved in the gmic-lana folder
34. Effects / plugins/ GMIC_QT / Frames / Frame (Blur)
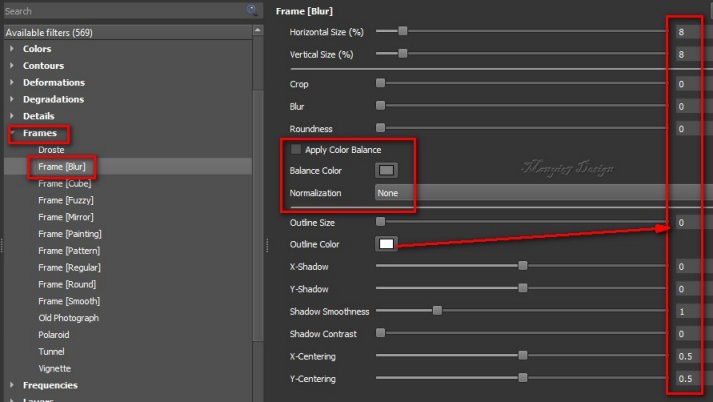
Translator's Note: After
the last field in the print, named Y-Centering, there is another
field(angle) that does not appear in the print. The value of this
field is = 0
35. Return to the PSP and save the image in the gmic-lana folder,
renaming it to 2
36. Delete or set aside the image you were editing
37. Open image 2 saved in the gmic-lana folder
38. Open the brush [Brush1] in the PSP
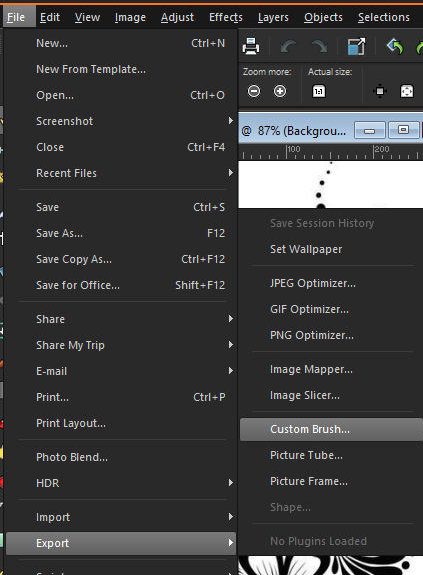
39. File / Export / Custom Brush / name / ok
40. Activate the Paint
Brush and configure it according to the print

41. Add a new layer
42. Apply the Brush using the foreground color in the place shown in
the print
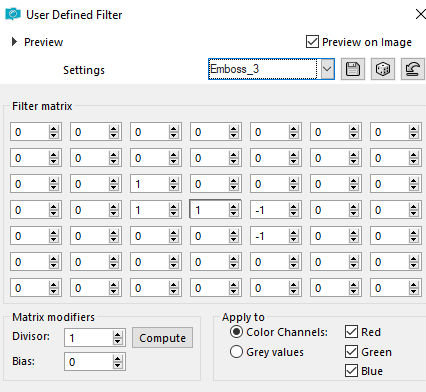
43. Effect / User
Defined Filter / Emboss 3
44. Drop Shadow: 3 3 65
35 black
45. Repeat the Drop Shadow with negative V and H
46. Copy the female tube [lányka] and paste it as a new layer
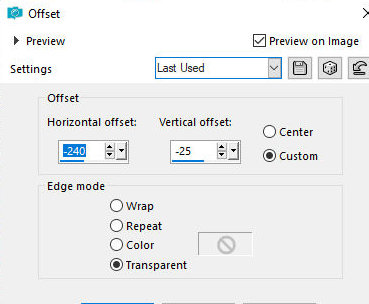
47. Effects / Image Effects / Offset [-240/-25]
48. Adjust / Sharpness /
Sharpen
49. Drop shadow: 3 3 65 38 black
50. Repeat the Drop Shadow with negative V and H
51. Merge all
52. Effects / GMIC_QT / Frames / Frame (painting) - foreground color
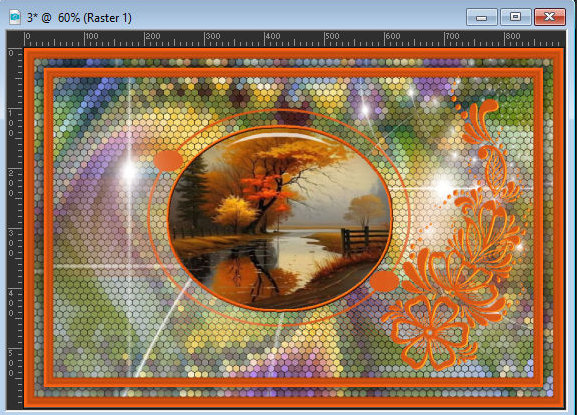
53. Return to psp and
save the image in the gmic-lana folder renaming it to 3
54. Delete the image that was being edited or set aside
55. Open the image 3 saved in the gmic folder
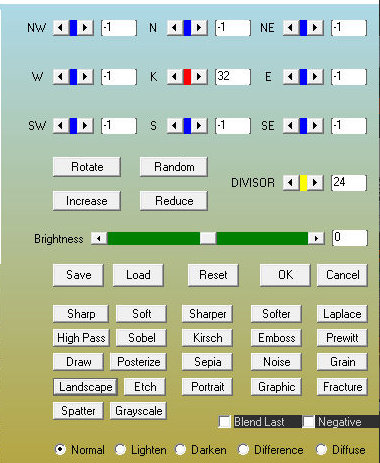
56. Effects / Plugins / AAA Filters / Custom / Landscape
57. Image / Resize:
900x606px (or another size of your choice)
58. Add the signatures
59. Merge all
60. Save as jpeg
*

|