|
(imagem original de Manyi)
(minha versão)
Este tutorial é de Manyi a quem agradeço por me deixar traduzir seus tutoriais.
Material
Gmic - AAA Frames - Mura's Seamless ***
ROTEIRO Imagens: 1 tube feminino 1 tube floral *** Material
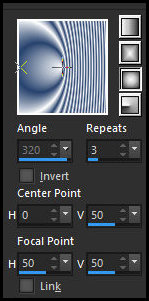
*** *** 1 Copie a imagem [Fine elegance PSP Image fájt] Duplique (shift+d) - Feche o original Cores: Foreground: #ffffff - Background: #d5b0b7 2 Pinte a imagem com este gradiente
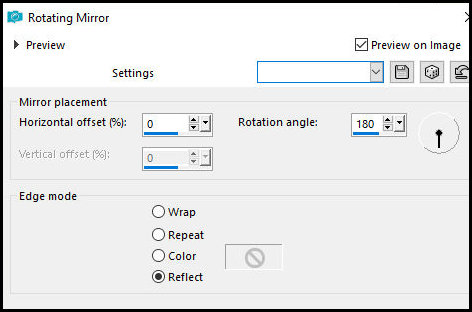
3 Effects - Reflection Effects - Rotating Mirror
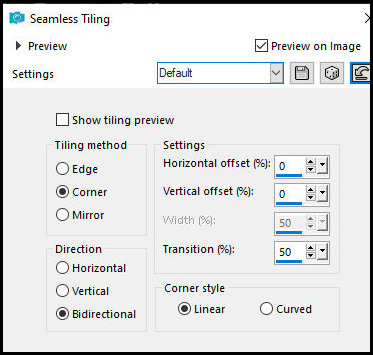
4 Effects - Image Effects - Seamless Tiling
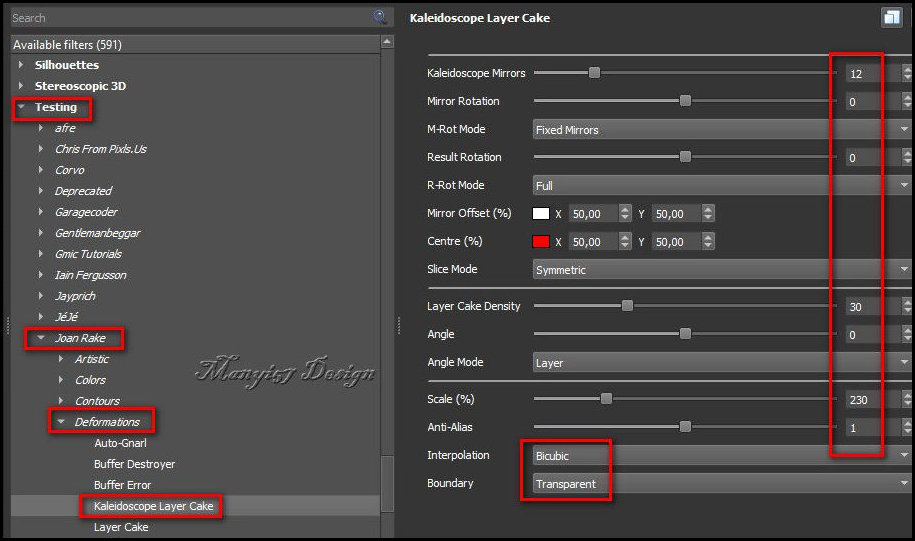
5 Layers - Duplicate 6 Effects - Plugins - Gmic-QT - Testing - Joan Rake - Deformations - Kaleidoscope Layer Cake
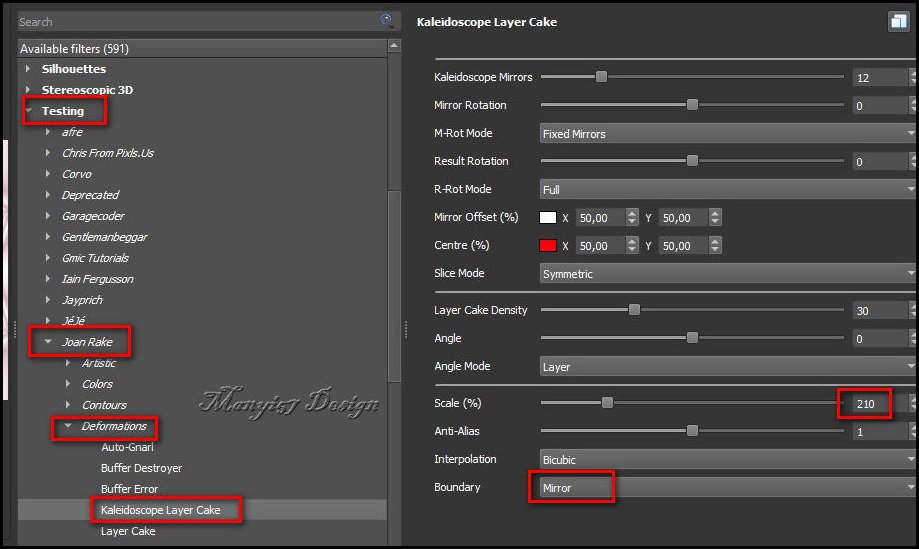
7 Ative a layer Raster 1 Effects - Plugins - Gmic - QT - Testing - Joan Rake - Deformations - Kaleidoscope Layer Cake
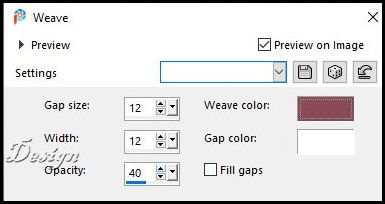
8 Selections - Load selection from alpha channel - Selection 1 9 Ative a layer de fundo Adjust - Blur - Gaussian Blur: 25 10 Selections - Promote selection to layer 11 Select none 12 Na layer promoted selection: Effects - Texture Effects - Weave - cores: #8a4a56
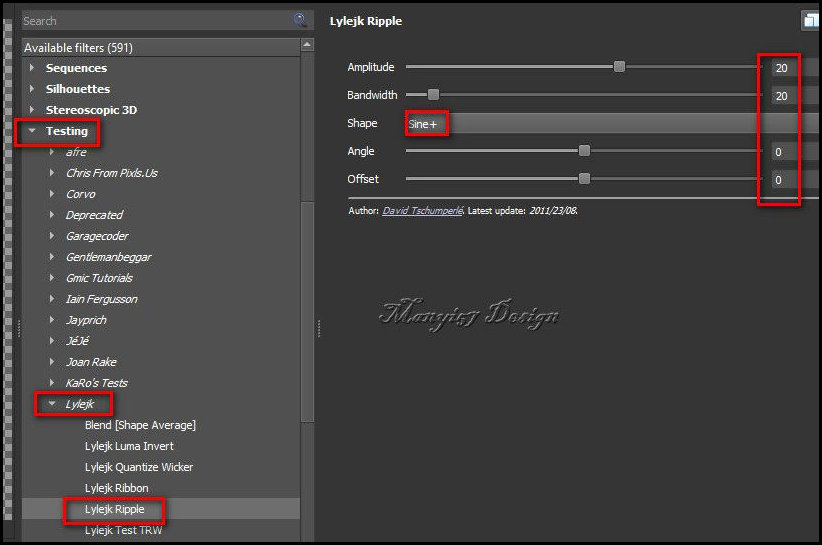
13 Continue nessa layer Effects - Plugins - Gmic -QT - Testing - Lylejk - Lylejk Ripple
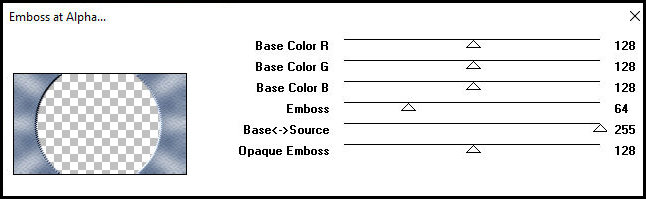
14 Effects - Plugins - Mura's Seamless - Emboss at alpha
15 Effects - Reflection Effects - Rotating Mirror
16 Image - Add borders 2px - branco Image - Add borders 10px - #d5b0b7 Image - Add borders 2px - branco 17 Selections - Select all Image - Add borders 40px - #d5b0b7 18 Drop Shadow: 0 0 60 30 #8a4a56 19 Select none 20 Copie o tube floral Cole como nova layer Image - Resize: 306 x 306px - all layers desmarcado Posicione no círculo central 21 Copie o tube feminino Cole como nova layer Ajuste o tamanho Ative a Pick Tool (K) e configure: X=120 Y=24 Pressione M Ou Posicione manualmente 22 Adjust - Sharpness - Sharpen 23 Drop Shadow: 0 0 60 30 #8a4a56 ou outra cor que combine com suas cores 24 Copie o título [finom elegancia] Cole como nova layer Ative a Pick Tool (K) e configure: X=369 Y=490 Pressione M 25 Merge all 26 Effects - Plugins - AAA Frames - Foto Frame
27 Image - Resize: 950x597px Coloque os créditos Merge all Salve como jpeg
|