|
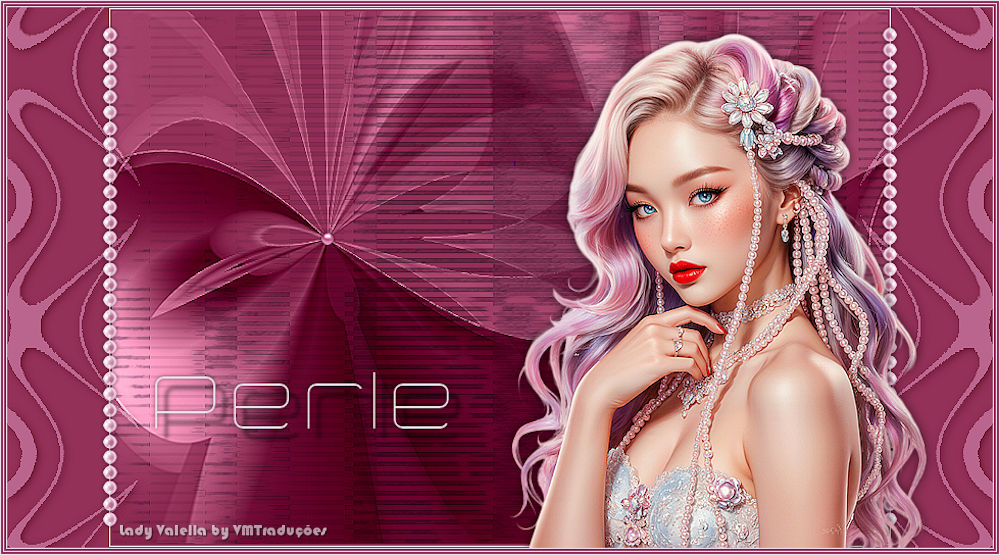

This tutorial is from Lady Valella who I thank for
letting me translate their tutorials.

Original here

Tubes

Material

Plugins
VM Extravaganza - VM Distortion
You can find these plugins on the websites of:
Renée
Cloclo
You can also find this tutorial translated into these languages:
(Click on the flag)


|
Notes:
> Open the material / Duplicate (shift+d) / Close the originals
> Change the blend mode of the layers to match their colors.
> In older versions of PSP, Mirror Horizontal=Mirror / Mirror Vertical=Flip /
Pick tool=deformation
> Open the masks in psp and
minimize
>Adjust the size of the tubes according to your images
|
SCRIPT
Required Images:
1 female tube
*
Save the selections in the
PSP Selections folder
*
My
images:
*
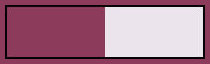
Colors used:
*
Step 1
Open a new transparent image with 800x550px
Paint the image with the foreground color
Add a new layer
Selections / Select all
Copy [Sfondo 3_LV13]
Paste it into the selection
Blend mode: Luminance (L)
Effects / Edge Effects / Enhance
Step 2
Add a new layer
Copy [grey3]
Paste it into the selection
Blend Mode: Multiply / Opacity: 48%
Select none
Step 3
Selections / Load selection from disk / Selection [LVlinee selez.1]
Paint the selection with the background color (the color you painted
the selection with will be almost invisible)
Select none
Effects / Plugins / Unlimited 2 / VM Extravaganza / Transmission
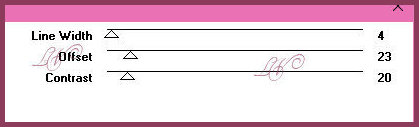
Effects / Edge Effects / Enhance
Blend Mode: Overlay / Opacity: 48%
Step 4
Image / Add borders / 2px / foreground color
Image / Add borders / 1px / Background color
Image / Resize: 95% - all layers checked
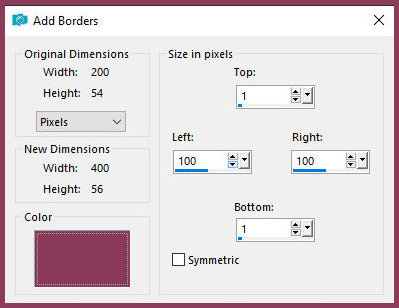
Image / Add borders / SYMMETRIC UNCHECKED / Foreground color
Step 5
Add new layer
Selections / Load selection from disk / Selection [LVlinee selez.2]
Color the selection with the background color
Select none
Effects / Plugins / Unlimited 2 / VM Distortion / Radiator
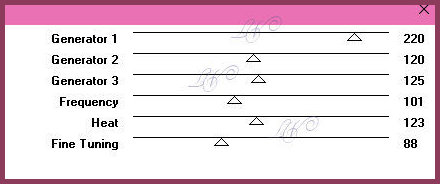
Layers/Duplicate
Image / Mirror / Mirror Horizontal
Merge down
Drop Shadow: 2 2 60 10 black
Blend Mode: Soft Light
Merge Visible
Adjust/Sharpness/Sharpen
Step 6
Copy [Pearl]
Paste as a new layer
Copy [piccola perla]
Paste as a new layer
Activate the Pick Tool and configure: X=308 Y=221 Press M
It should be placed in the center of the flower as per the model
Drop Shadow: 0 0 100 4 black
Copy [S-437 D-AI-LV26]
Paste as a new layer
Position to the right as per the model
Drop shadow: 0 0 60 15 black
Copy the title - The material has the title in several languages,
choose one
Paste as a new layer
Step 7
Image / Add borders / 1px / background color
Image / Add borders / 2px / Foreground color
Image / Add borders / 1px / background color
Image / Add borders / 2px / foreground color
Image / Add borders / 1px / background color
Add the credits
Image / Resize: 900px - All layers checked
Merge all
Save as jpeg
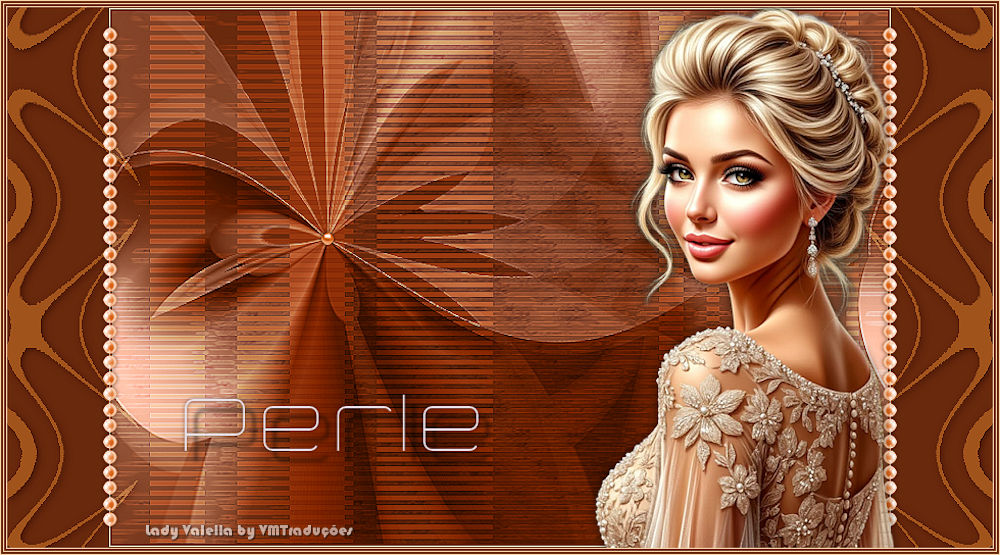
Minha versão:

|