|
Este tutorial é de Kniri a quem agradeço por me deixar traduzir seus tutoriais.
Material
Minhas imagens: AQUI
Eye Candy 5: Impact / Extrude -Mura's Meister - AAA Frames - Toadies Unlimited 2 - BKG Designers sf10 I
ROTEIRO
Imagens necessárias: 1 tube feminino * Coloque a seleção na pasta Selections do PSP Clique duas vezes no preset Eye Candy 5: Impact para que seja instalado no plugin * 01. Cores Originais: Foreground: #267295 - Background: B0D4D3
Abra a imagem [bg1] / Duplique (shift+d) / Feche o original Colorize de acordo com suas cores
Layers / Promote Background Layer Layers / Duplicate Image / Mirror / Mirror Horizontal
Layers / Properties / blend Mode: Overlay Effects / dge Effects / Enhance Copie o tube [Deco1]
Cole como nova layer Ative a Pick Tool e configure: X=169 - Y=-36 - Pressione M Layers / Duplicate
Effects / Image Effects / Seamless Tiling
Merge Down Layers / Properties / Blend Mode: Overlay / opacity: 78%
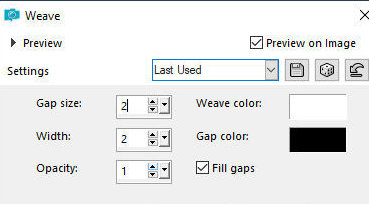
Drop shadow: 0 0 80 40 preto Effects / Texture Effects / Weave
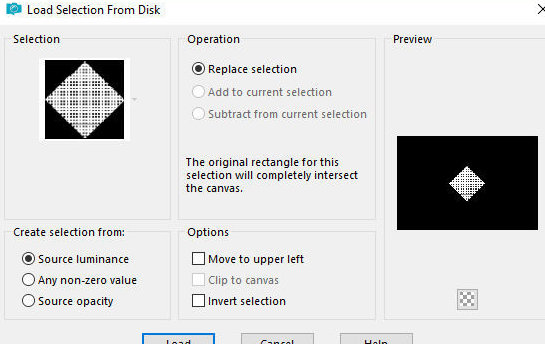
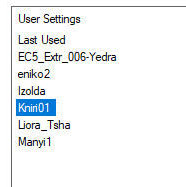
2 Selections / Load selection from disk / Selection [Kniri1]
Pressione Delete Mantenha a seleção Ative a layer Copy of Raster 1
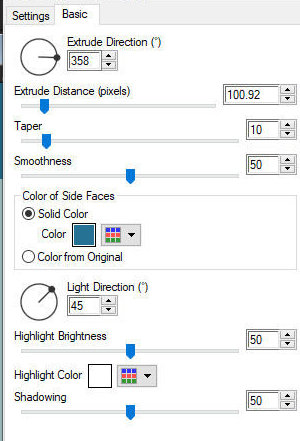
Selections / Promote selection to layer Layers / Arrange / Bring to top Effects / Plugins / Eye Candy 5: Impact / Extrude - preset [kniri1]
Select none Ative a Pick Tool e configure: X=291 - Y=192 - Pressione M Layers / Properties / Opacity: 60%
3 Copie o tube [deco2] Cole como nova layer Ative a pick Tool e configure: X=19 - Y=38 - Pressione M
Ative a layer Copy of Raster 1 Layers / Duplicate Layers / Arrange / Bring to top
Effects / Plugins / MUra's Meister / Perspective Tiling
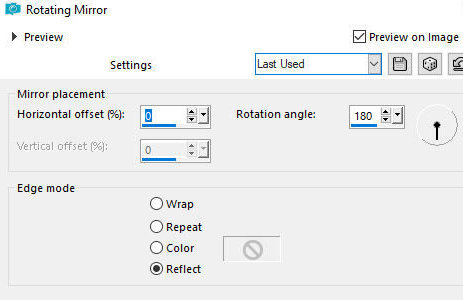
Drop shadow: 0 0 60 40 preto Effects / Reflect Effects / Rotating Mirror
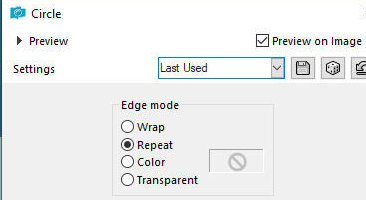
4 Effects / Geometric Effects / Circle - repeat
Ative a Pick Tool e configure: X=-4 - Y=-77 - Pressione M Image / MIrror / Mirror Vertical
Layers / Duplicate Image / Mirror / MIrror Vertical Merge down
Layers / Properties / Opacity: 50% Drop Shadow igual anterior
5 Ative a Layer Raster 1 Copie o tube [deco-3] Cole como nova layer
Layers / Properties / Opacity: 62% Permaneça na layer Copie a imagem [AIbgKniri]
Cole como nova layer Layers / Properties / Blend Mode: Darken / opacity: 55 Ative a layer Copy (2) of Raster 1
Copie o tube [schmetterling] Cole como nova layer Posicione conforme o modelo
Copie o texto [text] Cole como nova layer Posicione conforme modelo
6 Borda: 2px /preto Selections / Select all Copie (ficará na memória)
Borda: 45px / branco Selections / Invert Cole na seleção a imagem que está na memória
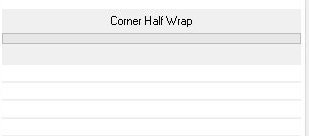
Effects / Plugins / Unlimited 2 / BKG Designers sf10 I / Corner half wrap
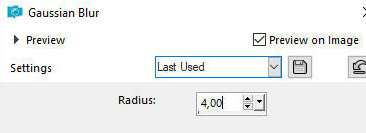
Adjust / Blur / Gaussian Blur: 4
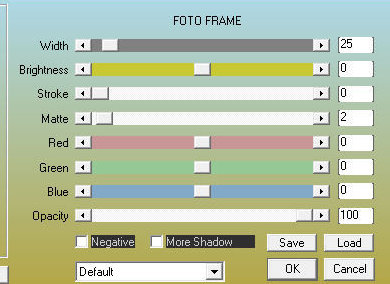
Effects / Plugins / AAA Frames /Foto Frame
Selections / Invert
7 Effects / Image Effects / Seamless Tiling - default
Selections / invert Effects / Reflection Effects / Rotating Mirror - igual anterior
Effects / Plugins / Toadies / What are you? - default
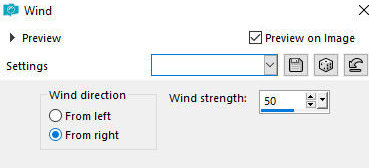
Adjust / Sharpness / Sharpen More Effects / Distortion Effects / Wind - right 50
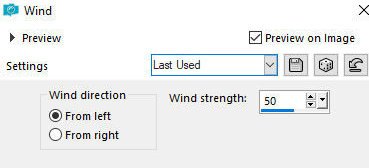
Effects / Distortion Effects / Wind - left 50
Selections / Invert Drop Shadow: 0 0 80 40 preto Select none
8 Copie o tube principal Cole como nova layer Redimensione se for necessário
Posicione conforme modelo Layers / Duplicate Image / Mirror / MIrror horizontal
Posicione conforme modelo Layers / Properties / Opacity: 30% Ative a layer abaixo do tube da direita
Drop Shadow de sua escolha Copie o tube [AIkugelK] ou outro dos que estão disponibilizados Cole como nova layer Posicione conforme modelo
9 Bordas: 2px / cor do foreground 2px / branco 2px / cor do background Selections / Select all Borda: 45px / cor do foreground
Selections / Invert Adicione nova layer Pinte com a cor do background
Layers / New Mask Layer / From Image / Mask [roa_mask-2024 S07-006]
Merge Group Selections / Invert
Drp Shadow: 0 0 80 40 preto Select none Merge Visible
Copie o tube [deco4] Cole como nova layer Borda: 3px / branco
10 Coloque assinaturas Merge all Image / Resize: 900px Adjust / Sharpness / Unsharp Mask
|