| 1.
Para este tutorial você precisará:
1 tube principal
1 imagem para o background (paisagem
ou outra)
Cores Usadas: #000000 / #ffffff
Abra o arquivo alpha channel [alphakanal
kniri] / Duplique (shift+d) / Feche o original
Selections / Select all
Copie [Image1]
Cole na seleção
Select none
2
Adicione nova layer
Pinte com a cor branca
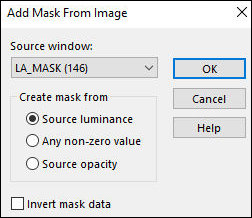
Layers / New Mask layer / From Image /
Mask [LA_MASK (146)]
Merge Group
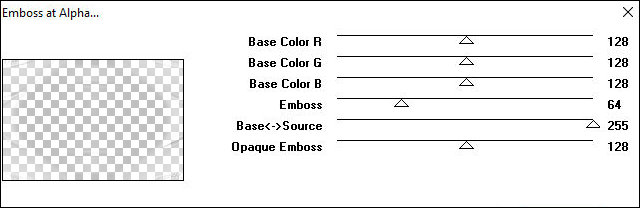
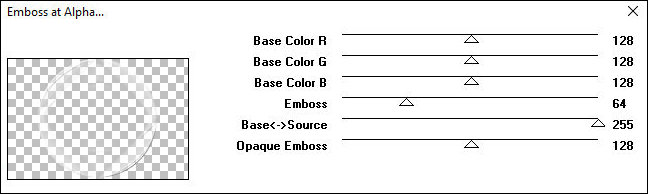
Effects / Plugins / Mura's Seamless /
Emboss at Alpha - default
Layers / Properties / Opacity: 50%
Layers / Duplicate
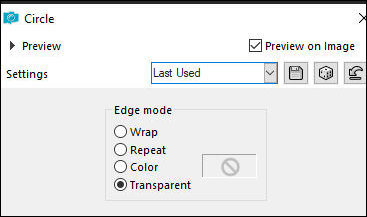
Effects / geometric Effects / Circle -
Transparent
Effects / Plugins / Mura's Seamless /
Emboss at Alpha - default
3
Ative a layer de fundo
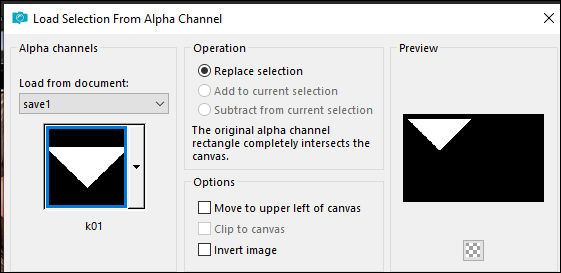
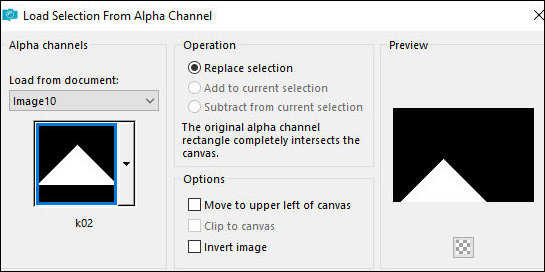
Seletions / Load selection from alpha
channel / Selection [k01]
Selections / Promote selection to
layer
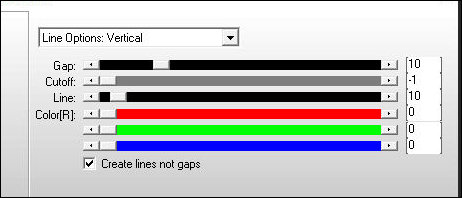
Effects / plugins / AP [Lines] /
Silverlining - default
Drop Shadow: 0 0 60
50 preto
Select none
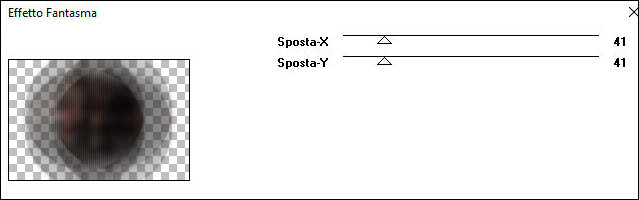
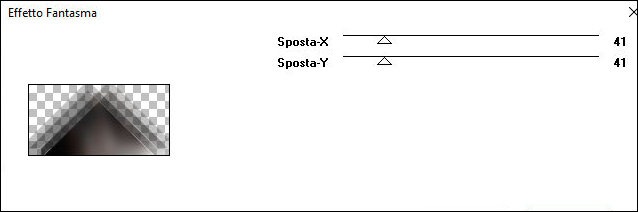
Effects / plugins /
It@lian Editors Effects /
Effetto Fantasma
Adjust / Sharpness / Sharpen More
Ative a layer de fundo
Selections / load selection from alpha
channel / Selection k02
Selections / Promote Selection to
layer
Effects / plugins / AP [Lines]
SilverLining - default
Drop shadow igual anterior
Select none
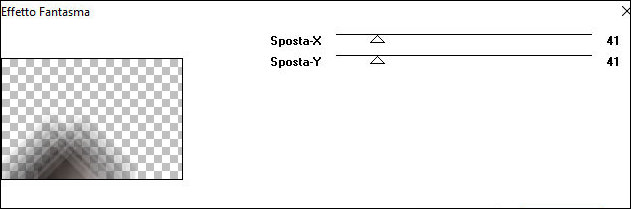
Effects / plugins /
It@lian Editors Effects /
Effetto Fantasma
Adjust / Sharpness / Sharpen More
4
Ative a layer de fundo
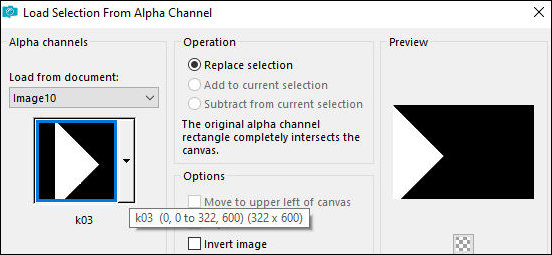
Selections / Load selection from alpha
channel / Selection k03
Selections / Promote selection to
layer
Adjust / blur / Gaussian Blur: 18

Drop Shadow igual ao anterior
Effects / Plugins / Carolaine and
Sensibility / CS-Texture - default
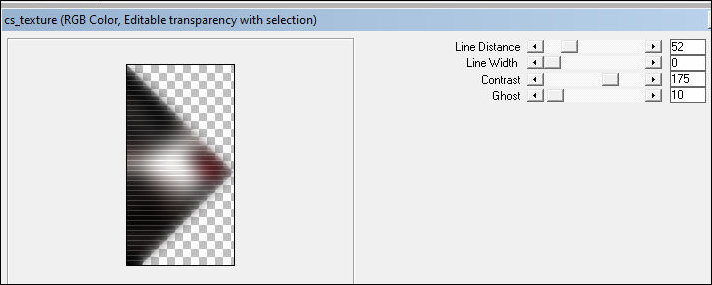
Adjust / Sharpness / Sharpen More
Select none
Ative a layer de fundo
Selections / Load selection from alpha
channel / Selection k04
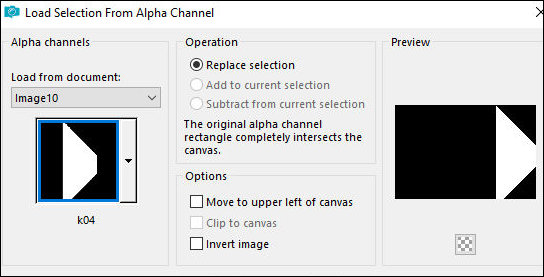
Selections / Promote selection to
layer
Effects / Texture Effects / Weave
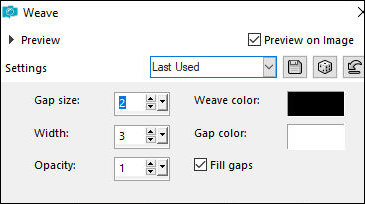
Drop Shadow igual anterior
Select none
Layers / Properties / opacity: 50%
5
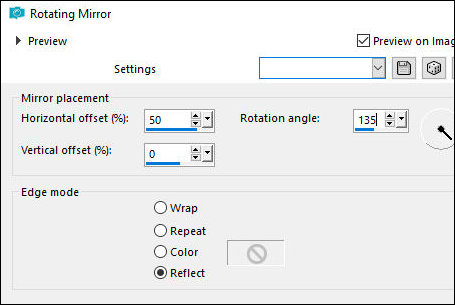
Effects / Recflection Effects /
Rotating Mirror
Effects / Plugins /
It@lian editors Effects /
Effetto Fantasma
Adjust / Sharpness / Sharpen More
Select None
6
Ative a layer de fundo
Selections / Load selection from alpha
channel / Selection k05
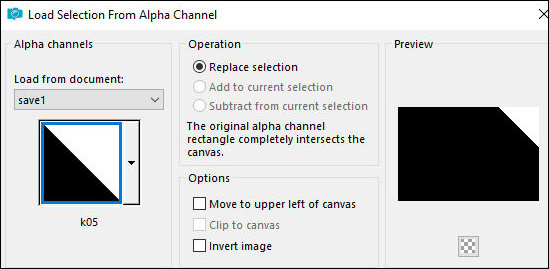
Selections / Promote selection to
layer
Effects / Plugins / Unlimited 2 / VM
Extravaganza/ Transmission
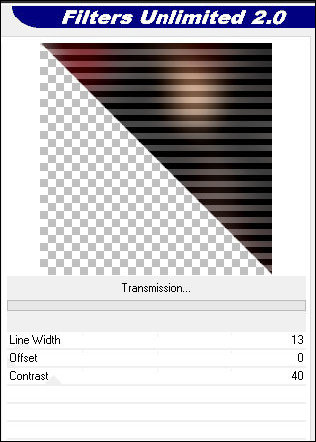
Layers / Properties / blend mode:
Overlay / Opacity: 62%
Select none
Ative a layer de fundo
Selections / Load selection from alpha
channel / Selection Auswahl#01
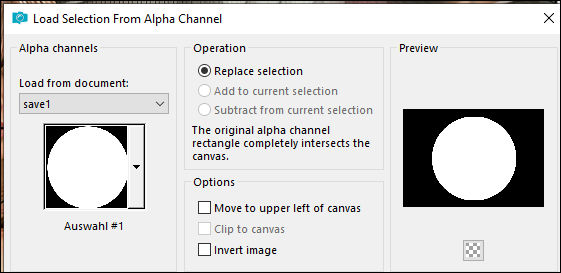
Selections / Promote selection to
layer
Adicione nova layer
Pinte com a cor branca
Layers / New Mask Layer / From Image /
Mask [68ss]
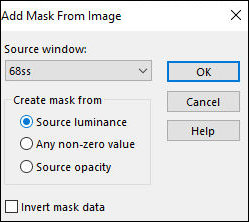
Merge Group
Drop Shadow igual anterior
Selections / Load selection from alpha
channel / Selection Auswahl#07
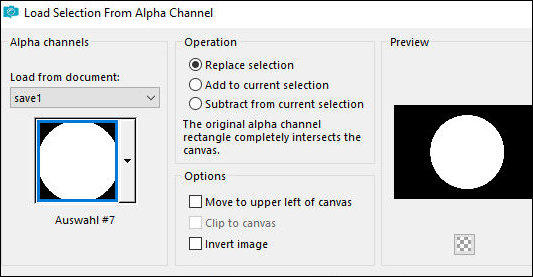
Copie a sua imagem background
Cole na seleção
Merge down
Select none
Layers / Arrange / Bring to top
7
Effects / Image Effects / Seamless
Tiling
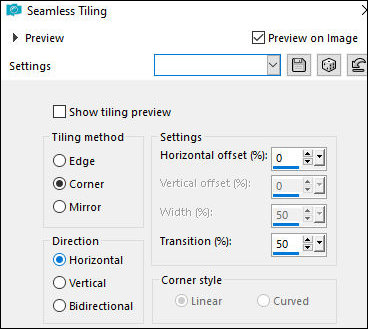
Layers / Properties / Blend mode:
Lighten / Opacity: 35%
Adjust / Sharpness / Sharpen
Layers / Arrange / Move down - 3 vezes
8
Ative a layer superior
Copie o tube [deco 1]
Cole como nova layer
Layers / Properties / Opacity: 58%
Effects / Plugins / Mura's Seamless /
Emboss at Alpha - default

Copie o tube [deco 2]
Cole como nova layer
Posicione à esquerda conforme o modelo
Copie o tube [deco 3]
Cole como nova layer
Posicione em cima, nos círculos,
conforme o modelo
9
Abra o tube [Rahmen] / duplique (shift+d)
/ Feche o original
Clique no centro com a Magic Wand (tolerance/feather=0)
Copie a sua imagem background
Cole como nova layer
Mova para cima da seleção
Redimensione se for necessário
Selections / invert
Pressione Delete
Selections / Invert
Layers / Arrange / move down
Merge visible
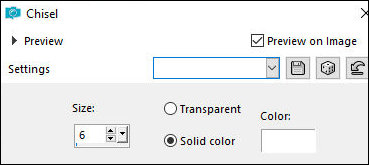
Mantenha a seleção
Effects / 3D Effects / Chisel
Select none
Adjust / Sharpness / Sharpen
Merge all
10
Image / Resize: 60% - all layers
marcado
Copie (ficará na memória)
Retorne para a sua imagem principal
Cole como nova layer
Mova para cima posicione à direita
conforme o modelo
Layers / Duplicate
Image / Mirror / Mirror Horizontal
Mova para baixo da outra imagem
Ative a layer superior
Merge Down
Copie o tube [kette]
Cole como nova layer
Layers / Arrange / Move down
Mova a corrente para baixo das duas
imagens do quadro conforme o modelo
Drop shadow: 1 1 60
2 branco
Copie o seu tube principal
Cole como nova layer
Posicione conforme modelo
Drop Shadow de sua escolha
11
Bordas:
3px / preto
3px / branco
1px / preto
40px / branco
Selecione essa borda de 40px com a
Magic Wand
Copie a frame [Rahmen 2]
Cole na seleção
Select none
Copie o texto [Text]
Cole como nova layer
Posicione no canto inferior direito
Coloque as assinaturas
Borda: 1px / branco
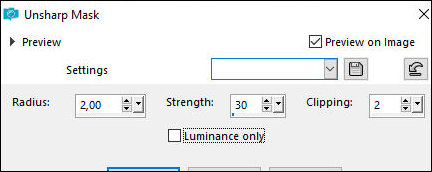
Adjust / Sharpness / Unsharp Mask
Salve como jpeg
|