|
1.
For this tutorial you will need:
1 main tube
1 background image (landscape or other)
Colors Used: #000000 / #ffffff
Open the alpha channel file [alphakanal kniri] /
Duplicate (shift+d) / Close the original
Selections / Select all
Copy [Image1]
Paste into selection
Select none
2
Add a new layer
Paint with white
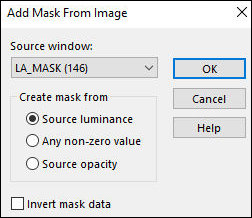
Layers / New Mask layer / From Image / Mask [LA_MASK
(146)]
Merge Group
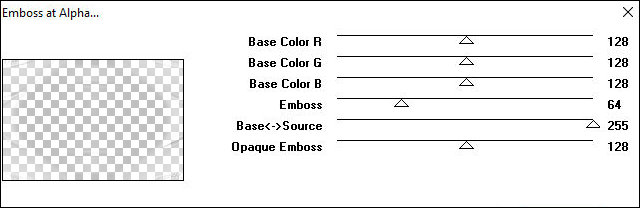
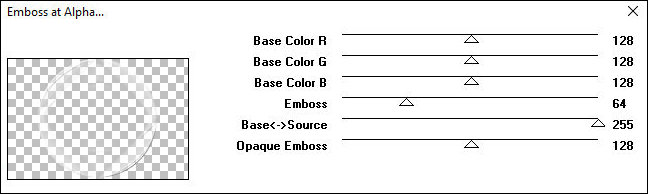
Effects / Plugins / Mura's Seamless / Emboss at Alpha -
default
Layers / Properties / Opacity: 50%
Layers / Duplicate
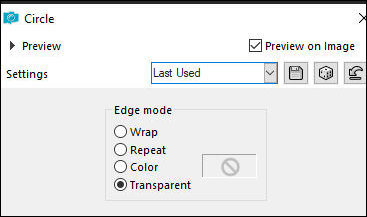
Effects / Geometric Effects / Circle - Transparent
Effects / Plugins / Mura's Seamless / Emboss at Alpha -
default
3
Activate the background layer
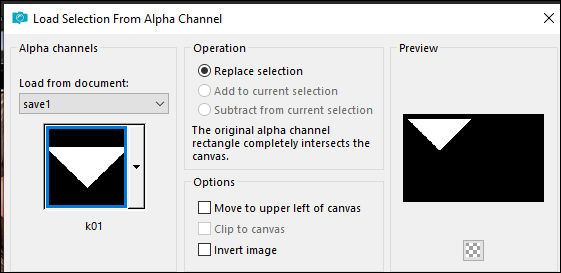
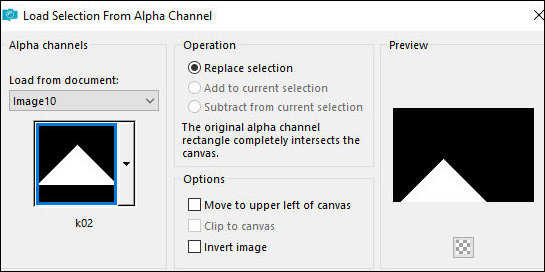
Selections / Load selection from alpha channel /
Selection [k01]
Selections / Promote selection to layer
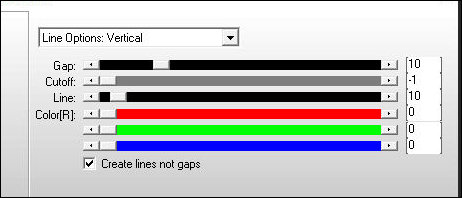
Effects / plugins / AP [Lines] / Silverlining - default
Drop Shadow: 0 0 60 50 black
Select none
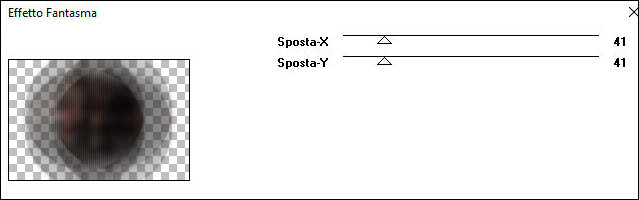
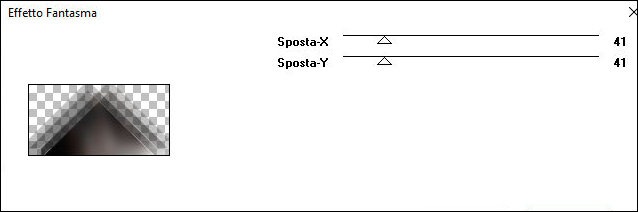
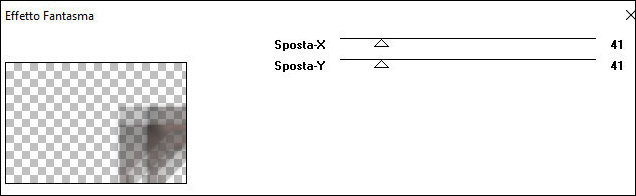
Effects / plugins / It@lian Editors Effects / Effetto
Fantasma
Adjust / Sharpness / Sharpen More
Activate the background layer
Selections / load selection from alpha channel /
Selection k02
Selections / Promote Selection to layer
Effects / plugins / AP [Lines] SilverLining - default
Drop shadow same as above
Select none
Effects / plugins / It@lian Editors Effects / Effetto
Fantasma
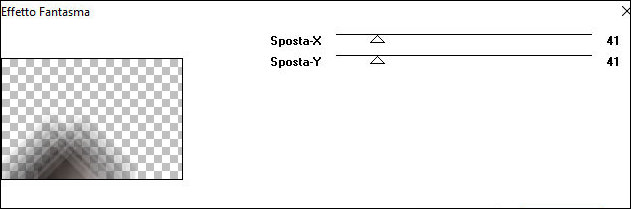
Adjust / Sharpness / Sharpen More
4
Activate the background layer
Selections / Load selection from alpha channel /
Selection k03
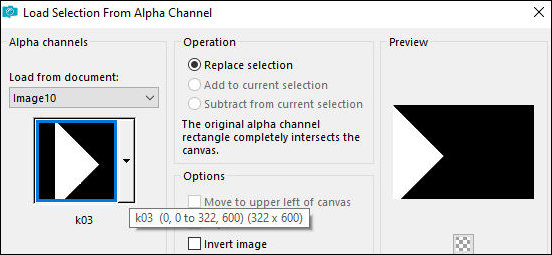
Selections / Promote selection to layer
Adjust/blur/Gaussian Blur: 18

Drop Shadow same as above
Effects / Plugins / Carolaine and Sensibility /
CS-Texture - default
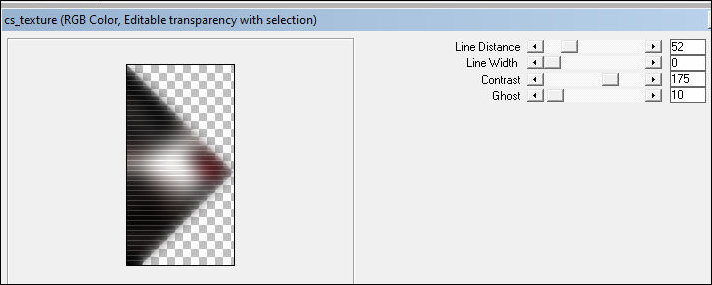
Adjust / Sharpness / Sharpen More
Select none
Activate the background layer
Selections / Load selection from alpha channel /
Selection k04
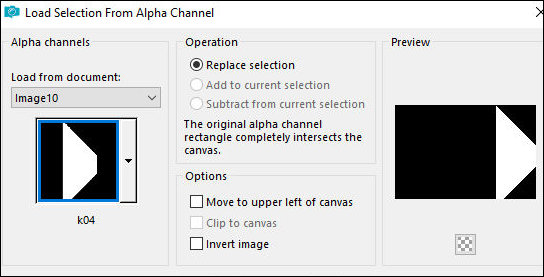
Selections / Promote selection to layer
Effects / Texture Effects / Weave
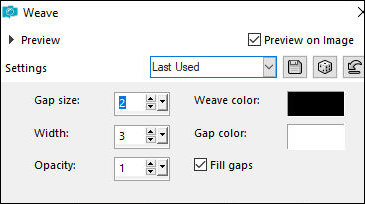
Drop Shadow same as above
Select none
Layers/Properties/opacity: 50%
5
Effects / Reflection Effects / Rotating Mirror
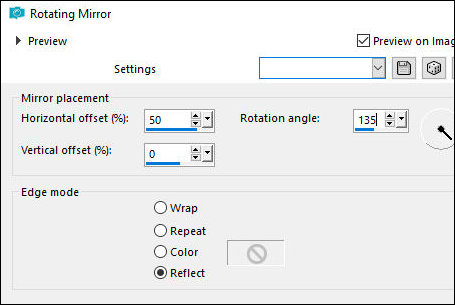
Effects / Plugins / It@lian editors Effects / Effetto
Fantasma
Adjust / Sharpness / Sharpen More
Select None
6
Activate the background layer
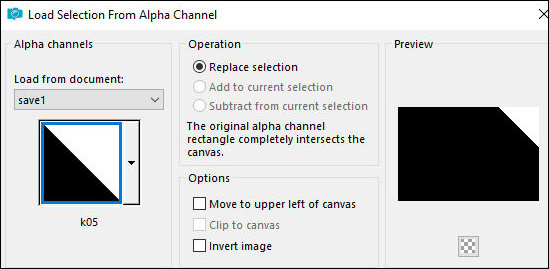
Selections / Load selection from alpha channel /
Selection k05
Selections / Promote selection to layer
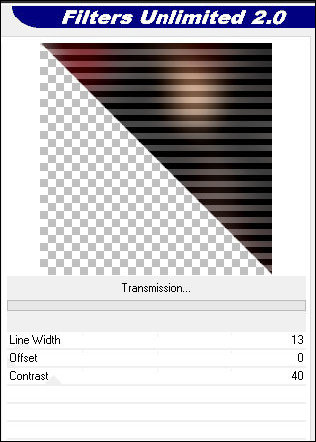
Effects / Plugins / Unlimited 2 / VM Extravaganza/
Transmission
Layers / Properties / blend mode: Overlay / Opacity: 62%
Select none
Activate the background layer
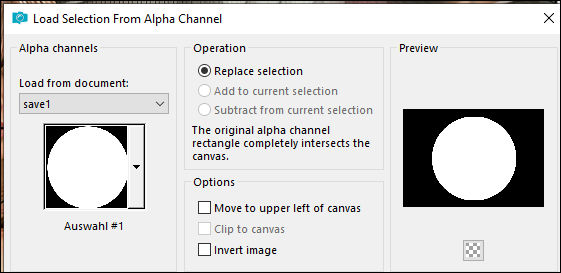
Selections / Load selection from alpha channel /
Selection Auswahl#01
Selections / Promote selection to layer
Add new layer
Paint with white color
Layers / New Mask Layer / From Image / Mask [68ss]
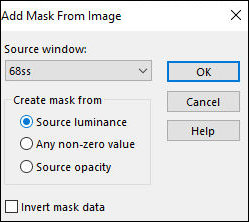
Merge Group
Drop Shadow same as above
Selections / Load selection from alpha channel /
Selection Auswahl#07
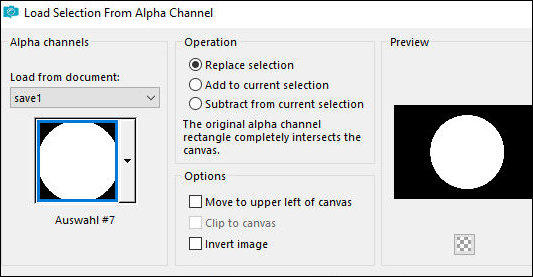
Copy your background image
Paste into selection
Merge down
Select none
Layers / Arrange / Bring to top
7
Effects / Image Effects / Seamless Tiling
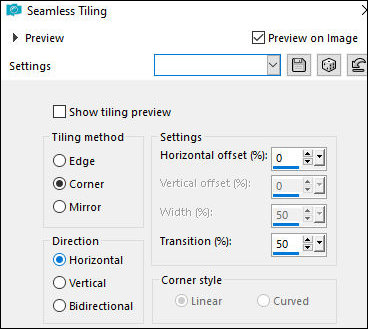
Layers / Properties / Blend mode: Lighten / Opacity: 35%
Adjust/Sharpness/Sharpen
Layers / Arrange / Move down - 3 times
8
Activate the top layer
Copy the tube [deco 1]
Paste as new layer
Layers/Properties/Opacity: 58%
Effects / Plugins / Mura's Seamless / Emboss at Alpha -
default

Copy the tube [deco 2]
Paste as a new layer
Position to the left as per the model
Copy the tube [deco 3]
Paste as a new layer
Position on top, in the circles, as per the model
9
Open the tube [Rahmen] / duplicate (shift+d) / Close the
original
Click in the center with the Magic Wand (tolerance/feather=0)
Copy your background image
Paste as a new layer
Move on top of the selection
Resize if necessary
Selections / invert
Press Delete
Selections / Invert
Layers / Arrange / move down
Merge visible
Keep the selection
Effects / 3D Effects / Chisel
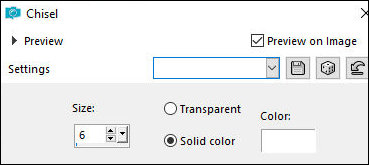
Select none
Adjust / Sharpness / Sharpen
Merge all
10
Image / Resize: 60% - all layers selected
Copy (will remain in (memory)
Return to your main image
Paste as a new layer
Move up and position to the right according to the
template
Layers / Duplicate
Image / Mirror / Mirror Horizontal
Move below the other image
Activate the top layer
Merge Down
Copy the tube [kette]
Paste as a new layer
Layers / Arrange / Move down
Move the chain below the two frame images according to
the template
Drop shadow: 1 1 60 2 white
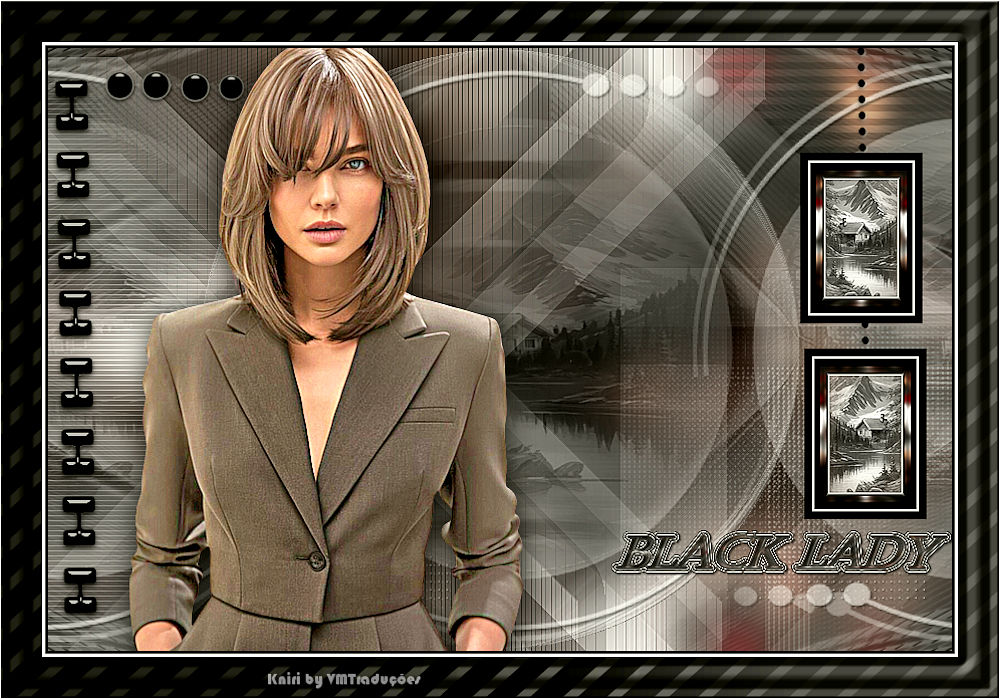
Copy your main tube
Paste as a new layer
Position according to the template
Drop Shadow of your choice
11
Borders:
3px / black
3px / white
1px / black
40px / white
Select this 40px border with the Magic Wand
Copy the frame [Rahmen 2]
Paste into selection
Select none
Copy the text [Text]
Paste as a new layer
Position in the lower right corner
Place the signatures
Border: 1px / white
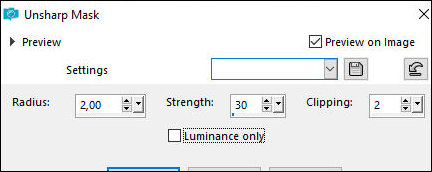
Adjust/Sharpness/Unsharp Mask
Save as jpeg
|