You will need:
1 main tube
1 second tube with a Christmas theme (to place in
the circle)
1 decorative tube
1 tube with a misted Christmas landscape
*
Save the selections in the PSP Selection folder
*
Choose a light color for the foreground and a
dark color for the background
Open a new transparent image with 900x600px
Selections / select all
Copy [36e7ed3f0af6f510233d2165f097e0fe]
Paste into the selection
Merge all
Select none
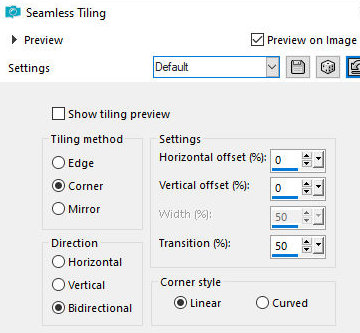
Effects / Image Effects / Seamless Tiling - default
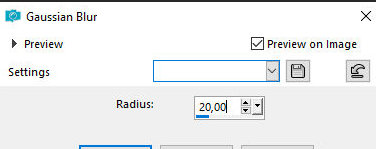
Adjust / Blur / Gaussian Blur: 20
Copy the landscape tube and paste it as a new layer.
Position it to the left.
Adjust the size if necessary.
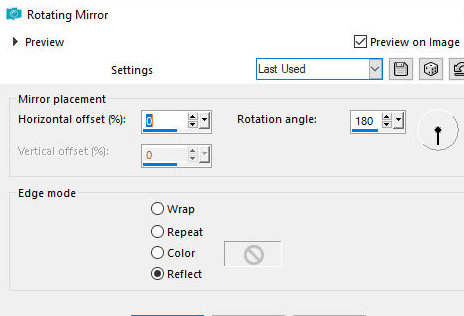
Effects / Reflection Effects / Rotating Mirror
Copy a misted image of Santa Claus (or another of
your choice)
Paste it as a new layer and position it to the right
If you deem it appropriate, apply:
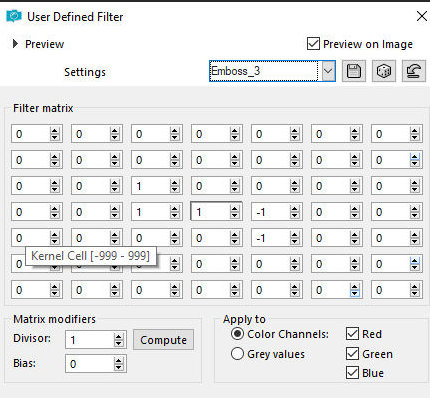
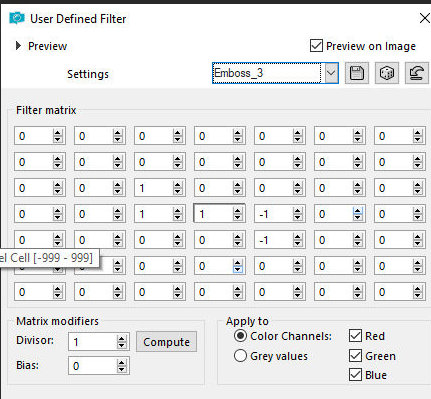
Effects / User Defined Filter / emboss 3
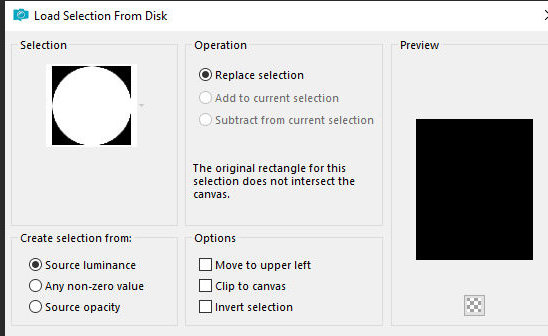
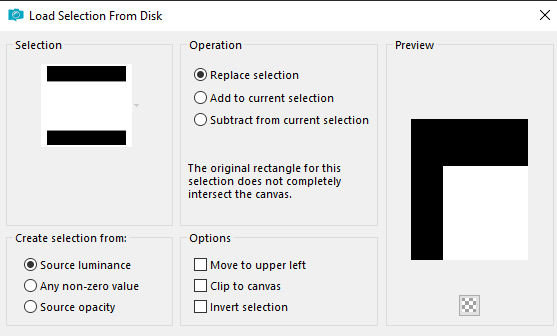
Selections / Load selection from disk
/ Selection [nataleaura]
Add new Layer
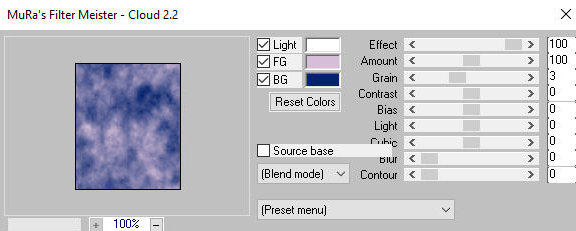
Effects / Plugins / Mura's meister /
Cloud - default
Add a new layer
Paste a tube of your choice into the selection
Add a new layer
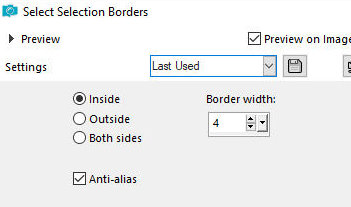
Selections / modify / select selection borders
Paint it white or another color of
your choice.
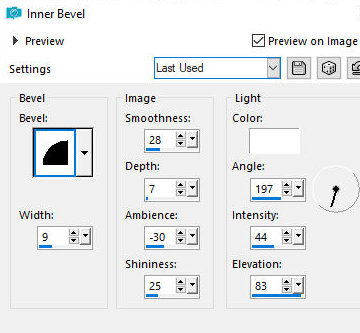
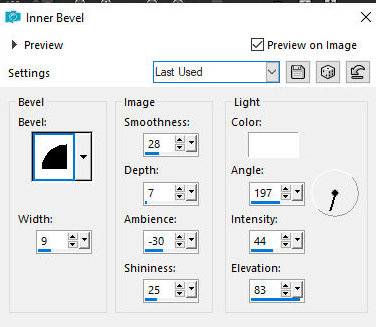
Effects / 3D Effects / Inner Bevel
Select none
Click inside with the Magic Wand
Add new layer
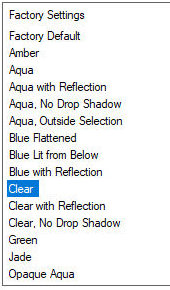
Effects / Plugins / Eye Candy 5:
Impact / Glass - Preset [clear]
Select none
Activate layer Raster 2 (the tube layer)
Merge Down - 2 times
Close the background layer
Merge visible
Image / Resize: 80% - all layers unchecked
Objects / Align / Bottom
Layers / Duplicate
Image / Resize: 80% - all layers unchecked
Position above the circle
Continue duplicating, reducing, and positioning
above until you have 4 layers with the circle
Rename the layers as S1, S2, S3, S4
Open the background layer
Copy a decorative tube (see the model)
Paste it as a new layer
Position in the upper left corner
Effects / User Defined Filter / Emboss 3
Layers/Duplicate
Image / Mirror / Mirror horizontal
Image/Mirror/Mirror Vertical
Activate the Copy of Raster 1 layer
Selections / Select all
Add new layer
Layers / Arrange / Bring to top
Paint with white color
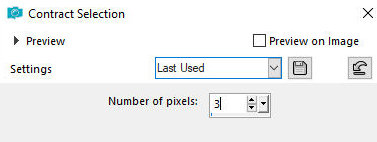
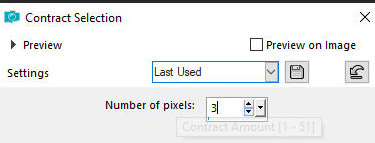
Selections/Modify/Contract: 3px
Press Delete
Paint the selection with a dark color
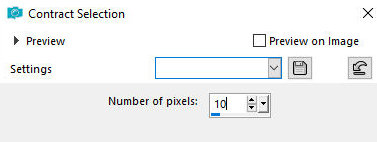
Selections / Modify / Contract: 10px
Press Delete
Paint the selection white
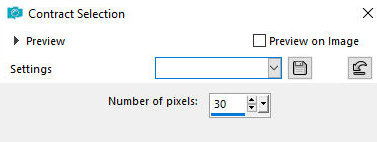
Selections / Modify / contract: 30
Press Delete
Select none
Select with the Magic Wand
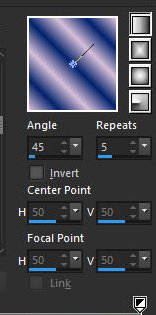
Prepare a Linear Gradient
Paint the selection with this gradient.
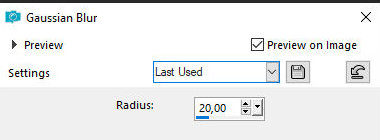
Adjust / blur / Gaussian Blur: 20
Layers / Duplicate - 2 times
Rename as c1, c2, and c3
Close layers C2 and C3
Activate C1
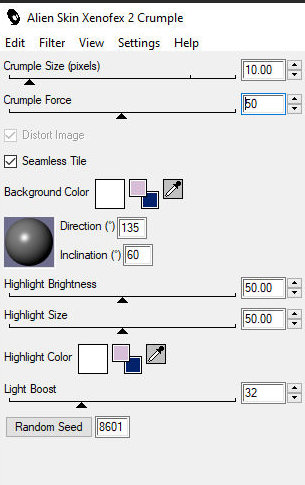
Effects / Plugins / Xenoflex 2 / crumple
Close layer C1
Open and activate layer C2
Repeat the Crumple by clicking Random once
Close layer C2
Open and activate layer C3
Repeat the Crumple by clicking Random once
Activate layer C1
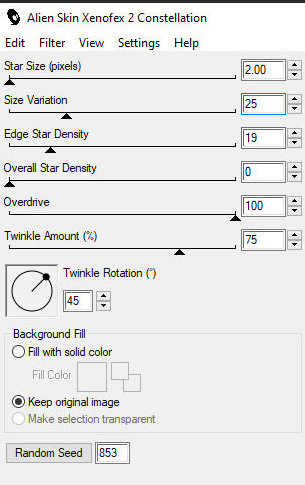
Effects / Plugin / Xenoflex 2 / Constellation
Activate layer C2
Repeat the Constellation and click Random once
Activate layer C3
Repeat the Constellation and click Random once
Effects / 3D Effects / Inner Bevel
Add a new layer
Selections / Load selection from disk
/ Selection [nataleaura2]
Paint the selection with the color
white.
Selections / Modify / Contract: 3px
Press Delete
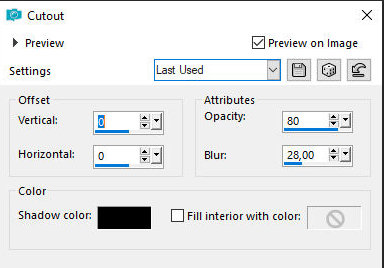
Effects / 3D Effects / Cutout
Select none
ANIMATION:
Close layers S2, S3 and S4
Close layers C2 and C3
Edit/Copy Special/copy Merged
In the Animation Shop (AS):
Edit/Paste/As New Animation
On PSP:
Close S1 and open S2
Close C1 and open C2
Edit/Copy Special/Copy Merged
In AS:
Edit / Paste / After current frame
On PSP:
Close S2 and open S3
Close C2 and open C3
Edit/Copy Special/Copy Merged
In AS:
Edit/Paste/After Current Frame
On PSP:
Close S3 and open S4
Close C3 and open C1
Edit/Copy Special/Copy Merged
In AS:
Edit / Paste / After current frame
On PSP:
Close S4
Close C1 and open C2
In AS
Edit / Paste / After current frame
Click on frame 1
Edit/Select all
Animation/Frame Properties:75
View/Animation
File/Save as/Locate The folder where you will save the
animation / Name it / Save / Next 3 times / Finish |