|
You will need:
1 main tube
1 makeup tube
*
1. Original colors: foreground: #d74c45 - Background:
#640606
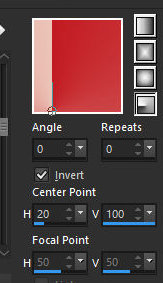
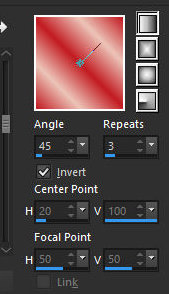
2. Prepare this Radial gradient
3. Open the alpha channel [alfablad] /
Duplicaye (shift+d) / close the original
4. Paint the image with the gradient
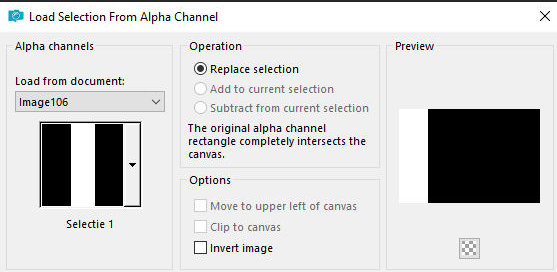
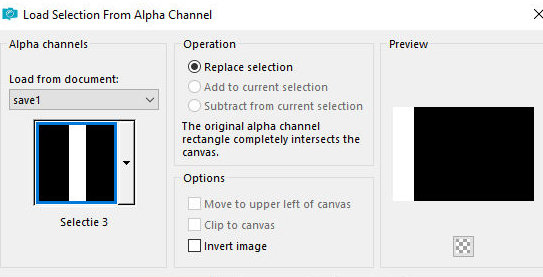
5. Selections / Load selection from alpha channel /
Selection 1
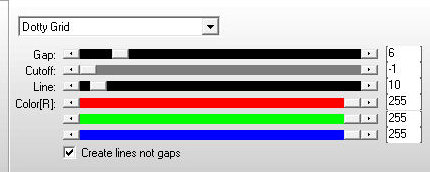
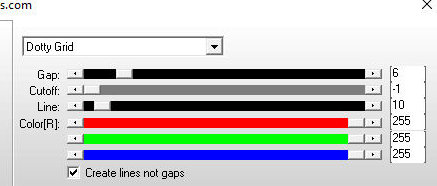
6. Effects / Plugins / AP[Lines] /
SilverLining - preset [dotty grid]
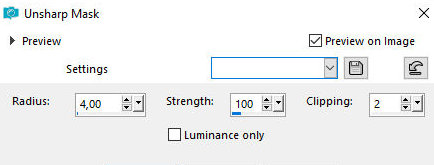
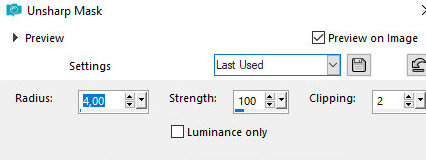
7.Adjust/Sharpness/Unsharp Mask
8. Select none
9. Layers/Duplicate
10.image/MIrror/Mirror Horizontal
11. Layers/Properties/opacity: 50%
12. Merge visible
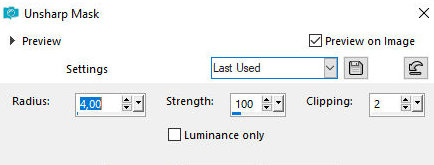
13. Adjust / Sharpness / Unsharp mask - same as above
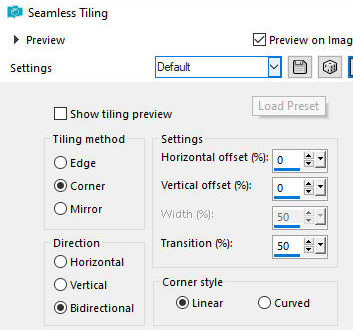
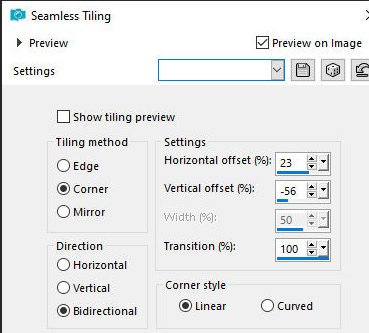
14. Effects / Image Effects / Seamless Tiling
15. Adjust / Sharpness / Unsharp mask - equal Previous
16. Add new layer
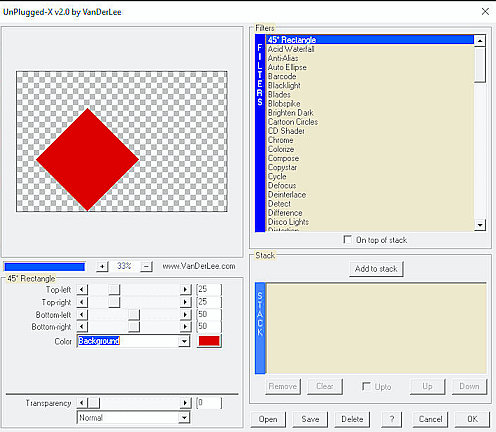
17. Effects / Plugins / VanDerLee / Unplugged-X / 45º
rectangle
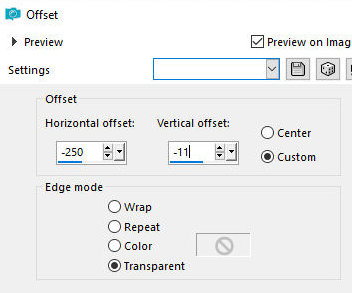
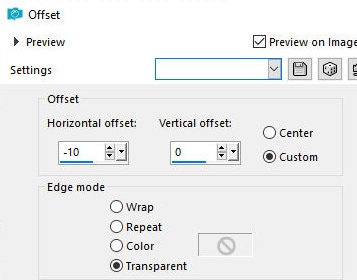
18. Effects / Image Effects / Offset
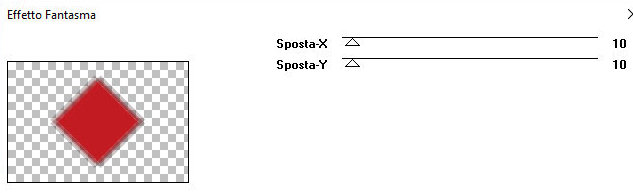
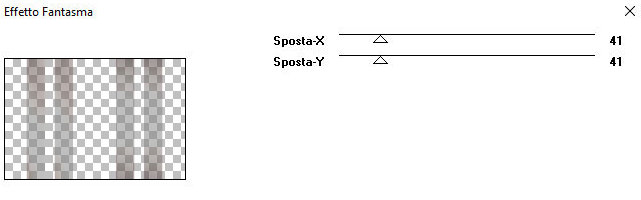
19. Effects / plugins / Italian Editors Effects /
Effetto Fantasma(do not use Unlimited2)
20. effects / Edge effects / Enhance More
21. Click inside the diamond with the Magic Wand
22. Copy the image [Dior]
23. Paste as a new layer
23b. Position in the selection
23c. Adjust the size
24. Selections / Invert
25. Press Delete
26. Selections / Invert
27. Set the foreground color to white
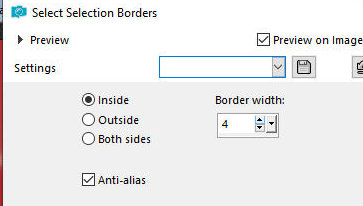
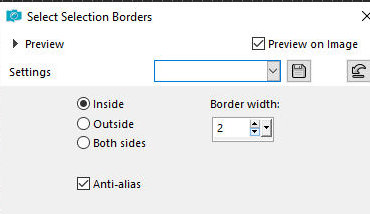
28. Selections / Modify / Select selection borders
29. Paint the selection white
30. Select none
31. Merge down
32. Drop shadow: 4 4 50 15 black
33. Drop Shadow: -4 -4 50 15 black
34. Layers / Duplicate
35. Merge Down
36. Activate the background layer
Add a new layer
Selections / Load selection from alpha channel /
Selection 2
Set the foreground color to #d74c45
Paint the selection with the foreground color
Select none
Layers / Duplicate
Image / Mirror / Mirror horizontal
Merge down
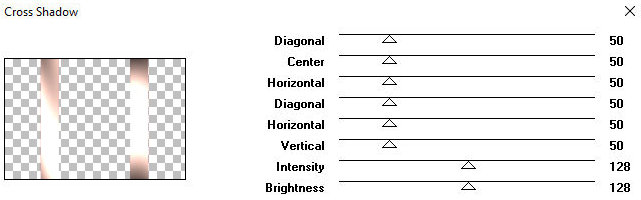
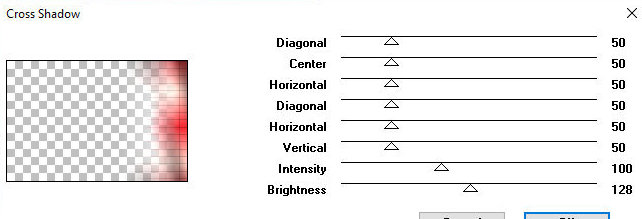
Effects / plugins / Graphic Plus / Cross shadow
Effects / Plugins / Italian Editors Effects / Effetto
Fantasma
Effects / Image Effects / Seamless Tiling
Effects / Edge Effects / Enhance More
Activate the background layer
Selections / Load selection from alpha channel /
Selection 3
Selections / Promote selection to layer
Effects / Plugins / AP [Lines] / SilverLining - same as
above
Select none
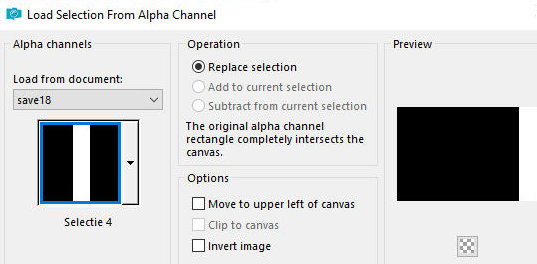
Selections / Load selection from alpha channel /
Selection 4
Add new layer
Prepare this Linear gradient
Paint the selection with this gradient
Select none
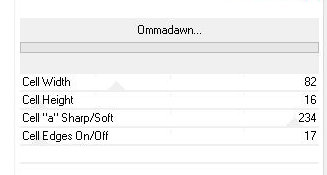
Effects / Plugins / Unlimited 2 / FF Gallery V /
ommadawn
Effects / plugins / Graphic Plus / Cross shadow
Layers / Properties / blend Mode: Hard Light
Activate the background layer
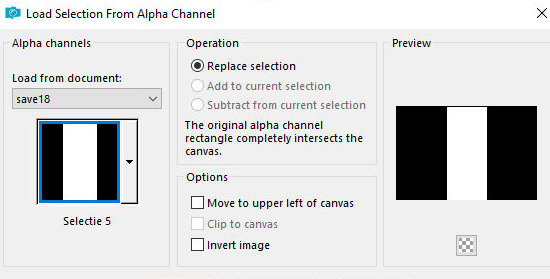
Selections / Load selection from alpha channel /
Selection 5
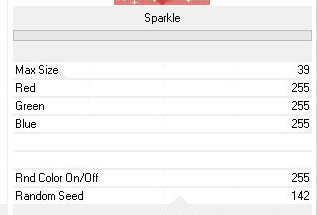
Effects / Plugins / Unlimited 2 / VM Natural / Sparkle
Select none
Activates the Raster 2 layer (second layer from (Top)
Add a new layer
Paint the layer white
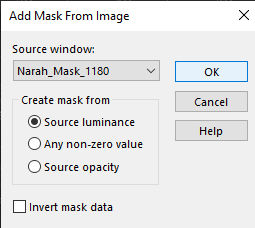
Layers / New Mask Layer / From Image / Mask [Narah_Mask-1180]
Merge group
Layers / Properties / Blend Mode: Luminance (L)
Activate the top layer
Copy the main tube [Leny-vrouw1216]
Paste as a new layer
Adjust the size: 585px (height)
Effects / Image Effects / Offset
Drop Shadow: 4 4 50 15 black
Add a new layer
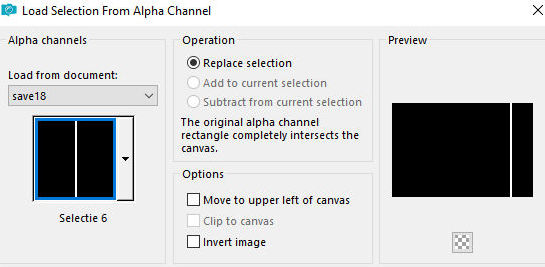
Selections / Load selection from alpha channel /
Selection 6
Paint the selection with the background color
Selections / Modify / Select selection borders
Paint the selection white
Select none
Image / Resize: 104% - all layers unchecked
Effects / Image Effects / Offset
Layers / Duplicate
Image / Rotate left
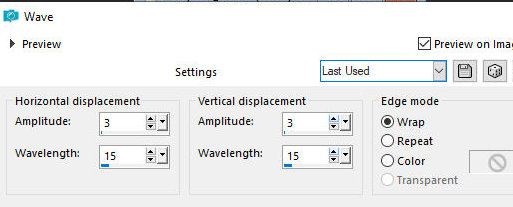
Effects / Distortion Effects / Wave
Image / Rotate right
Layers / Arrange / Move down
Layers / Duplicate
Image / Mirror / Mirror Horizontal
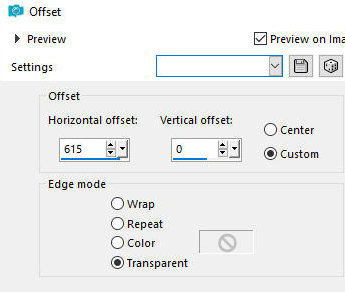
Effects / Image Effects / Offset
Activate layer Raster 1 (the one with the diamond)
Layers / Duplicate
Image / Resize: 30% - all layers unchecked
Layers / Duplicate
Merge Down
Effects / Image Effects / Offset
Layers / Arrange / Bring to top
Layers / Duplicate
Image / Resize 75%
Move down to the left (see model) (Note: If the image
overlaps the female tube, move the layer down until it
is underneath)
Copy the tube [Riet Tekst_Glamfactor_858_080722]
Paste as a new layer
Image / Resize: 90% - all layers unchecked
Image / Negative Image
Position the Text wherever you prefer
Activate the background layer
Layers / Duplicate
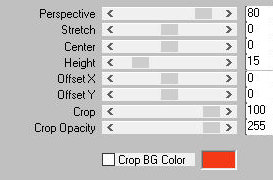
Effects / Plugins / Mura's Meister / Perspective Tiling
Effects / Plugins / Graphic Plus / Cross Shadow
Merge all
Selections / Select all
Borders: 20px/white
Drop Shadow: 0 0 50 15 black
Select none
Border: 5px/background color
Selections / Select all
Border: 45px / white
Drop Shadow same as before
Select none
Border:
2px / background color
2px / white
2px / background color
Copy the tube [rand]
Paste as a new layer
No need to move
Add the signatures
Merge all
Save as jpeg
|