|
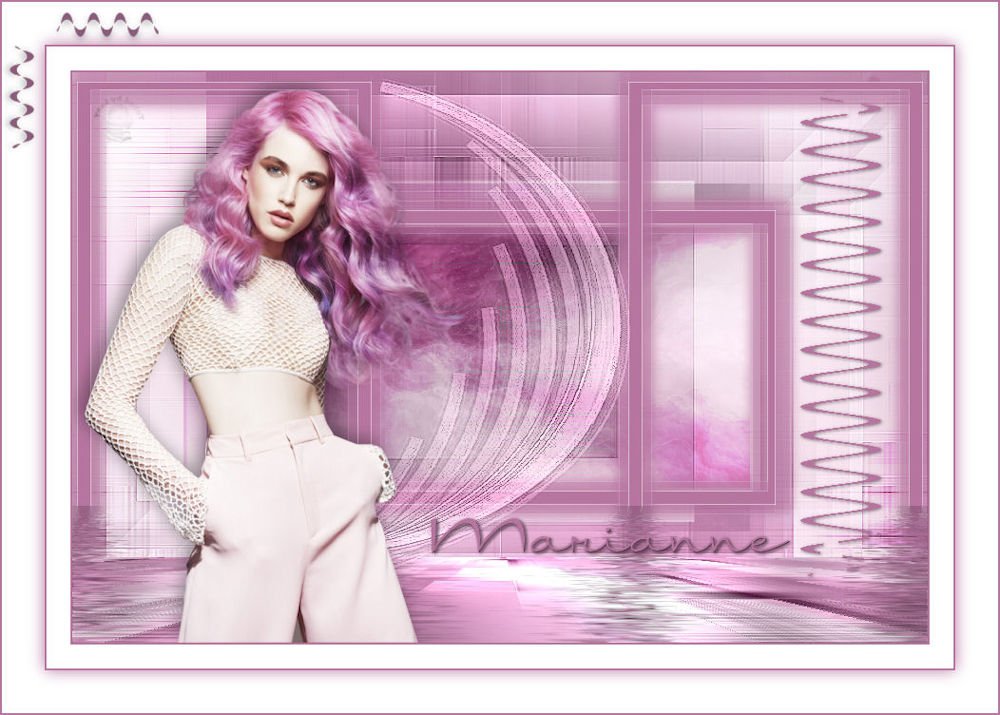
(imagem original de Esmakole)
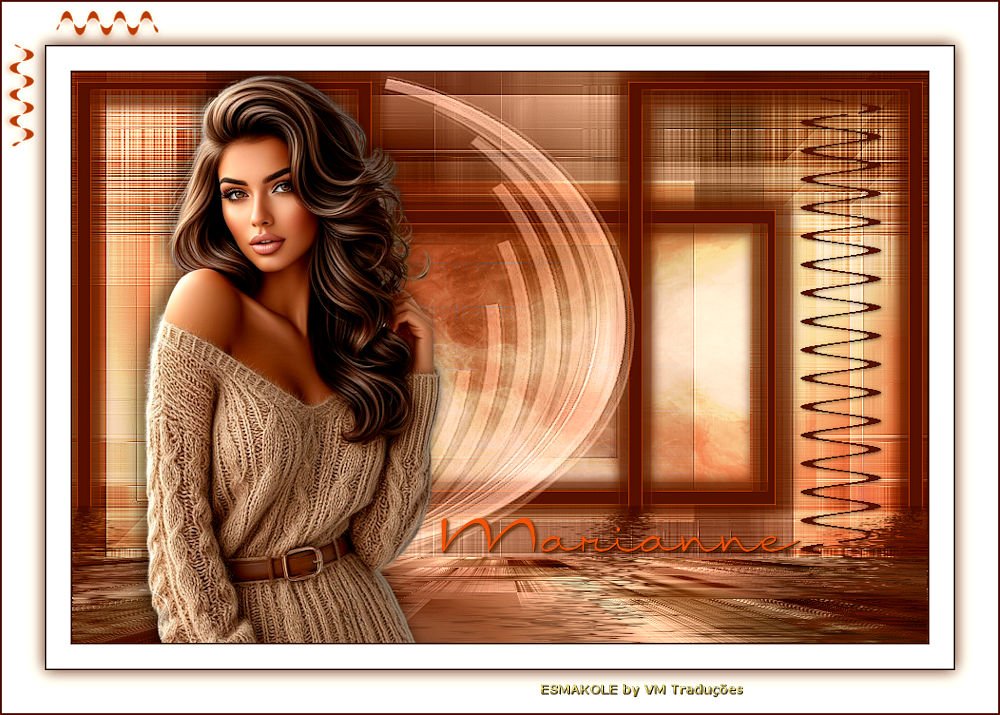
(minha versão)

This tutorial is from Esmakole who I thank for
letting me translate their tutorials.
Original here
Tubes

Material

Plugins
Graphic plus - Mura's meister -
Flaming Pear - unlimited 2 - toadies
You can find these plugins on the websites of:
Renée
Cloclo
You can also find this tutorial translated into these languages:
(Click on the flag)


|
Notes:
> Open the material / Duplicate (shift+d) / Close the originals
> Change the blend mode of the layers to match their colors.
> In older versions of PSP, Mirror Horizontal=Mirror / Mirror Vertical=Flip /
Pick tool=deformation
> Open the masks in psp and
minimize
>Adjust the size of the tubes according to your images
|
SCRIPT
Colors
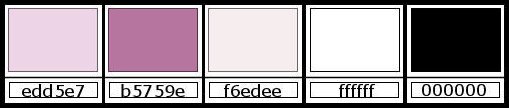
Put the color #edd5e7 in the foreground and the color #b5759e in the
background
Prepare a Radial gradient
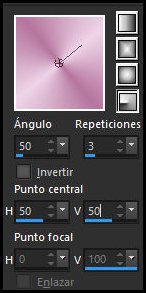
Open the Alpha channel
Duplicate (shift+d) - Close the original
Paint the image with the gradient
Adjust - Blur - Gaussian Blur: 20
Selections - Select all
Selections - Modify - Contract: 100
Add new layer
Copy [Leny-vrouw982]
Paste into selection
Select none
Effects - Plugins - unlimited 2 - Toadies - Weaver
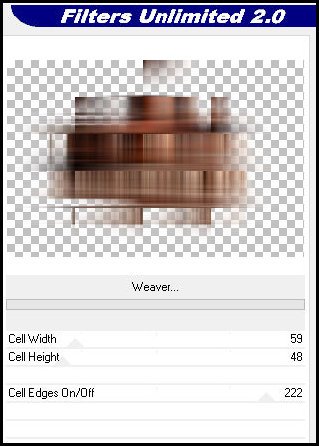
Effects - Image Effects - Seamless Tiling - default
Effects - Edge Effects - Enhance
Blend mode: luminance (L)
Merge down
Layers - Duplicate
Effects - plugins - unlimited 2 - Buttons & Frames - 3D Glass Frame
2
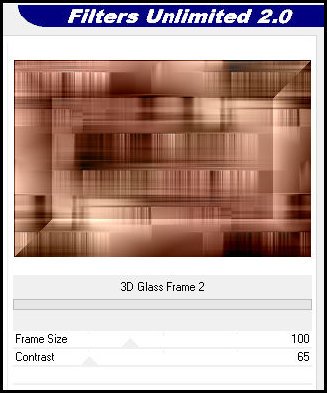
Effects - Plugins - Toadies - What are you?
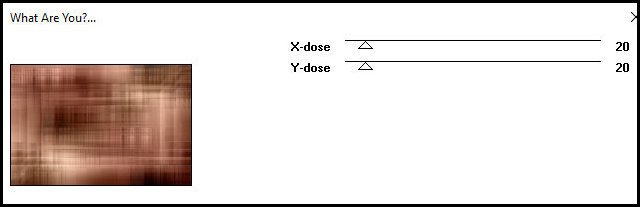
Adjust - Sharpness - Sharpen More
Add new layer
Selections - Load selection from alpha channel - Selection 1
Copy the image [plaatje]
Paste into selection
Select none
Blend mode: Luminance (L)
Effects - Plugins - Toadies - What are you? - same as previous
Add new layer
Put the color #f6edee(3) in the background
Paint the layer with this color
Layers - New Mask Layer - From Image - Mask [EditMask 029]
Merge group
Blend mode: Overlay - opacity: 85%
Effects - Edge Effects - Enhance
Selections - Load selection from alpha channel - Selection 1 again
Selections - Modify - Select selection borders
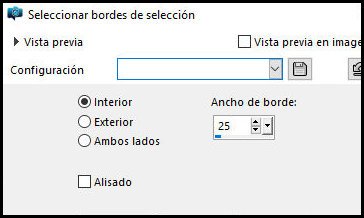
Add new layer
Put the color #b5759e(2) in the background
Color the selection with the background color
Select none
Effects - Edge Effects - Enhance more
Effects - Plugins - Toadies - What are you?
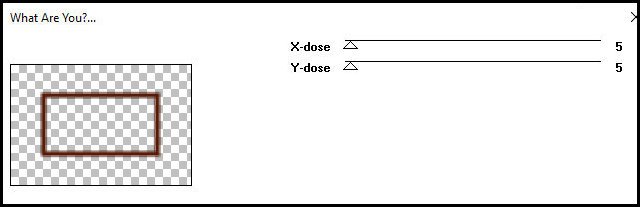
Drop Shadow: 0 0 100 15.00
Repeat Drop Shadow
Layers - Duplicate
Image - Free Rotate - right/90
Effects - Image Effects -Offset
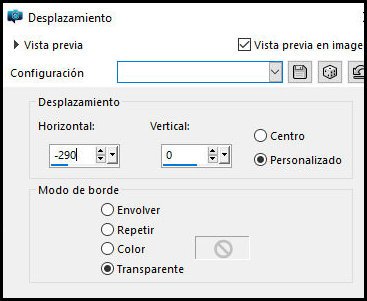
Layers - Duplicate
Image - Mirror Horizontal
Merge down
Activate the background layer
Layers - Duplicate
Effects - Plugins - Mura's meister - Perspective Tiling
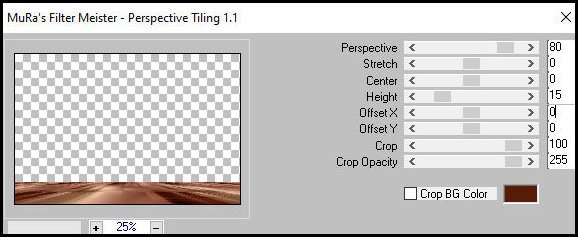
Layers - Arrange - Bring to top
Layers - Arrange - Move Down
Effects - plugins - Graphic Plus - Cross Shadow - Intensity=50
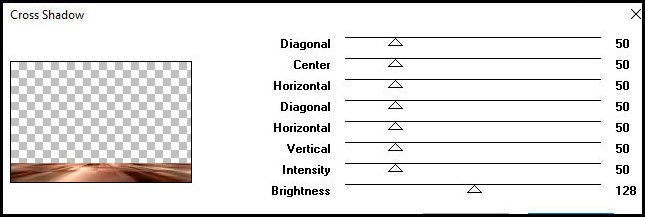
Image - Mirror horizontal
Add new layer
Selections - Load selection from alpha channel - Selection 2
Paint the selection with the foreground color
Select none
image - Rotate Left
Effects - Distortion Effects - Wave
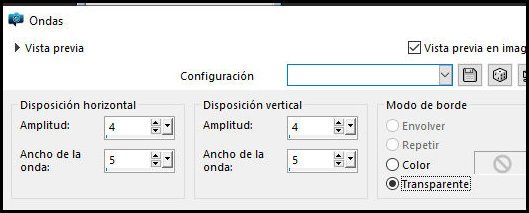
Image - Rotate Right
Drop shadow: 1 1 50 5 black
Activate the top layer
Effects - Plugins - flaming Pear - Flood - Horizon=75 or 50 (see
what looks better)
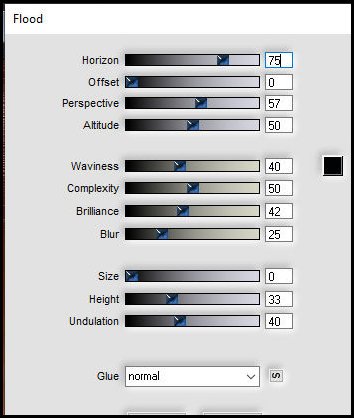
Copy [Leny-vouw982
Paste as new layer
Image - Resize: 70% - all layers marked
Image - Mirror Horizontal
Effects - Image Effects - offset
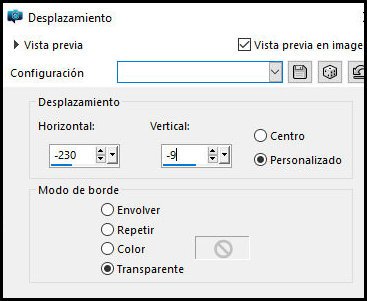
Drop Shadow:(-6) (-6) 35 25 black
Drop Shadow: (-6) (-6) 35 20 black
Add new layer
Paint the layer with white color
Layers - New Mask layer - From Image - Mask [Narah-Mask_0502]
Merge group
Adjust - Sharpness - Sharpen More
Blend mode: Luminance (L)
Layers - Arrange - Move Down
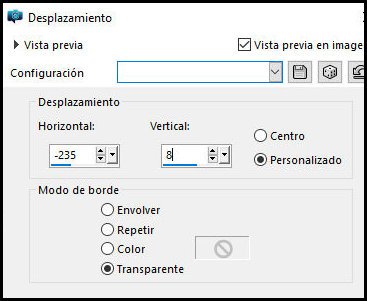
Effects - Image Effects - Offset
Activate the top layer
Copy [Leni-text]
Paste as new layer
Position as you prefer
Merge all
Image - Add borders - 2px - background color(2)
Image - Add borders - 25px - white
Image - Add borders - 2px - background color(2)
Sections - Select all
Image - Add borders - 45px - white
Drop Shadow: 0 0 100 25 background color
Select none
Image - Add borders - 2px - background color (2)
Copy - [Leny-deco]
Paste as a new layer
Position at the top left, as shown in the example
*
Add credits
Merge all
Save as JPEG

|