|


This tutorial is from Esmakole who I thank for
letting me translate their tutorials.

Original here

Tubes

Material

My images: Here
Plugins
Graphic Plus - Mehdi - Mura's
meister - Tile & Mirror - Tramages - Unlimited 2 - VideoRave
You can find these plugins on the websites of:
Renée
Cloclo
You can also find this tutorial translated into these languages:
(Click on the flag)


|
Notes:
> Open the material / Duplicate (shift+d) / Close the originals
> Change the blend mode of the layers to match their colors.
> In older versions of PSP, Mirror Horizontal=Mirror / Mirror Vertical=Flip /
Pick tool=deformation
> Open the masks in psp and
minimize
>Adjust the size of the tubes according to your images
|
SCRIPT
You will need:
1 female tube
1 floral tube or other decorative tube
*
Original colors: Foreground:
#D8BE2C - Background: #C47647
Open the alpha file [alphablad] / Duplicate (shift+d) / Close the
original
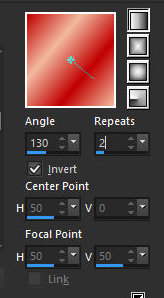
Prepare this Linear gradient
Paint the image with this gradient
Add a new layer
Selections / Select all
Copy the tube [plaatze 326]
Paste it into the selection
Select none
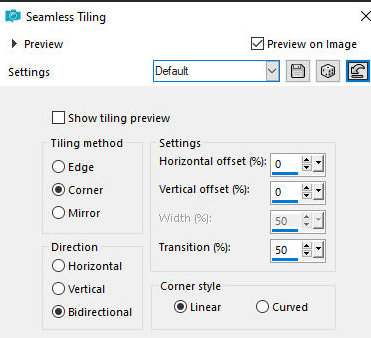
Effects / Image Effects / Seamless Tiling
Adjust / blur / Gaussian: 40
Layers / Duplicate
Layers / Properties / Blend Mode: Screen / Opacity: 76
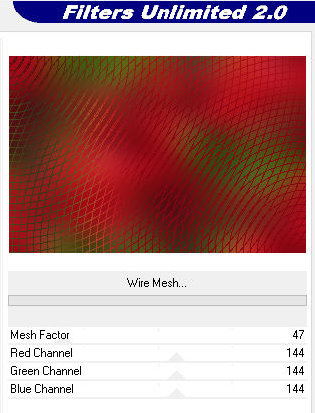
Effects / Plugins / Unlimited 2 / Tramages / Wire Mesh
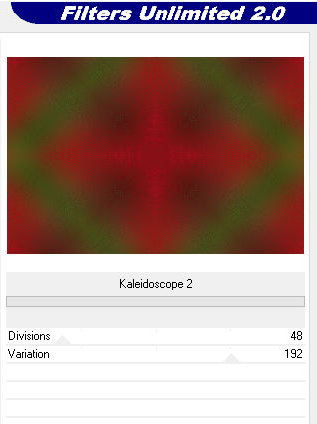
Effects / Plugins / Unlimited 2 / Tile & Mirror / Kaleidoscope 2
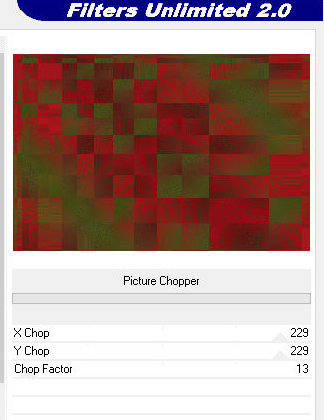
Effects / Plugins / Unlimited 2 / Video Rave / picture Chopper
Activate the Raster layer 2
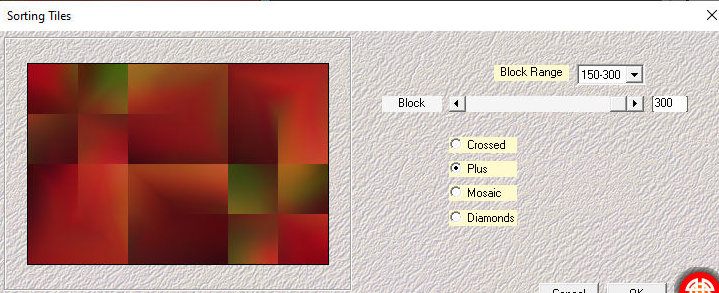
Effects / Plugins / Mehdi / Sorting Tiles
Layers/Duplicate
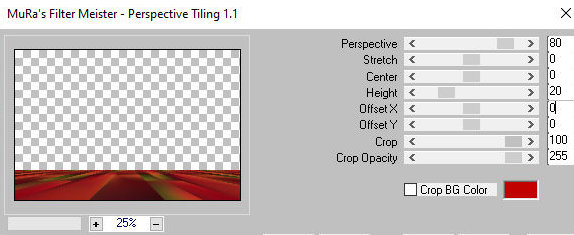
Effects / plugins / Mura's Meister / Perspective Tiling
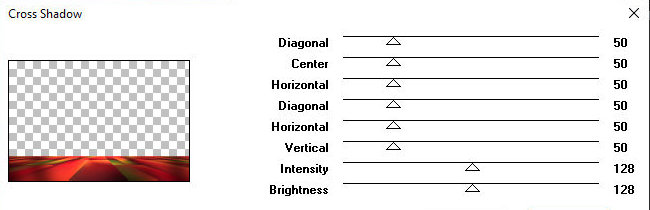
Effects / Plugins / Graphic Plus / Cross Shadow - default
Effects / Image Effects / Seamless Tiling - default
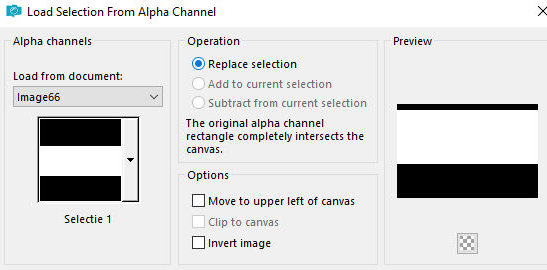
Selections / Load selection from alpha channel / Selection 1
Edit / Cut (the cut image will remain in memory)
Select none
Paste as new layer (the cropped image above)
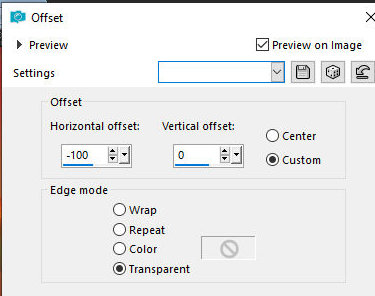
Effects / Image Effects / offset 0/-60
Layers / Properties / Blend Mode: Hard Light
Activate the Copy of Raster 2 layer
Effects / Image Effects / Offset -100/0
Activate the Raster 2 layer
Add new layer
paint with the foreground color
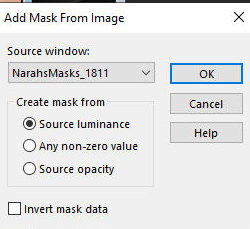
Layers / New Mask Layer / From image / Mask [NarahsMask_1811]
Merge Group
Adjust / Sharpness / Sharpen More
Activate the top layer.
Layers / Properties / Opacity: 36
Copy the tube [leny-vrouw1499a]
Paste as a new layer.
Position as shown in the model.
Drop Shadow: -10 -10 35 35 black
Copy the tube [Leny-granaatappel]
Paste as a new layer.
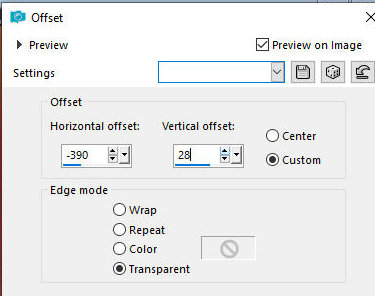
Effects / Image Effects / offset
-390/28
Layers / Properties / Blend Mode: Luminance
Copy the tube [birds]
Paste as a new layer.
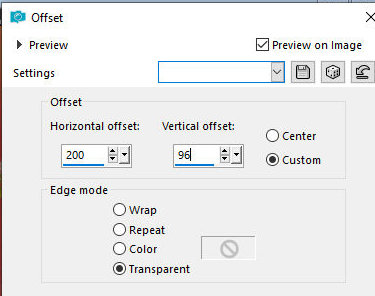
Effects / Image Effects / offset 200/96
Drop shadow - same as before
Copy the tube [leny-wordart 117a]
Paste as a new layer.
Position as shown in the model.
Copy the tube [leny-deco]
Paste as a new layer.
Position as shown in the model.
Drop shadow: -2 -2 45 15 Black
Copy the tube [leny-deco2]
Paste as a new layer
Position as per the model
Drop Shadow same as above
Merge all
Borders:
2px / foreground color
5px / white
2px / foreground color
Selections / Select all
Border: 20px / white
Drop shadow: 0 0 60 20 black
Select none
Border: 2px / foreground color
Selections / Select all
Border: 45px / white
Drop shadow same as above
Border: 1px / foreground color
Select none
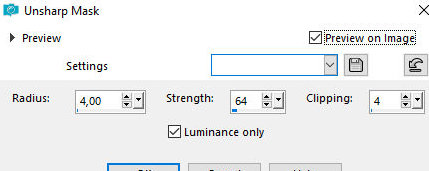
Adjust / Sharpness / unsharp Mask
Add the signatures
Merge all
Image / Resize: 900px
Save as jpeg

|