|

This tutorial is from Tshaka who I thank for
letting me translate their tutorials.

Original here

Tubes

Material

My images: Here
Plugins
Flaming pear
You can find these plugins on the websites of:
Renée
Cloclo
You can also find this tutorial translated into these languages:
(Click on the flag)


|
Notes:
> Open the material / Duplicate (shift+d) / Close the originals
> Change the blend mode of the layers to match their colors.
> In older versions of PSP, Mirror Horizontal=Mirror / Mirror Vertical=Flip /
Pick tool=deformation
> Open the masks in psp and
minimize
>Adjust the size of the tubes according to your images
|
SCRIPT
Images:
1 female tube
*
Save the selections in the PSP
Selections folder
*
Original colors
==
1.
Open your material in PSP
Choose a light color for the foreground and a dark color for the
background
2.
Open a new transparent image with
900x55px
Paint with one of your colors
The author used the dark color
3.
Selections / Select all
Add a new layer
Copy your main tube and paste it into the selection
Select none
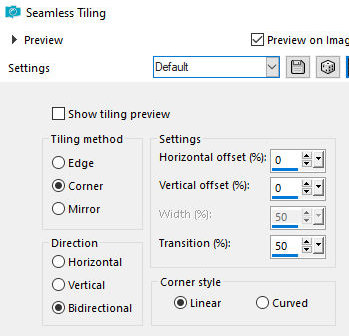
4.
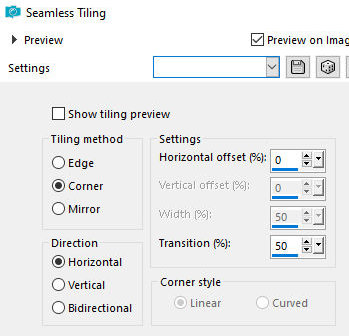
Effects / Image Effects / Seamless
Tiling - default
==default
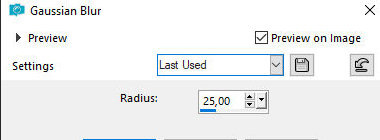
5.
Adjust / Blur / Gaussian Blur: 25
==25
Merge visible
6.
Add a new layer
Selections / Select all
Copy [Frosted-Glass] and paste it into the selection
Select none
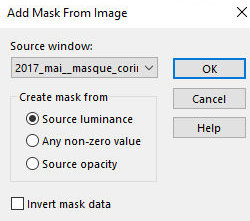
Layers / New Mask Layer / From Image / Mask [2017-may-masque-corinne...]
==mask
Merge group
8.
Effects / Image Effects / Seamless Tiling
==Direction=Horizontal
9.
Blend mode: Soft Light
Adjust / Sharpness / Sharpen more
10.
Drop Shadow: 0 0 80 15 black
11.
Add new layer
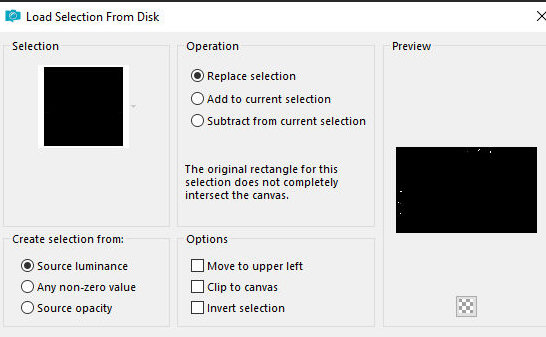
Selections / Load selection from Disk / Selection [Verity1_tsha]
==verity1
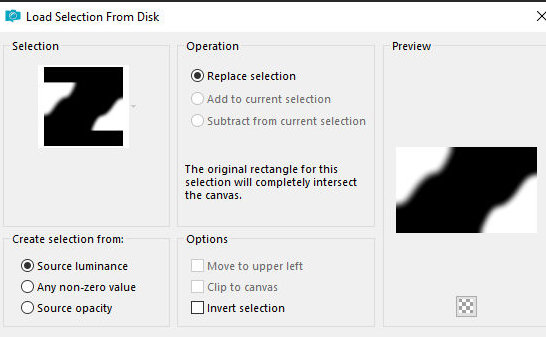
Color the selection with white color
Select none
12.
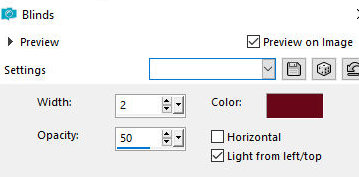
Effects / Texture Effects / Blinds - background color
==2 50 back des x
13.
Blend Mode: Soft Light
14.
Activate the background layer - merged
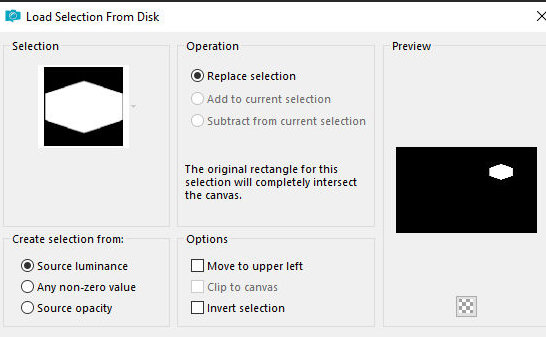
Add new layer
Selections / Load selection from disk / Selections [Verity2-tsha]
==verity2
15.
Color the selection with the color of the foreground
Select none
Drop shadow as before
16.
Copy your main tube
Paste as a new layer
Adjust the size
Layers / Arrange / Bring to top
Position as desired
17.
Edit / Copy Special / Copy Merged
Press Delete
The tube image will be deleted
Remain on layer Raster 3
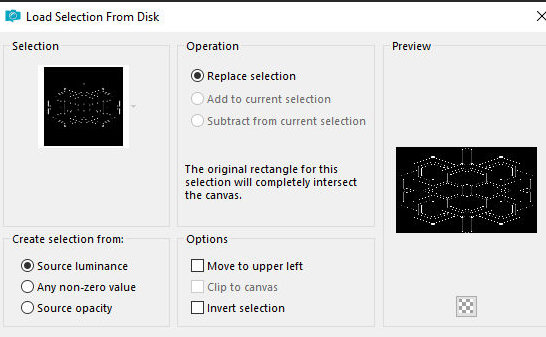
18.
Selections / Load selection from
disk / Selection [verity3-tsha]
==verity3
19.
Paste the image from memory into
the selection
Adjust / Sharpness / Sharpen
20.
Selections / Modify / Select
selection borders
==inside 2x
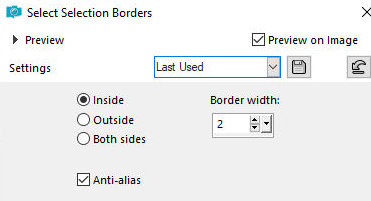
Paint the selection with the foreground color
Select none
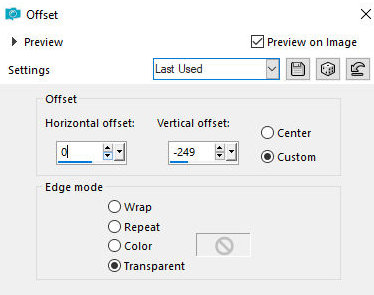
21.
Layers / Duplicate
Effects / Image Effects / Offset 0/-249
==0/-249
Merge down
22.
Layers / Duplicate
Image / Mirror / Mirror Horizontal
Merge down
Drop Shadow as before
Layers / Arrange / Move down
23.
Activate the bottom layer - Merged
Copy
Paste as a new image
Minimize this copy
24.
Return to your main image
Activate the bottom layer - Merged
Layers / Duplicate
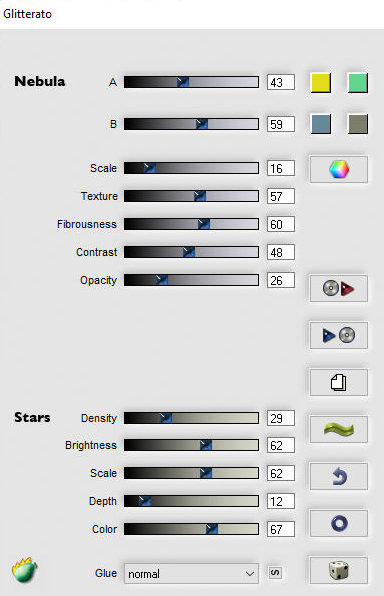
Effects / Plugins / Flaming Pear / Glitterato - default
==default
25.
Blend mode: soft light
26.
Border:
2px / background color
20px / white
27.
Copy your main tube
Paste as a new layer
Layers / Duplicate
28.
Adjust / Blur / Gaussian Blur: 25
==25
Blend mode: multiply
Layers / Arrange / Move down
29.
Borders:
2px / background color
2px / white
1px / background color
2px / white
2px / color of background
30.
Selections / Select all
Border: 45px / white
Selections / Promote selection to layer
31.
Select none
Drop Shadow: 0 0 80 15,00 black
32.
Activate the bottom layer - background
Selections / Select all
Maximize the previously reserved image
Copy and paste into the selection
Select none
33.
Effects / Texture Effects / Blinds - same as before but change the
opacity to 15
==blinds

34.
Layers / Duplicate
Effects / Plugins / Flaming Pear / Glitterato - default
==default
Blend mode: Soft light
35.
Add a new layer
Selections / Load selection from disk / Selection [Verity4-tsha]
==verity4
Paint the selection with the foreground color
Select none
36.
Border: 2px / color of background
37.
Add signatures
Merge all
Save as jpeg

|