|
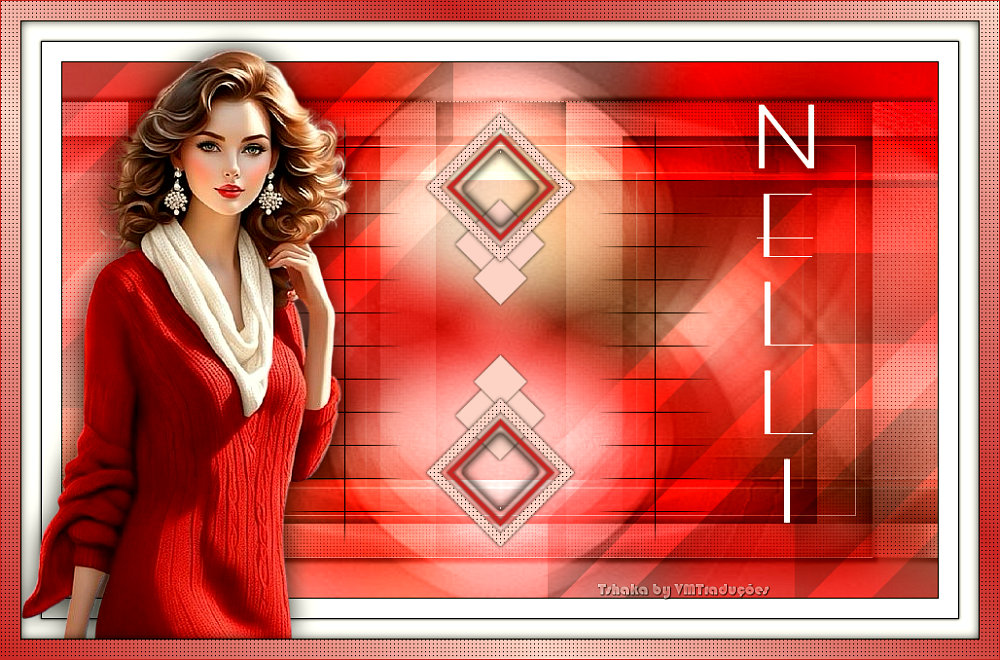
This tutorial is by Tshaka, who I thank for letting me translate his tutorials.
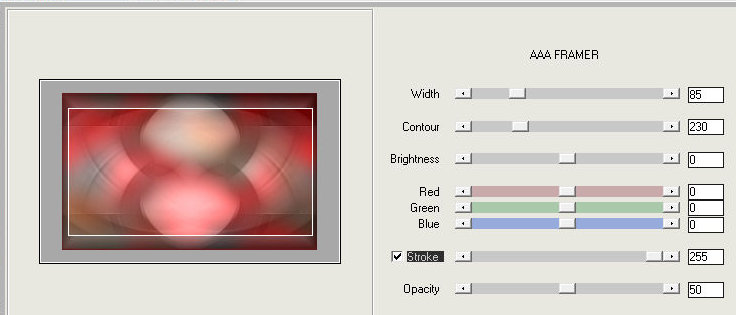
AAA Filters - AAA Framer
SCRIPT
1. Place the selections in the PSP Selections
folder
3. Open a new image with the color white, size 900x550px
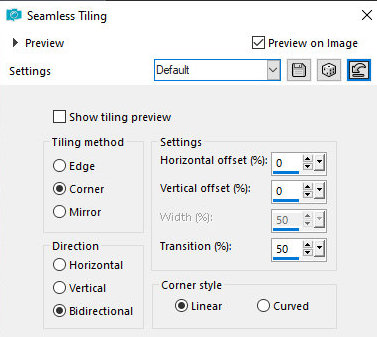
4.Selections / Select all 5. Copy the main tube and paste it into the selection 6. Select none 7. Effects / Image Effects / Seamless Tiling - Default
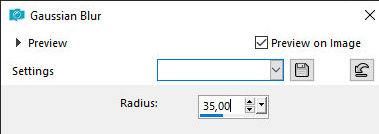
8. Adjust / Blur / Gaussian Blur = 35
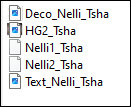
9. Add a new layer 10. Selections / Select all 11. Copy the image [HG-Tsha] and paste it into the selection 12. Select none 13. Layers / Properties / blend Mode: Luminance (L) 14. Merge visible 15. Adjust / Sharpness / Sharpen 16. Layers / Duplicate 17. Image / Resize: 85% - all layers unchecked 18. Effects / Plugins / AAA Filters / AAA Framer
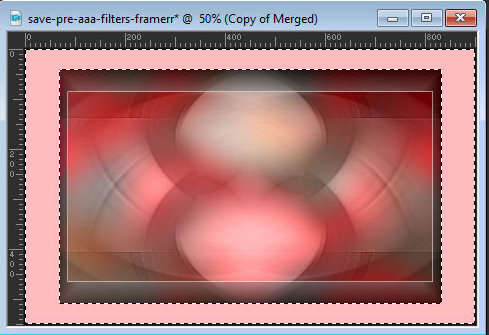
19. Select this border formed with the magic Wand (tolerance/feather=0)
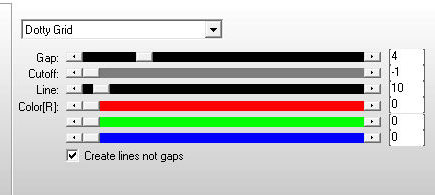
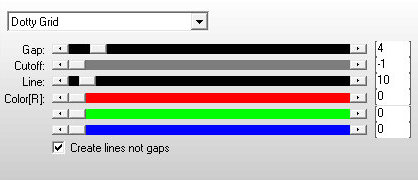
20. Selections / Promote selection to layer 21. Keep the selection 22. Close this layer (click on the eye) 24. Drop Shadow: 0 0 85 15 preto 25. Effects / Plugins / AP [Lines] / Lines-SilverLining
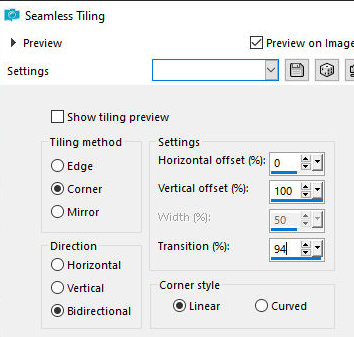
26. Select none 27. Layers / Properties / blend mode: Soft Light 28. Layers / Duplicate 29. Image / Resize: 85% - all layers unchecked 30. Effects / Image Effects / Seamless Tiling
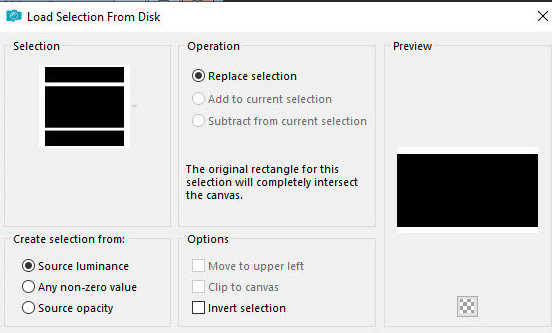
31. Drop Shadow: 5 5 85 5 preto 32. Repeat Drop shadow with negative V and H 33. Activate the second layer from the bottom - Copy of Merged 34. Selections / Load selection from disk / Selection [Nelli1-tsha]
35. Adjust / Blur / Gaussian Blur=35
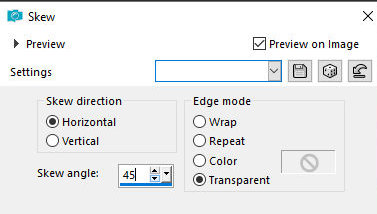
36. Select none 37. Activate and open the top layer (click on the eye) 38. Effects / Geometric Effects / Skew
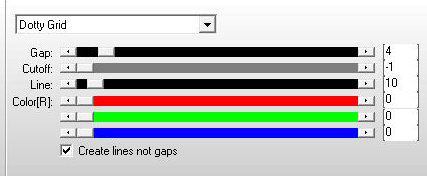
39. Effects / Plugins / Toadies / What are you?
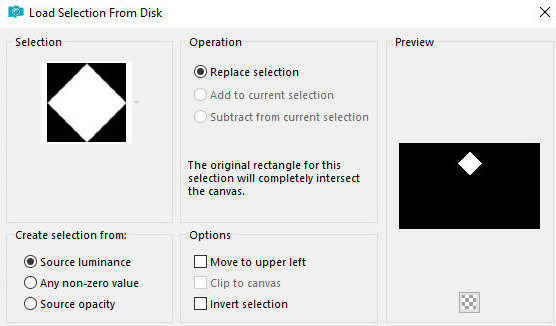
40. Layers / Properties / Blend Mode: Dodge 41. Copy the tube [Deco-nelli-tsha] and paste it as a new layer 42. Layers / Properties / blend Mode: Multiply 43. Add a new layer 44. Selections / Load selection from disk / Selection [Nelli2-tsha]
45. Color the selection with the foreground color 46. Layers / Duplicate 47. Effects / Plugins / AP[Lines] / Lines-SilverLining - same as before
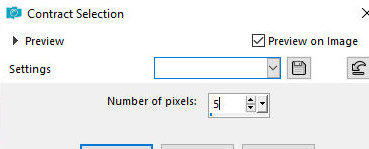
48. Selections / modify / Contract=10
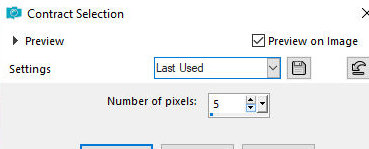
49. Press Delete on the keyboard 50. Selections / Modify / Contract=5
51. Color the selection with the background color 52. Selections / Modify / Contract=5
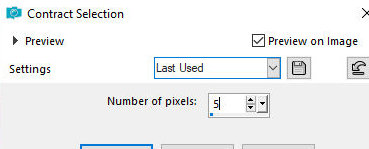
53. Press Delete on the keyboard 54. Selections / Modify / Contract=5
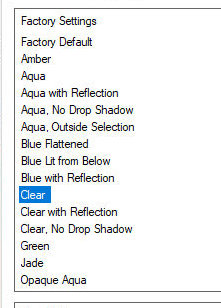
55. Effects / Plugins / Eye Candy 5: Impact / Glass - Preset: Clear - default
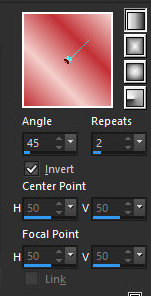
55b. Select none 56. Layers / Duplicate 57. Image / Mirror / Mirror Vertical 58. Merge down 59. Drop shadow: 0 0 85 5 preto 60. Activate the second layer from the top layer - Raster 2 61. Image / Resize: 60% - all layers unchecked 62. Drop shadow same as before 63. Layers / Duplicate 64. Image / Resize: 60% - all layers unchecked 65. Merge down 66. Layers / Duplicate 67. Image / Mirror / Mirror Vertical 68. Image / Add borders / Symmetric checked: 1px / black 20px/ white 1px / black 69. Selections / Select all 70. Image / Add borders / 20px / white 71. Drop shadow same as before 72. Select none 73. Copy the main tube and paste as a new layer 78. Image / Add borders / 1px / black 79. Selections / Select all 80. Image / Add borders / 20px / white 81. Selections / Invert 82. Prepare a Linear gradient
83. Color the selection with this gradient 84. Effects / Plugins / AP[Lines]/ Lines-SilverLining - same as before
85. Drop Shadow 0 0 85 15 black 86. Select none 87. Image / Add borders / 1px / black 88. Place the signatures * Thank you Irene for testing my translations
|
