|
Place the selection in the PSP
Selections folder.
Place the gradient in the PSP Gradients folder.
Original colors:
Place a light color in the foreground
and a not-too-dark color in the background.
Open a new transparent image measuring 900x550px.
In the color palette, click on the foreground and locate
the gradient [Lucilla_Gradient] and set it as shown in
the screenshot.
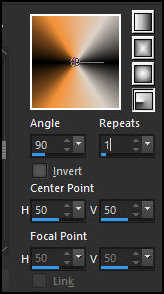
Color the image with this gradient.
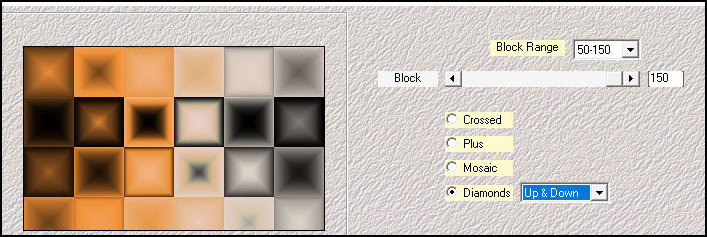
Effects / Plugins / Mehdi / Sorting Tiles
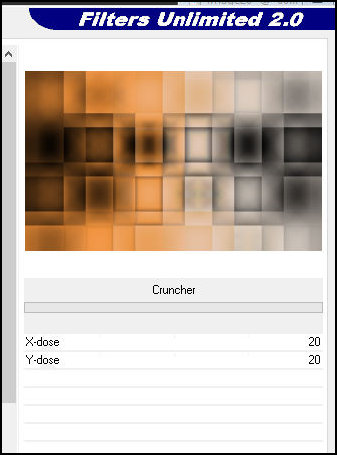
Effects / Plugins / Unlimited 2 / BKG Designer sf10 I -
Cruncher
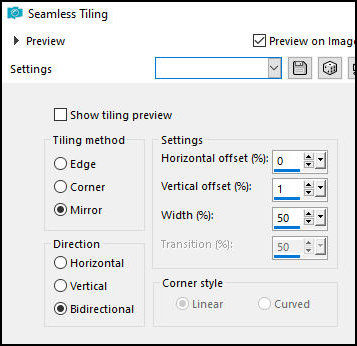
Effects / Image Effects / Seamless Tiling
Effects / Edge Effects / Enhance
Layers / Duplicate
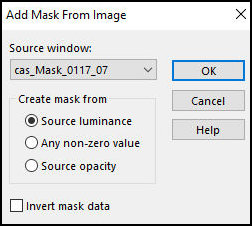
Layers / New Mask layer / From Image / Mask
[cas_Mask_0117_07]
Merge Group
Note: The mask will only be visible in the next steps.
Layers / Properties / Blend Mode: Multiply
Image / Mirror / Mirror Horizontal
Layers / Duplicate
Merge visible
Set the foreground to white.
Add a new layer.
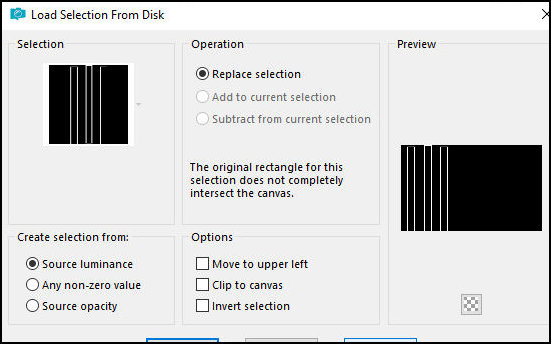
Selections / Load selection from disk / Selection
[lucilla1_Tsha]
Paint the selection white (zoom in).
Select none.
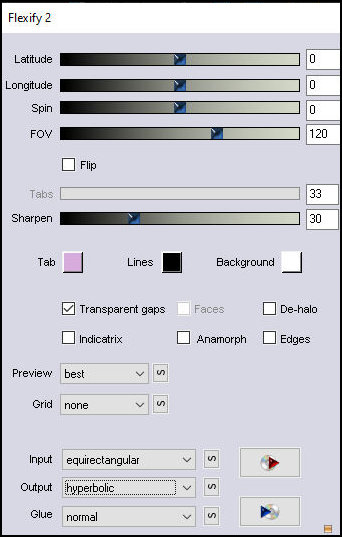
Effects / Plugins / Flaming Pear / Flexify 2
Layers / Properties / Blend Mode: Overlay
Layers / Duplicate
Image / Mirror / Mirror horizontal
Merge Down
Drop Shadow: 0 0 85 35 black.
Activate the background layer - Merged.
Edit / Copy Special / Copy Merged.
Paste as a new image
Minimize
Return to the other image
Activate the top layer
Image / Resize: 200px x 200px - aspect ratio unchecked -
all layers checked
Adjust / Sharpness / Sharpen
Add a new layer
Paint with white
Selections / Select all
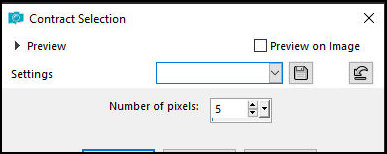
Selections / Modify / Contract: 5
Press Delete
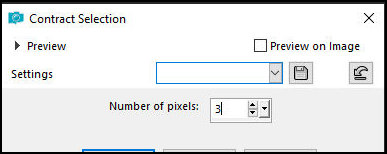
Selections / Modify / Contract: 3
Paint the selection with white
Selections / Modify / Contract: 1

Press Delete
Copy your main tube
Paste as a new layer
Resize the tube as needed
Position the tube in the selection as you see fit
Selections / Invert
Press Delete
Layers / Arrange / Move Down
Activate the top layer
Selections / Invert
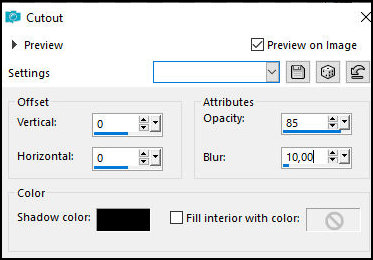
Effects / 3D Effects / Cutout
Select none
Activate the middle layer - Raster 3
Layers / Properties / Blend Mode: Soft Light
Layers / Duplicate
Edit / Copy Special / Copy Merged
Maximize the previously reserved image
The background layer is activated
Paste as a new layer
Effects / Image Effects / Offset [-300/140]

Drop shadow: 10 10 100 35 black
Activate the top layer
Copy [Deko-lines-tsha]
Paste as a new layer
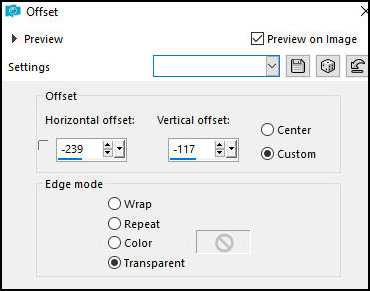
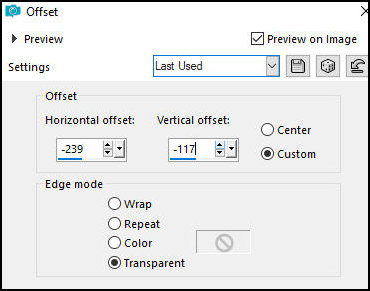
Effects / Image Effects / Offset [-239/-117]
Activate the other image
Go back two steps by clicking UNDO (until only one tube
layer remains unmerged)
Merge all
Copy
Return to your working image and paste as a new layer
Image / Resize: 55% - all layers unchecked
Adjust / Sharpness / Sharpen
Effects / Image Effects / Offset [-239/-117]
Repeat Drop shadow
Copy your main tube
Paste as a new layer
Position according to the template
Layers / Duplicate
Effects / Distortion Effects / Wind
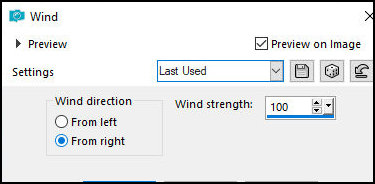
Repeat Wind
Layers / Arrange / Move Down
Layers / Properties / Blend Mode: Overlay
Activate the top layer
Drop shadow: 0 0 85 35 black
Activate the background layer - Merged
Copy (it will stay in memory)
Choose a dark color from your image and place it in the
background
Borders:
1px / background color
10px / white
2px / background color
10px / white
Selections / Select all
Border: 40px / white
Selections / invert
Paste the image that is in memory into the selection
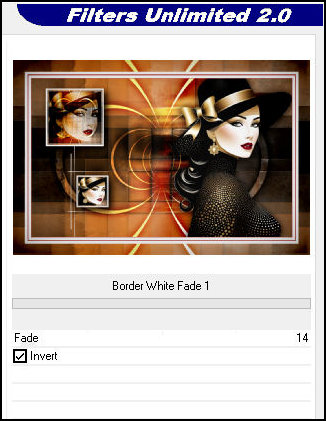
Effects / Plugins / Unlimited 2 / Special Effects 2 /
Border White Fade 1 - invert checked
Selections / Invert
Drop Shadow: 0 0 85 35 black
Repeat Drop Shadow
Select none
Border: 1px / background color
Place signatures
Merge all
Save as jpeg
|