|
This tutorial is by Tshaka who I thank for letting me translate his tutorials.
Many thanks to the creators of these materials
Mehdi - Wavy Lab 1.1/ Sorting Tiles
ROAD MAP
0. You will need two tubes: one male and one
female or whatever you prefer.
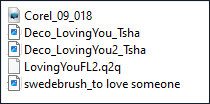
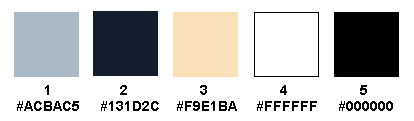
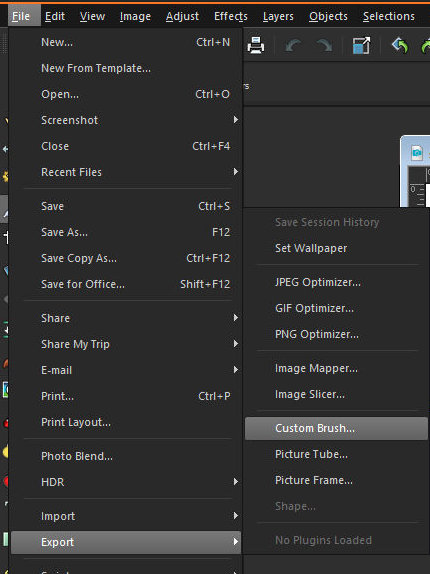
Foreground: cor 1 / Background: cor 2 4. Open the brush [swedebrush_to love someone] on the psp and Export: File/Export/Custom Brush / Name it / ok
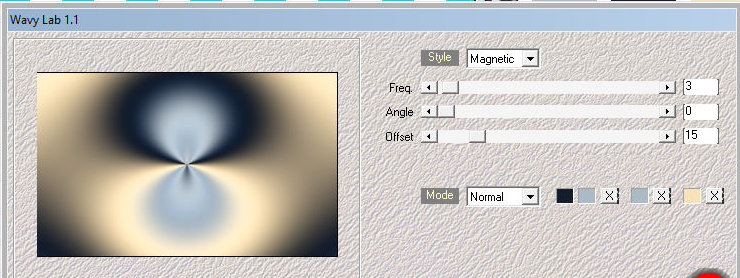
5. Open a new transparent image measuring 900x550px 6. Effects / Plugins / Mehdi / Wavy Lab 1.1 * cores: 2-1-1-3
7. Effects / Plugins / Mehdi / sorting tiles
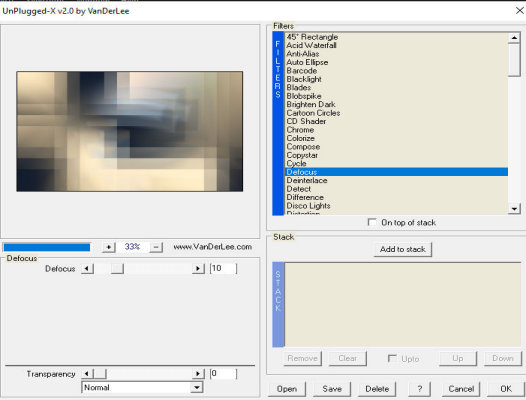
8. Effects / Plugins / VanDerLee / Unplugged-X / Defocus
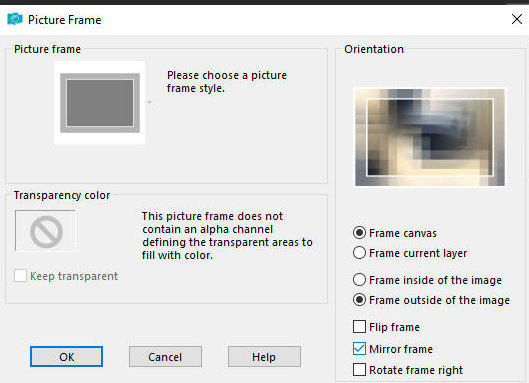
9. Effects / Edge Effects / Enhance 10. Duplicate the working image: Shift+d 11. Reserve the working image for later use / Activate the copy now 12. Image / Picture Frame (Transparent=corel_09-018)
13. Image / Rotate Right 14. Activate the top layer (from the picture
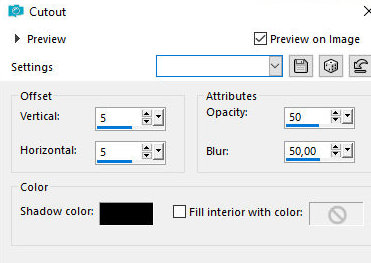
frame) 16. Effects / 3D Effects / Cutout
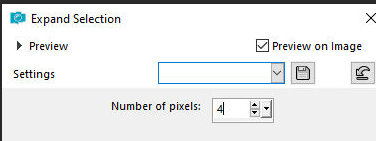
17. Selections / Modify / Expand=4
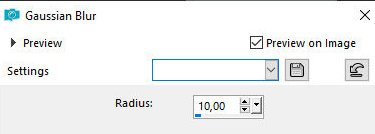
18. Activate the background layer - Raster 1 19. Adjust / Blur / Gaussian Blur=10
20. Select none 21. Copy one of the tubes (the male tube was used
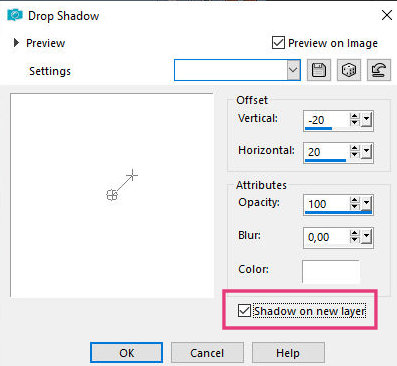
in the tutorial) and paste it as a new layer 23. Merge All 24. Image / Resize: 30% - all layers checked 25. Adjust / sharpness / Sharpen 26. Image / Add borders / 1px / preto 27. Copy (it will stay in memory) 30. Click anywhere on the larger image to select the interior with the Magic Wand 31. Selections / Invert 32. Drop shadow: -20 20 100 0 white - SHADOWN ON NEW LAYER MARKED
33. Activate the top layer
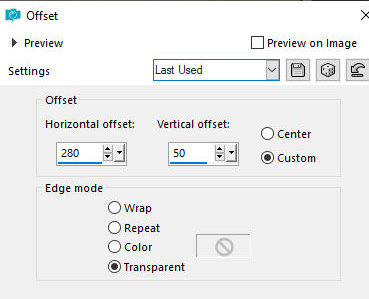
35. Layers / Properties / Opacity=75% 36. Select none 37. Activate the Raster 2 Shadow 2 layer 38. Merge down 39. Layers / Duplicate 40. Image / Mirror / Mirror Horizontal 41. Image / Mirror / Mirror Vertical 42. Activate the top layer - Raster 2 44. Merge down 45. Merge down again 46. Effects / Image Effects / offset [280/50]
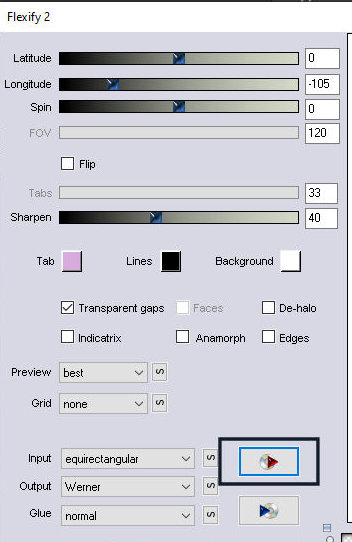
47. Activate the background layer - Raster 1 48. Layers / Duplicate 49. Effects / Plugins / Flexify 2 / Preset - Preset [Loving you] - Click on the red arrow marked in the print / Locate the material folder for this tutorial and select the preset
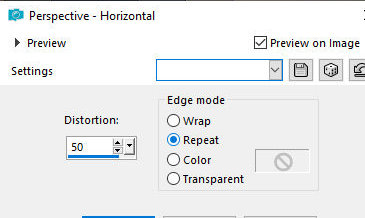
50. Image / Resize: 35% - all layers unchecked 51. Effects / Geometric Effect / Perspective Horizontal
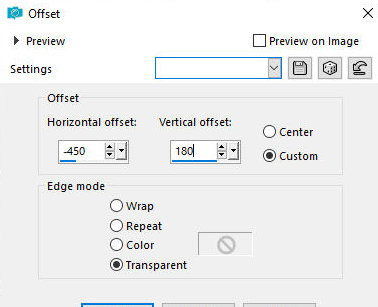
52. Effects / Image Effects / offset [-450/180]
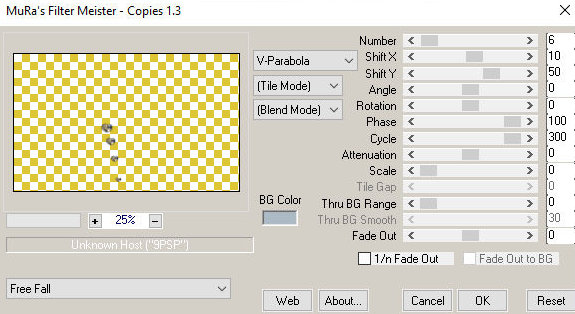
53. Drop shadow: 0 0 85 35 black 54. Layers / Duplicate 55. Image / Resize: 25% - all layers unchecked 56. Effects / Plugin / Mura's meister / Copies
57. Layers / Arrange / Bring to top 58. Move the "heart" image to the top left as per
the template
62. Left-click 2 to 3 times on the location shown in the print
63. Activate the background layer - Raster 1
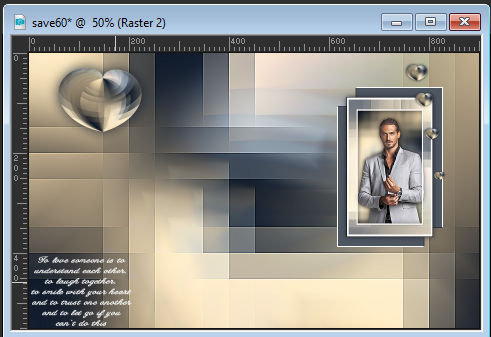
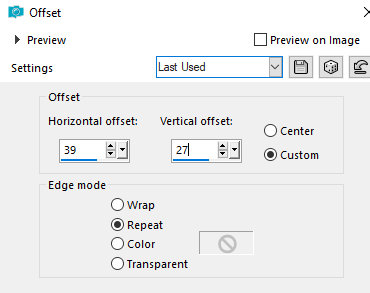
65. Effects / Image Effects / Offset [39/27] 66. Drop Shadow: 0 0 85 15 black 67. Image / Add borders / symmetric marked: 1px / black 2px / white 1px / black 50px / white 68. Copy the second tube (female) and paste it as
a new layer 73. Image / Add borders / 2px / black 74. Place the signatures 75. Merge all 76. Save as jpeg * Thank you Irene for testing my translations
|