|

This tutorial is from Tshaka who I thank for
letting me translate their tutorials.

Original here

Tubes

Material

My images: Here
Plugins
Mehdi - AFS Import - Simple - AP [Lines]
- Toadies - Eye Candy 5: Impact
You can find these plugins on the websites of:
Renée
Cloclo
You can also find this tutorial translated into these languages:
(Click on the flag)


|
Notes:
> Open the material / Duplicate (shift+d) / Close the originals
> Change the blend mode of the layers to match their colors.
> In older versions of PSP, Mirror Horizontal=Mirror / Mirror Vertical=Flip /
Pick tool=deformation
> Open the masks in psp and
minimize
>Adjust the size of the tubes according to your images
|
SCRIPT
Original colors
Open your material on PSP
Choose a color for the foreground that is not too dark and put white
in the background
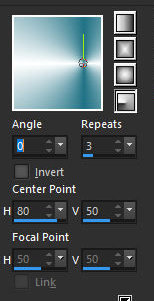
Prepare a Radial gradient
Open a new transparent image measuring 900x550px
Paint with the gradient
Effects / Reflection Effects / Rotating Mirror

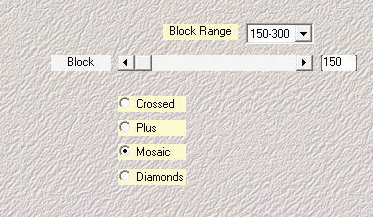
Effects / Plugins / Mehdi / Sorting Tiles
Effects / Edge Effects / Enhance
Layers/Duplicate
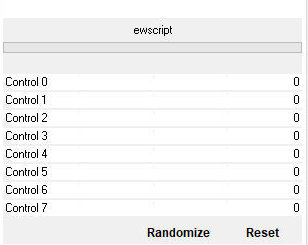
Effects / Plugins / Unlimited 2 / AFS Import / eScript - default
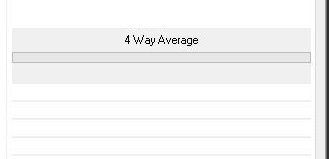
Effects / Plugins / Simple / 4 way average
Blend Mode: multiply
Layers/Duplicate
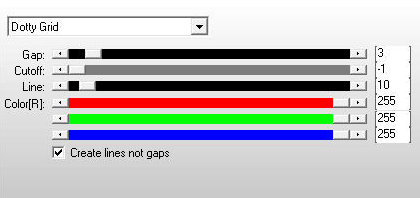
Effects / Plugins / AP [Lines] / Lines-SilverLining
Effects / Plugins / Toadies / What are you - default
Adjust/Sharpness/sharpen
Add new layer
Paint with white color
Layers / New Mask Layer / From Image / Mask [NarahsMasks_1622]

Merge group
Layers / Arrange / Move down
Blend Mode: Soft Light
Edit / Copy Special / Copy Merged (will remain in memory)
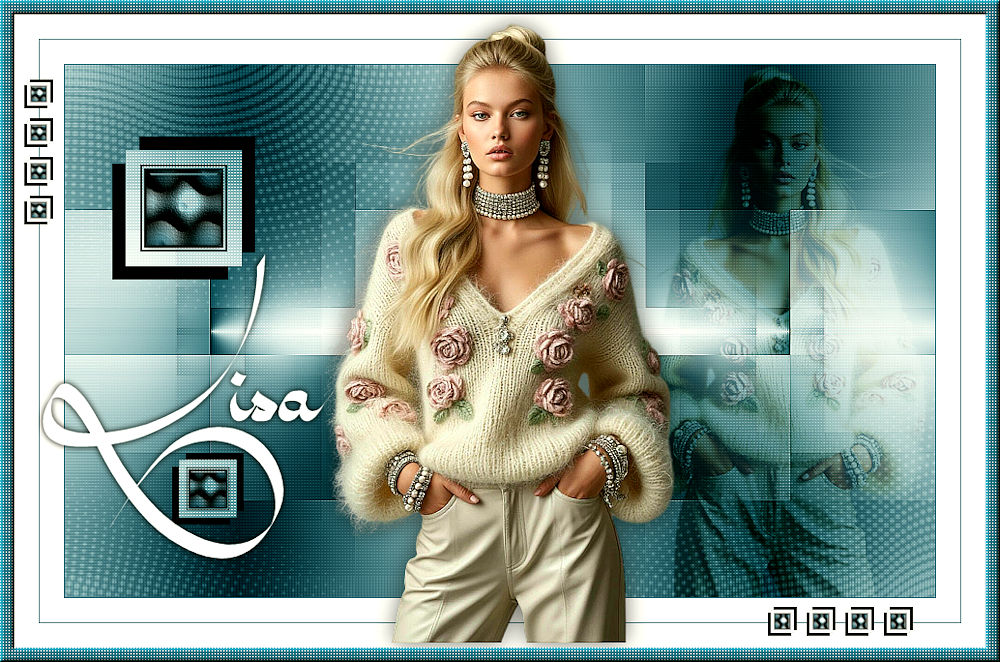
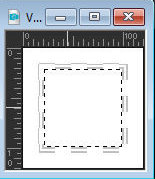
Open the image [Vorlage_Lisa_Tsha]
Click on the center square with the Magic Wand to select
Paste the image in memory into the selection
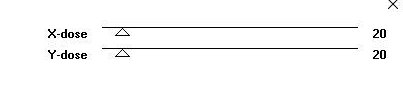
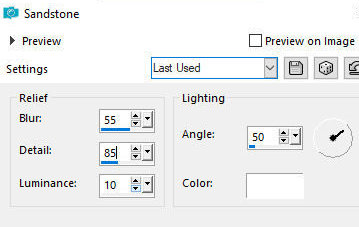
Effects / Texture Effects / Sandstone
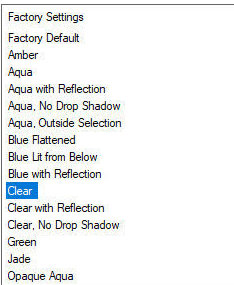
Effects / Plugins / Eye Candy 5: impact / Glass - preset [Clear]
Select none
Copy (it will remain in memory)
Return to your main job
Activate the Group Raster 2 layer
Paste the memory image as a new layer
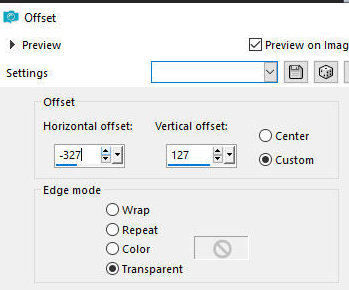
Effects / Image Effects / Offset -327/127
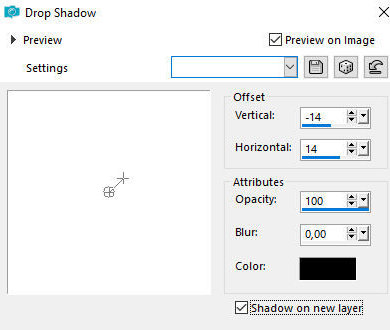
Drop shadow: -14 14 100 0 black - SHADOW ON NEW LAYER MARKED
Activate the Raster 2 layer (second layer from the top)
Drop shadow: 14 -14 100 0 - black - SHADOW ON NEW LAYER UNCHECKED
Merge Down
Copy (edit/copy)
Paste as new image
Minimize. we will use later
Return to your main image
Layers/Duplicate
Image/Resize: 50% - all layer unchecked
Effects / Image Effects / Offset -139/-226

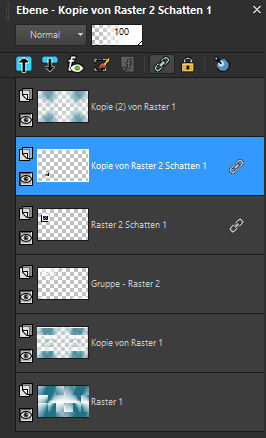
The layers will be like this:
Activate the Copy of Raster 1 layer (second from the bottom)
Copy your tube
Paste as new layer
Position according to model
Blend mode: soft light
Edge:
1px / foreground color
25px/white
1px / foreground color
25px / white
Activate the image that was previously minimized
Image / Resize: 20% - all layers checked
Copy
Return to your main image
Paste as new layer
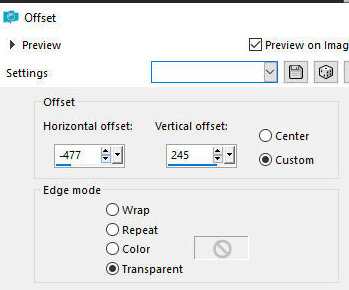
Effects / Image Effects / Offset -477/245
Layers/Duplicate
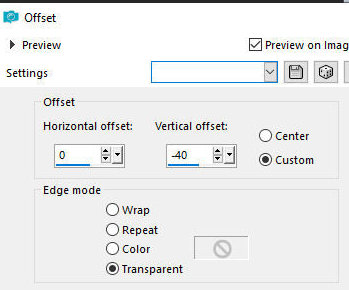
Effects / Image Effects / Offset 0/-40
Merge down
Layers/Duplicate
Effects / Image Effects / Offset 0/-80

Merge down
Layers/Duplicate
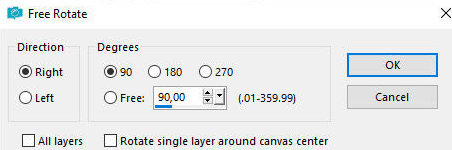
Image / Mirror / Mirror Horizontal
Image / Free rotate - right 90
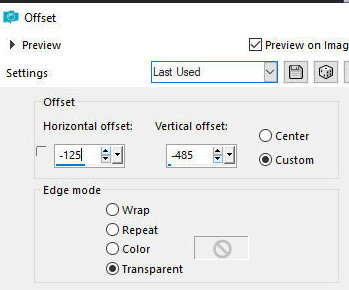
Effects / Image Effects / Offset -125/-485
Copy your main tube
Paste as new layer
Drop Shadow: 0 0 55 35 black
Merge all
Selection / Select all
Border: 15px/foreground color
Selections/Invert
Effects / Plugins / AP [Lines] / Lines-SilverLining
Effects / 3D Effects / inner Bevel

Select none
Copy the text [Text-Lisa_tsha]
Paste as new layer
Position as you prefer
Put signatures
Merge all
Save as jpeg

|