|
You will need:
1 female tube
1 face tube
*
Save the selection [Foxi1_Tsha] in the
PSP Selections folder
*
Original colors: Foreground: white -
Background: A striking color from your images
Open a new transparent image with 900x550px
Paint it with white
Add a new layer
Selections / Select all
Copy your face tube
Paste it into the selection
Select none
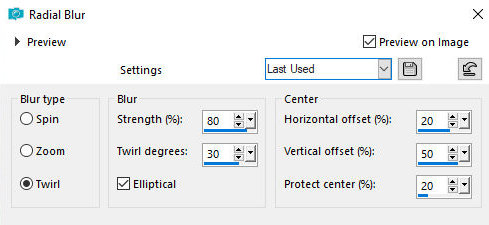
Adjust / blur / Radial Blur
Layers / duplicate
Effects / Edge Effects / Enhance
Effects / Plugins / Unlimited 2 / Unplugged Shapes /
Rotocupe - default
Effects / Edge Effects / Enhance More
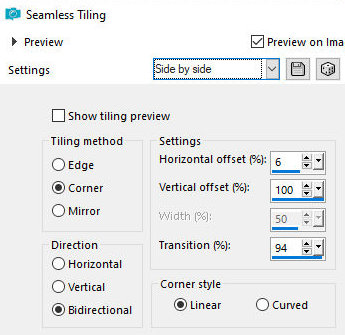
Effects / Image Effects / Seamless Tiling - Preset [side
by side]
Layers / Properties / blend Mode;
Multiply
Activate the middle layer - Raster 2
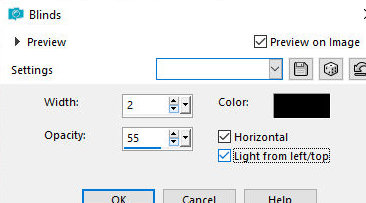
Effects / Texture Effects / Blinds - color: black
Activate the top layer - Copy of
Raster 2
Copy the tube [Tsha_Deko_Foxi1]
Paste as a new layer
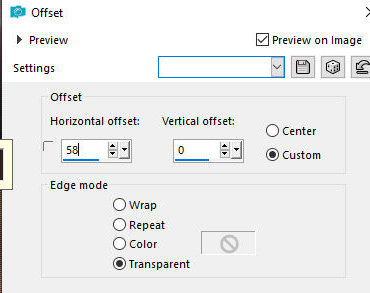
Objects / Align / Right
Effects / Image Effects / Offset [58/0]
Merge visible
Duplicate the image (shift+d)
Continue working on the copy
Image / Rotate Right
Image / Resize: 35% - all layers checked
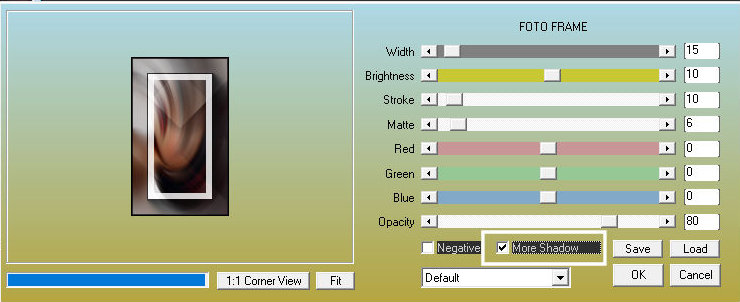
Effects / Plugins / AAA Frames / Photo Frames
Activate the Selection Tool (Selection
Type=rectangle) and select the frame from the inside as
shown in the screenshot
Copy the female face tube
Paste as a new layer
Move the tube to the selection
Adjust the size
Selections / Invert
Press Delete
Selections / Invert
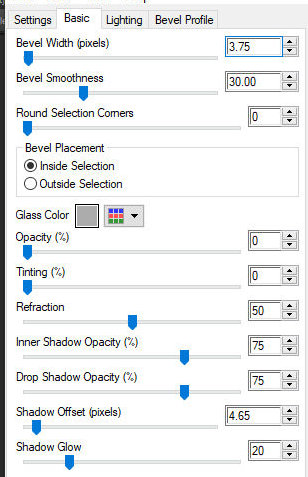
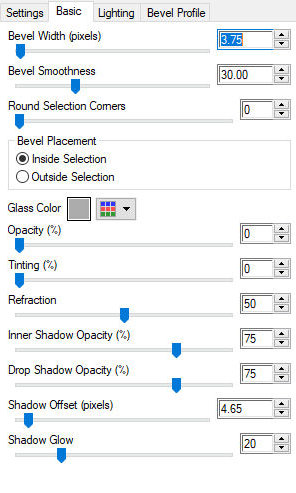
Effects / Plugins / Eye Candy 5: Impact / Glass - preset
[clear]
Select none
Borders:
10px / white
1px / black
Copy (will be stored in memory)
Return to your main image
Paste as a new layer
Image / Resize: 75% - all layers unchecked
Effects / Image Effects / Offset - [319/-106]
Layers / Duplicate
Image / Mirror / Mirror Horizontal
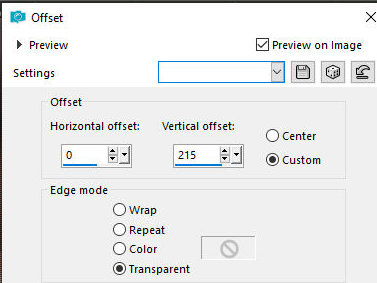
Effects / Image Effects / Offset [0/215]
Merge Down
Drop shadow: 6 4 50 15 black
Copy the tube [Tsha-Deko-Foxi2]
Paste as a new layer
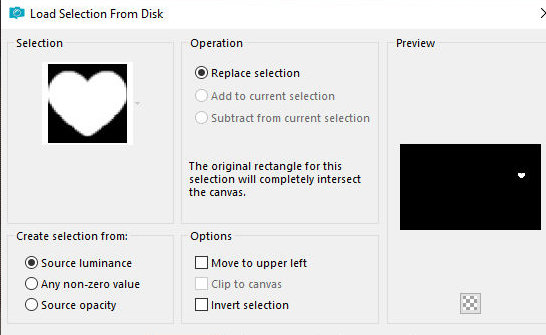
Selections / Load selection from disk / Selection
[Foxi1-Tsha]
Add new layer
Paint the selection with the background color
Effects / Plugins / Eye Candy 5: Impact / Glass - same
as before
Select none
Drop Shadow: 0 0 50 15 black
Layers / Duplicate
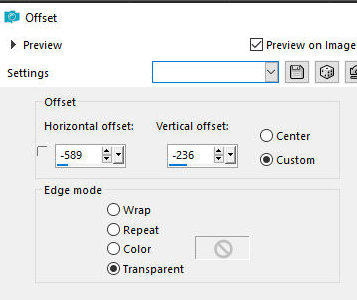
Image / Resize: 85% - all layers unchecked
Effects / Image Effects / Offset -589/-236
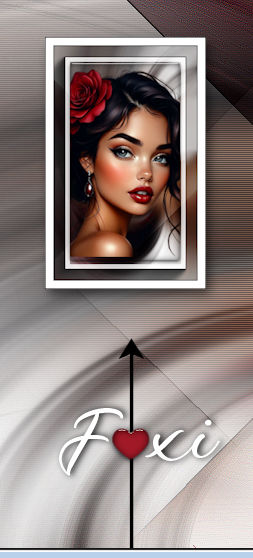
Copy the text [Tsha_Text_Foxi]
Paste as a new layer
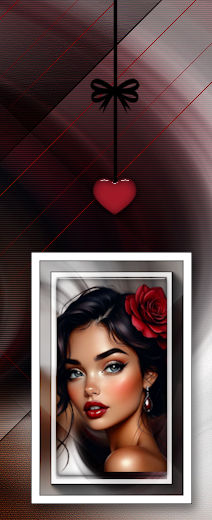
Move to the left towards the heart as per the model
Copy the tube [Tsha_Deko_Foxi3]
Paste as a new layer
Move to the right to the heart line as per the model
Activate the background layer - Merged
Add new layer
Paint the layer white
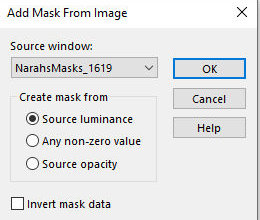
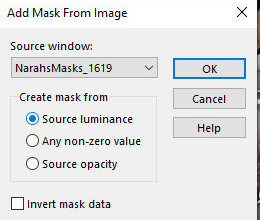
Layers / New mask layer / From Image / Mask [NarahsMasks-1619]
Layers / Duplicate
Merge Group
Move the image slightly to the left as shown in the
model
Add a new layer
Paint the layer with the background color
Layers / New mask Layer / From Image / Mask [NarahsMasks-1619]
Layers / Duplicate
Merge Group
Image Mirror / Mirror Horizontal
Image / Mirror / Mirror Vertical
Position to the right as shown in the model
Borders:
1px / black
1px / white
1px / background color
5px / white
1px / background color
10px / white
Selections / Select all
Border: 35px / white
Drop Shadow: 0 0 50 15 black
Select none
Copy your main tube
Paste as a new layer
Position as desired
Drop shadow as before
Borders:
1px / black
1px / white
1px / background color
Add the signatures
Merge all
Save as jpeg |