|
You will need:
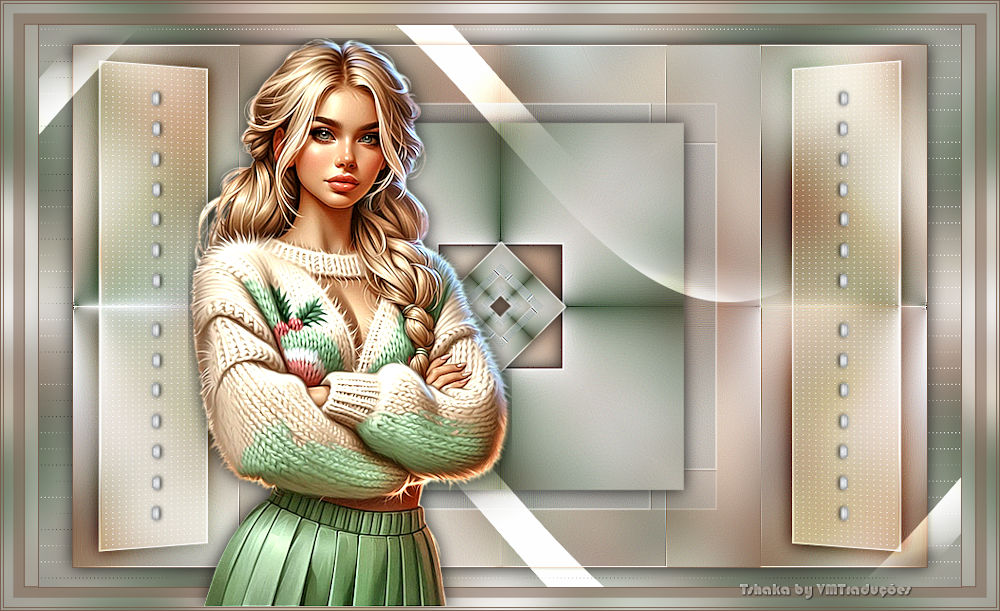
1 main tube
* Save the selections in the PSP
Selections folder
*
Set the foreground color to white
*
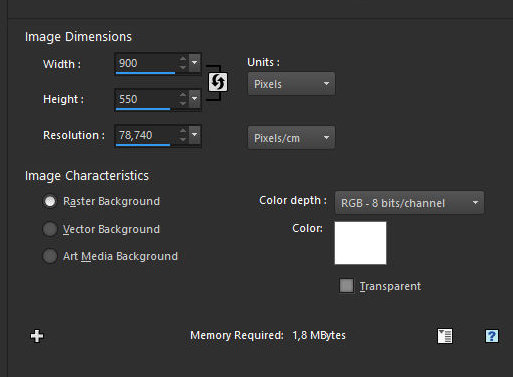
Open a new image with the color white
and dimensions 900x550px
Selections / Select all
Copy your tube
Paste it into the selection
Select none
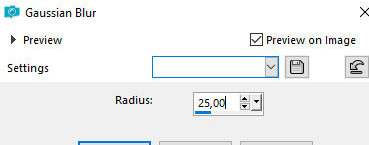
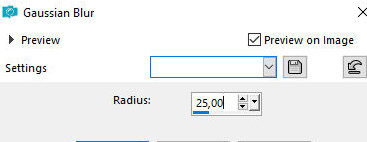
Adjust / Blur / Gaussian Blur: 25
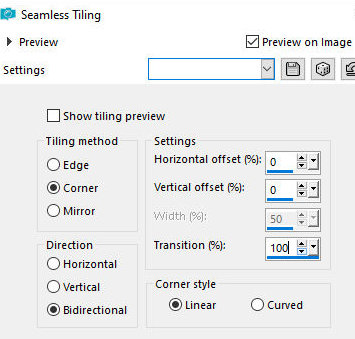
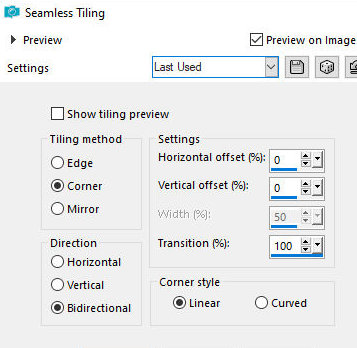
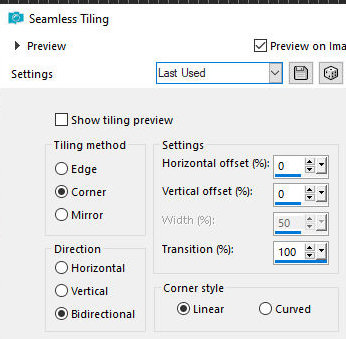
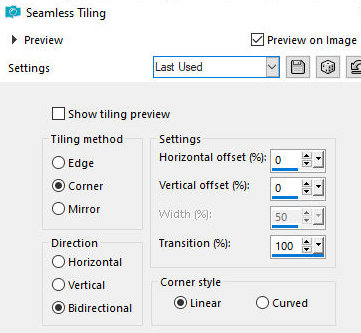
Effects / Image Effects / Seamless
Tiling
Layers / Duplicate
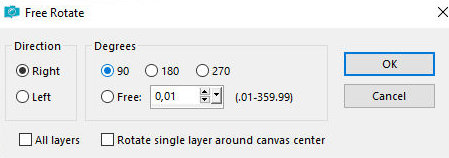
Image / Free Rotate right/90
Effects / Image Effects / Seamless
Tiling - same as before
Merge Down
Effects / Edge Effects / Enhance More
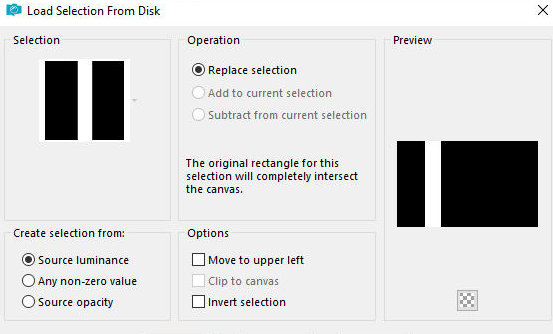
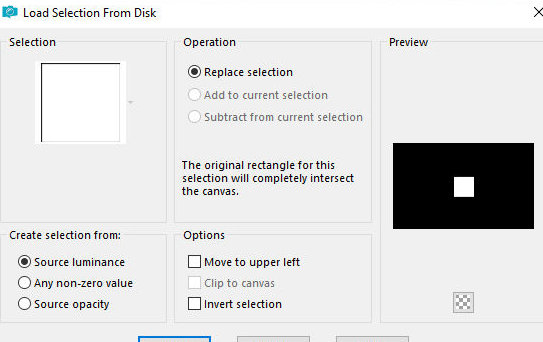
Selections / Load selection from disk / Selection [All-of-Me1-Tsha]
Selections / Promote selection to
layer
Layers / Duplicate
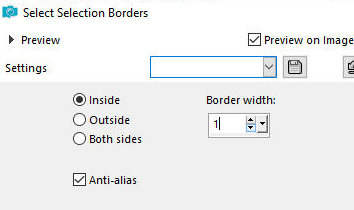
Selections Modify / Select selection borders
Color the selection with white color
Select none
Effects / Texture Effects / Weave
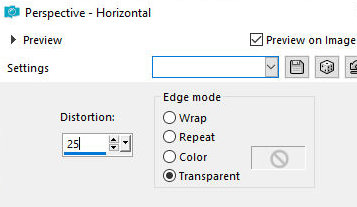
Effects / Geometric Effects / Horizontal Perspective
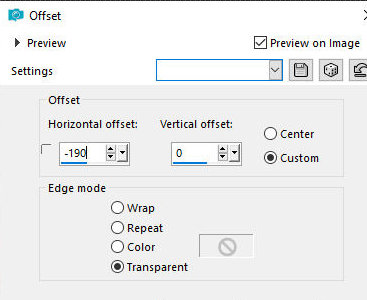
Effects / Image Effects / Offset
Drop shadow: 0 0 85 25 black
Layers/Duplicate
Image / MIrror / Mirror Horizontal
Merge Down
Layers / Properties / blend Mode: Overlay
Layers / Arrange / Move down
Merge down
Activate the top layer - Promoted Selection
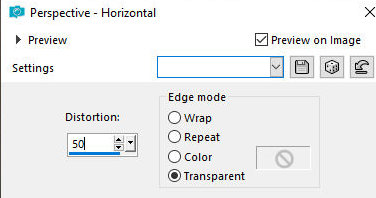
Effects / Geometric Effects / Horizontal Perspective
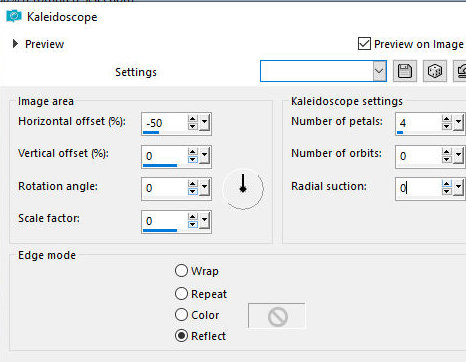
Effects / Reflection Effects / Kaleidoscope
Layers - Duplicate - 2 times
Activate the second layer from below - Promoted
Selection
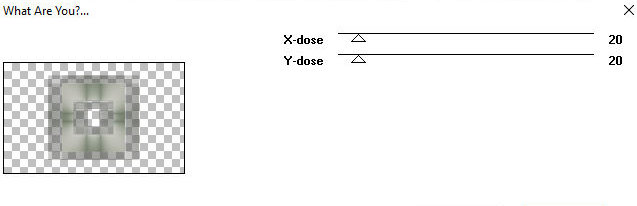
Effects / Plugins / Toadies / What are you - default
Effects / Edge Effects / Enhance More
Selections / Load selection from disk / Selection [All-of-Me2-Tsha]
Edit / Cut (the image will be in memory)
Select none
Activate the second layer from the top - Copy of
Promoted Selection
Drop shadow - same as before
Activate the top layer - Copy (2) of Promoted Selection
Image / Resize: 50% - all layers unchecked
Paste the image from memory as a new layer
Merge down
Image / Resize: 50% - all layers unchecked
Image / Free Rotate right/45
Effects / Edge Effects / Enhance
Layers / Duplicate
Image / Resize: 50% - all layers unchecked
Merge down
Drop Shadow - same as before
Choose a dark color from your image and place it in the
background
Border: 1px / background color
Selections / Select all
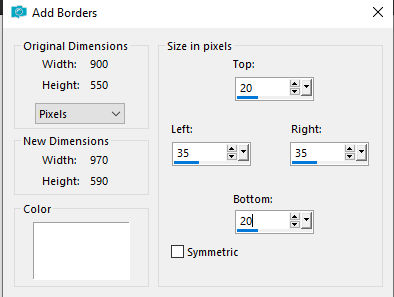
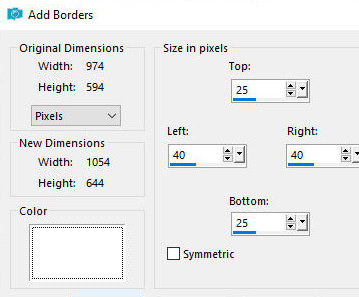
Border - unmarked symmetric - according to the print -
white color
Selections / Promote selection to layer
Select none
Drop Shadow - same as above
Activate the background layer - background
Effects / Image Effects / seamless Tiling
Adjust/blur/Gaussian Blur: 25
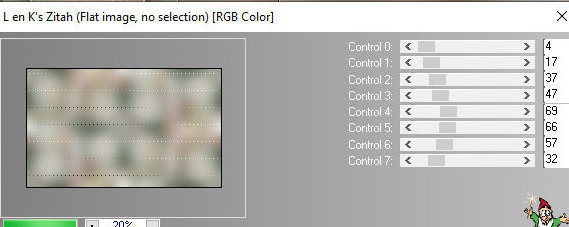
Effects / Plugins / L & K's / L & K's Zitah
Merge visible
Add new layer
Selections / Load selection from disk / Selection [All-of-Me3-Tsha]
Color the selection with white color
Select none
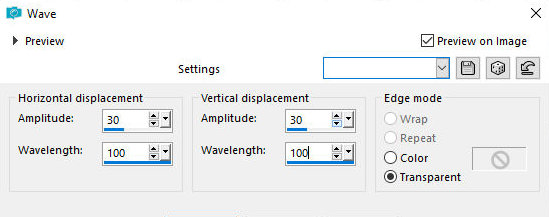
Effects / distortion Effects / wave
Layers/Duplicate
Image / Mirror / Mirror Horizontal
Image / Mirror / Mirror Vertical
Merge down
Layers / Properties / blend Mode: Overlay
Layers/Duplicate
Layers / Properties / blend Mode: Soft Light
Copy the tube [Deco_AoM_Tsha]
Paste as new layer
border: 1px / background color
Selections / Select all
Border: Symmetric unmarked - as per print - white color
Selection / Promote selection to layer
Select none
Activate the background layer - background
Effects / Image Effects / Seamless Tiling - same as
above
Adjust/Blur/Gaussian Blur: 25
Selections / Select all
Add new layer
Color the selection with the color of the background
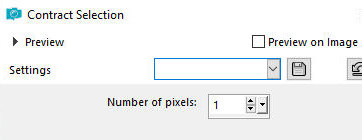
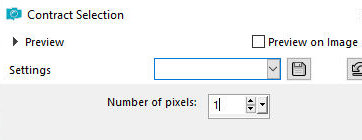
Selections / Modify / Contract: 1
Press Delete
Selections / Modify / Contract: 2
Paint the selection with the
background color
Selections / Modify / Contract: 1
Press Delete
Selections / Modify / Contract: 10px
Activate Flood Fill and reduce its
opacity to 50%
Paint the selection with the background color
Return the Flood Fill opacity to 100%
Selections / Modify / Contract: 11
Paint the selection with the
background color
Selections / Modify / Contract: 1
Press Delete
Select none
Activate the top layer
Copy your main tube
Paste as a new layer
Adjust the size
Apply a Drop Shadow of your choice
Position according to the model or as desired
Add the signatures
Merge all
Save as jpeg |