|

This tutorial is from Stardesingpsp who I thank for
letting me translate their tutorials.

Original here

Tubes

Material

Many thanks to the creators of
these materials
Plugins
Tramages - Flaming Pear
You can find these plugins on the websites of:
Renée
Cloclo
You can also find this tutorial translated into these languages:
(Click on the flag)


SCRIPT
Notes:
> Open the material / Duplicate (shift+d) / Close the originals
> Change the blend mode of the layers to match their colors.
> In older versions of PSP, Mirror Horizontal=Mirror / Mirror Vertical=Flip /
Pick tool=deformation
> Open the masks in psp and
minimize
>Adjust the size of the tubes according to your images
*
>>Save the selection in the PSP
Selections folder
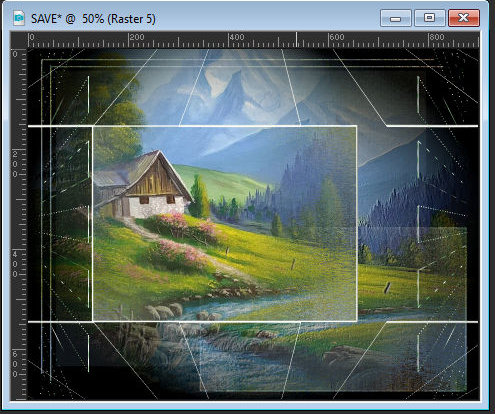
Open a new transparent image measuring 900x700px
Selections - Select all
Copy the misted landscape tube [vvs_paisagem0750] and paste it into
the selection
Select none
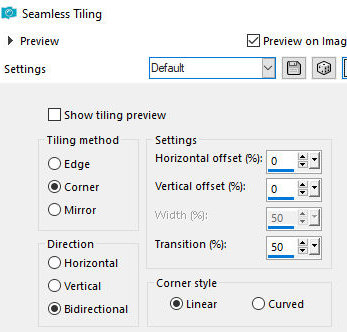
Effects - image Effects - Seamless Tiling - Default
Effects - Image Effects - Seamless
Tiing - direction=horizontal
Layers - Duplicate
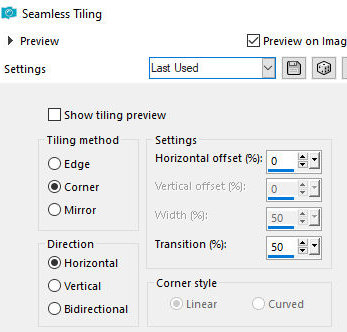
Effects - Image Effects - Seamless Tiling - Direction=vertical
Merge all
Effects - Plugins - Tramages - Wee Scratches
Add new layer
Paint with black
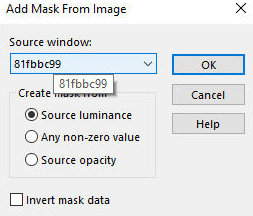
Layers - New mask Layer - From image - Mask [81fbbc99]
Merge Group
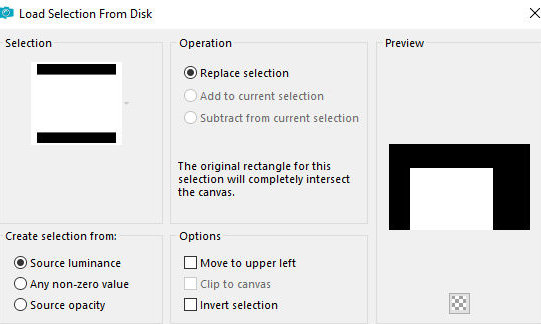
Selections - Load selection from disk - Selection [sel1_1.03_23_stella]
Selections - invert
Add new layer
Copy the misted landscape tube again and paste it into the selection
selection
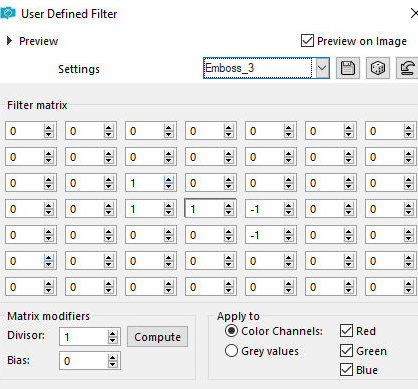
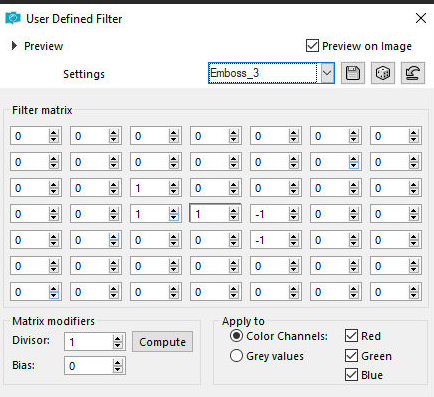
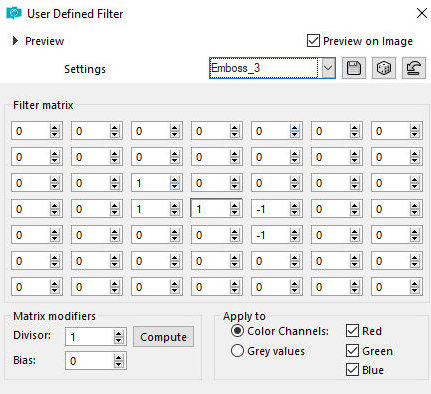
Effects - User Defined Filter - Emboss 3
Add a new layer
Selections - invert
Add a new layer
The misted landscape tube should still be in memory - paste as a new
layer
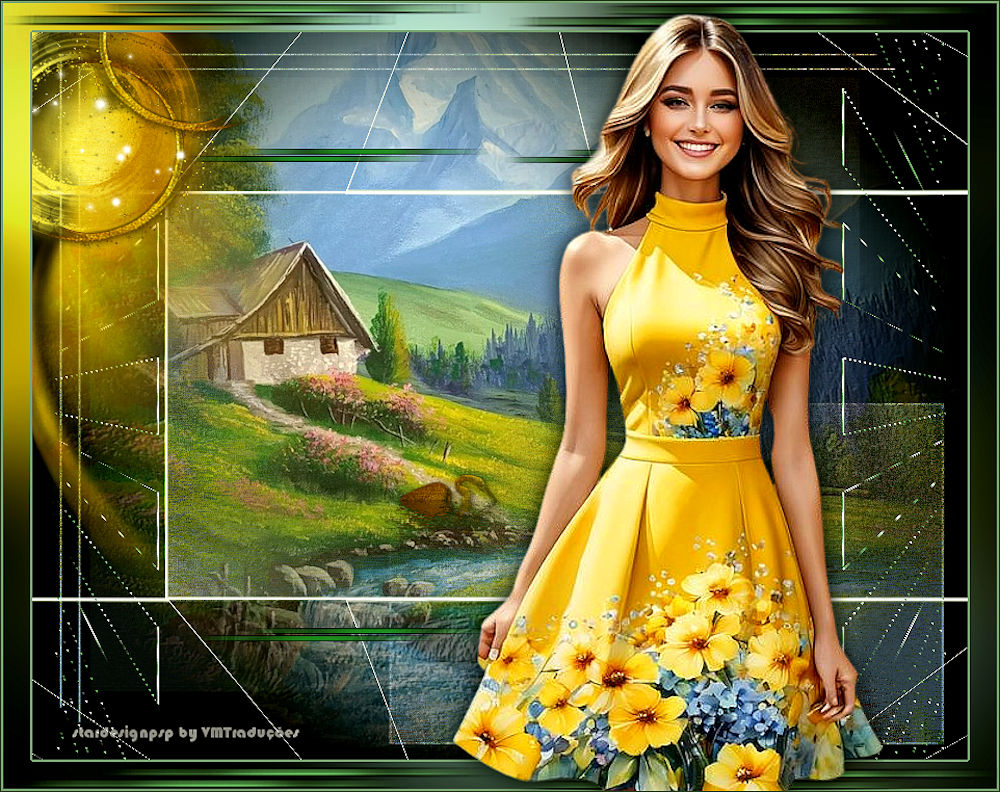
Adjust the size - View the model
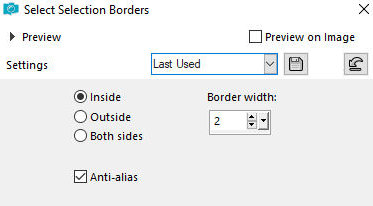
Selections - Modify - Select selection borders
Add a new layer
Set the color #fce941 to the foreground
Paint the selection with this color
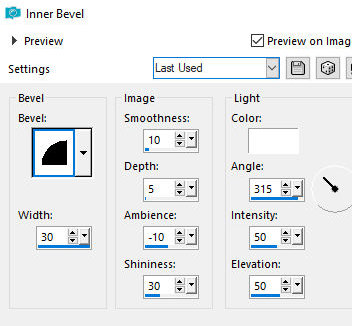
Effects - 3D Effects - Inner Bevel
Select none
Layers - Duplicate
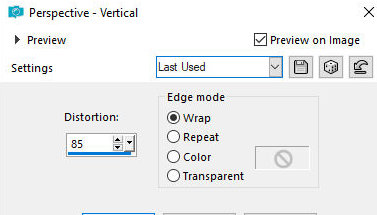
Effects - Geometric Effects - Perspective Vertical
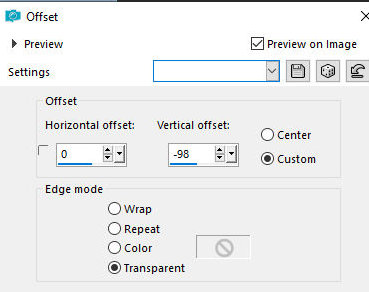
Effects - Image Effects - offset
[0/98]
Layers - Duplicate
Image - MIrror - Mirror Vertical
Layers - Duplicate
Copy the tube [adorno_marco] and paste as a new layer
You can colorize this deco
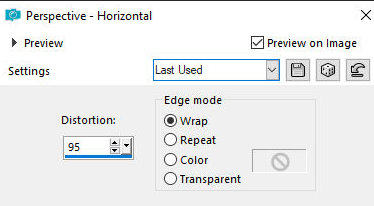
Effects - Gometric Effects - Perspective Horizontal
Layers - Duplicate
Image - Mirror - Mirror Horizontal
Merge Down
Effects - User Defined Filter - Emboss 3
The image will look like this:
Copy the tube [Adorno_LESM] and
paste it as a new layer
Objects - Align - Top
Objects - Align - Left (move a little more to the left. See model)
You can change the color of this deco using Change Color or the
Adjust - Variant Plugin
Merge visible
Copy the tube [pajaro_dorado] and paste it as a new layer
Image - Resize: 35% - all layers unchecked
Activate the Pick Tool and set: X=426 - Y=381 (or position according
to your image)
Effects - plugins - Flaming Pear -
Flood
Apply a Drop shadow of your choice
(optional)
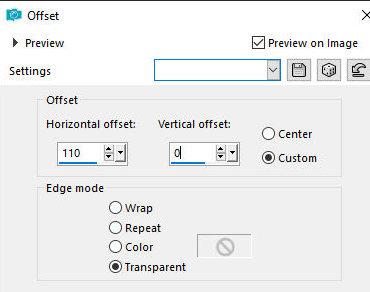
Copy the tube [rons_grunge edges_234] and paste it as a new layer
Effects - Image Effects - Offset [110/0]
Copy the image [259] and paste it
as a new layer
Image - Negative image
Position it on the upper left side according to the model
Copy the image [9875v14a] and paste it as a new layer
No need to move it
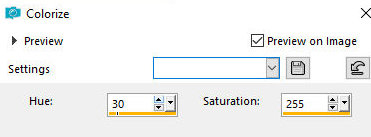
Adjust - Hue and Saturation - Colorize (settings should be according
to your colors)
Edit - Copy Special - Copy Merged (will
remain in memory)
Image - Add borders - 30px - a color from your work
Selections - Select all
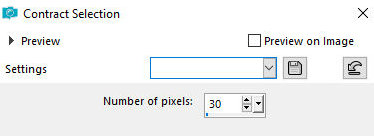
Selections - Modify - Contract=30
Selections - Invert
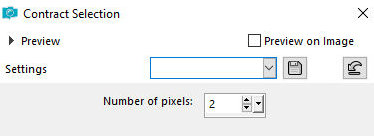
Selections - Modify - Contract=2
Paste the image in memory into the
selection
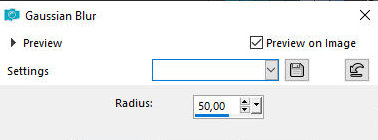
Adjust - Blur Gaussian blur=50
Add a new layer
Paint with the color #fce941
Layers - Properties - blend Mode: Overlay
Add a new layer
Copy the image [9875c14a] and paste it into the selection
Adjust - Hue and Saturation - Colorize - same as before
Select none
Effects - User Defined Filter - Emboss 3
Copy the tube
[tumblr_p9hcpaQLd31t0u1lyo1] and paste it as a new layer
Position as you prefer
Drop shadow: 0 0 90 30 black
Place the signatures
Merge all
Save as jpeg
*

|