|

This tutorial is from STARDESIGN who I thank for
letting me translate their tutorials.

Original here

Tubes

Material

My images:
Here
Plugins
Adjust - Graphic Plus - Cybia - AAA
Frames
You can find these plugins on the websites of:
Renée
Cloclo
You can also find this tutorial translated into these languages:
(Click on the flag)


|
Notes:
> Open the material / Duplicate (shift+d) / Close the originals
> Change the blend mode of the layers to match their colors.
> In older versions of PSP, Mirror Horizontal=Mirror / Mirror Vertical=Flip /
Pick tool=deformation
> Open the masks in psp and
minimize
>Adjust the size of the tubes according to your images
|
SCRIPT
Required Images:
1 female tube
1.
1. Open a new transparent image with 900x600px
2. Selections / Select all
3. Copy the image [golden heart]
4. Paste it into the selection
5. Adjust / Blur / Gaussian blur: 25
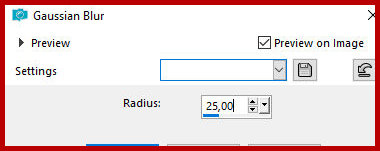
Select none
2.
6. Copy the image [golden heart] again
7. Paste it as a new layer
8. Image / Resize: 84% - all layers unchecked
9. Effects / Image Effects / Offset 0/-80
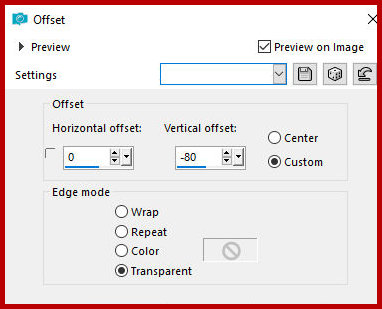
10. Blend Mode: Soft Light
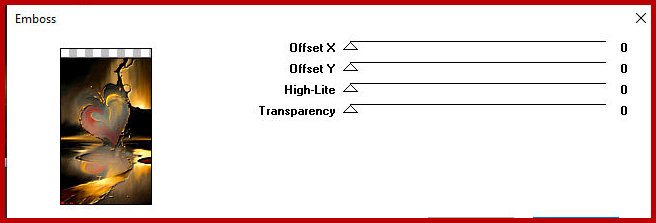
11. Effects / Plugins / unlimited 2 / Graphic Plus / Emboss -
default - Apply twice
3.
12. Layers / Duplicate
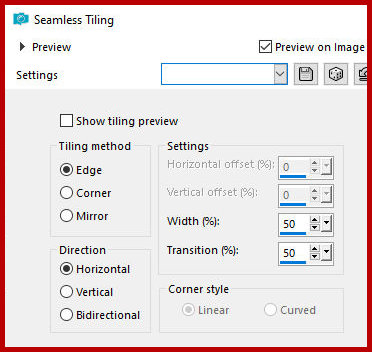
13. Effects / Image Effects / Seamless Tiling
14. Opacity: 32%
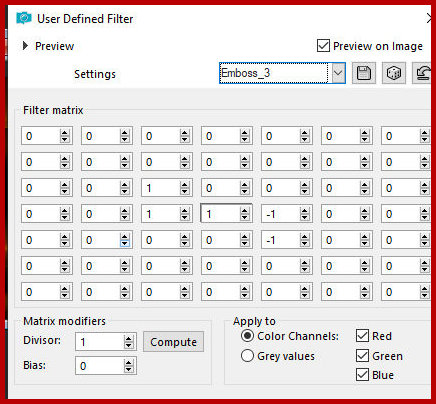
15. Effects / User Defined Filter / Emboss 3
4.
16. Open the image [selección_corazón] in the PSP workspace
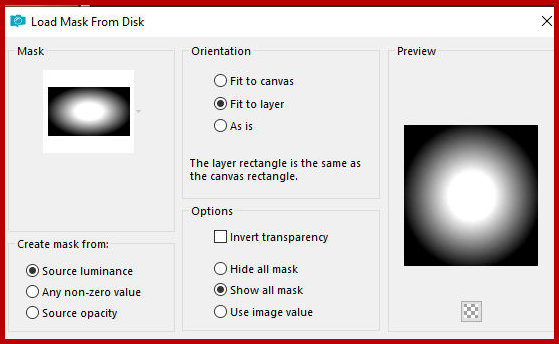
17. Layers / Load mask from disk / Mask [20 20]
18. Merge group
19. Copy the image
20. Return to your main image
21. Paste as a new layer
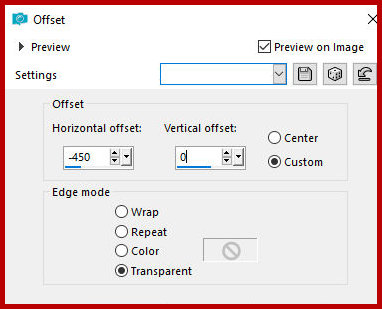
22. Effects / Image Effects / Offset -450/0
23. Adjust / Hue and Saturation / Jue / Saturation / Lightness -
choose colors that suit your tubes. Example:

24. Adjust / Sharpness / Sharpen more
5.
25. Open the image [9b93d6a274c16efd81cbeaec7a09060d]
26. Layers / Load mask from disk / Mask [20 20]
27. Merge group
28. Copy and paste into your work as a new layer
29. Activate the Pick Tool and configure: X=200 - Y=30 - Press M
30. Blend Mode: overlay
6.
31. Open the image [f57296fc48054aef78e5559c4537c85b]
32. Layers / Load mask from disks / Mask [20 20]
33. Merge group
34. Copy and paste into your work as a new layer
35. Effects / plugins / Adjust / Variation - 3 clicks on More Red -
1 click on Darker - OK

36.Adjust / Sharpness / Sharpen More
37.Activate the Pick Tool and configure; X=537 - Y= -52 - Press M
7.
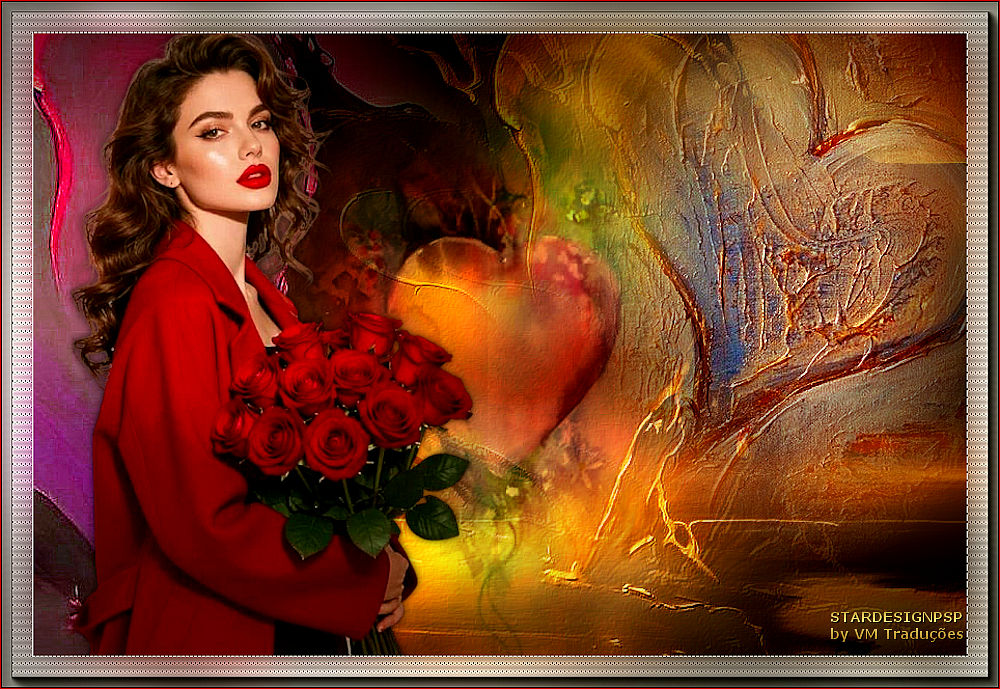
38. Copy the tube character [7387fa1cdbb551cdcfa68b4abe84304e-removebg-preview]
39. Paste as a new layer
40. Adjust the size
41. Position on the left side as per the model
42. Drop shadow: 0 0 70 10 black
43. Adjust / Sharpness / Sharpen
8.
44. Border: 1px / white
45. Copy
46. Border: 30px / any color
47. Select this 30px border with the Magic Wand (tolerance/feather=0)
48. Paste the copied image above into the selection
49. Adjust / blur / Gaussian Blur: 25
50. Effects / Plugins / Cybia / Screenworks

51. Adjust / Sharpness / Sharpen More
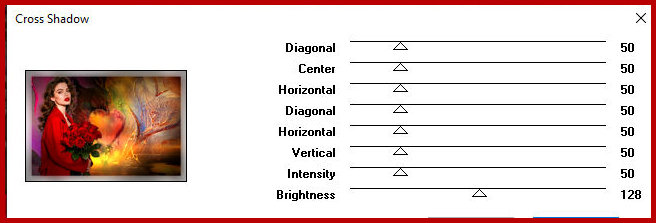
52. Effects / Plugins / Graphic Plus / Cross shadow - Intensity=50
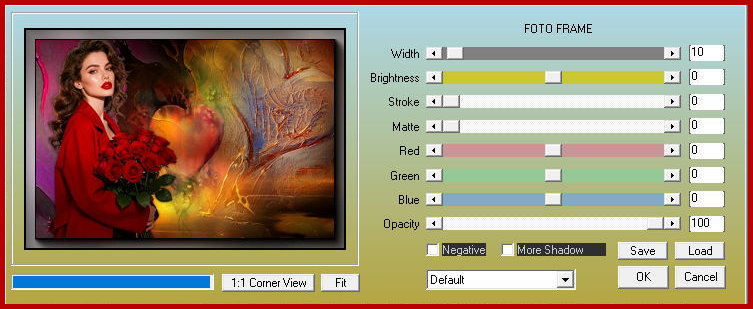
53. Effects / plugins / AAA Frames / Photo Frame
54. Adjust / Sharpness / Sharpen
55. Select none
56. Border: 1px / 1 color from your work (#f9080b)
9.
57. Add signatures
58. Merge all
59. Save as jpeg

|