|

This tutorial is from stardesignpsp, who I thank for letting me translate his
tutorials.

Original here

Tubes

> VIRGINIA
Material

Many thanks to the
creators of these materials

Plugins
Adjust/Variations
Filters Unlimited/ VM natural/ Weave Distortion
Filters Unlimited/ VM natural/Speed
You can find these plugins on the websites of:
Renée
Cloclo
You can also find this tutorial translated into these languages:
(Click on the flag)


SCRIPT
Notes:
> Open the material / Duplicate (shift+d) / Close the originals
> Change the blend mode of the layers to match their colors. > In
older versions of PSP Mirror Horizontal=Mirror / Mirror Vertical=Flip
/ Pick tool=deformation
1. Save the selection in the PSP Selections folder
2. Open a new image with 1000x800px
3. Selections / Select All
4. Open the image [556f0707...]
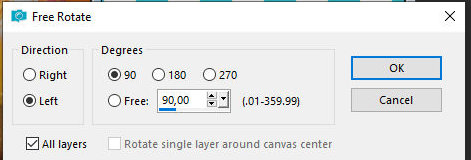
5. Image / Free Rotate [left/90]
6. Copy this image and
paste it into the selection
7. Select none (if you want, colorize it to match your images, using
the method of your preference
8. Layers / Duplicate
9. Activate the layer below (original) (if you want, close the layer
above, to be able to see better)
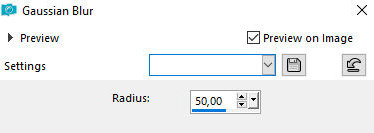
10. Adjust / blur / Gaussian Blur=50
11. Effects / Image
Effects / Seamless Tiling - default

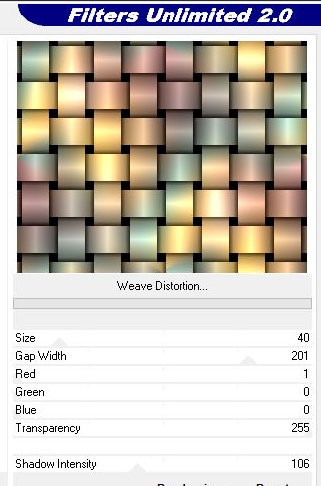
12. Effects / Plugins /
Unlimited 2 / VM Natural / Weave distortion
13. Layers / Properties
/ Opacity=50
14. Open and activate the top layer
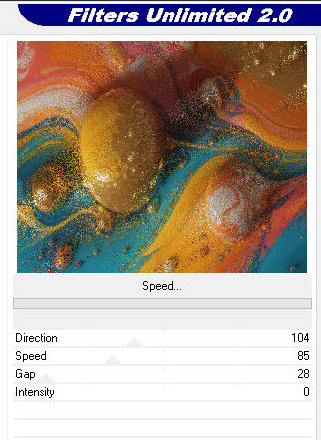
15. Effects / Plugins / Unlimited 2 / VM Natural / Speed
16. Layers / Properties
/ Blend mode: Hard Light
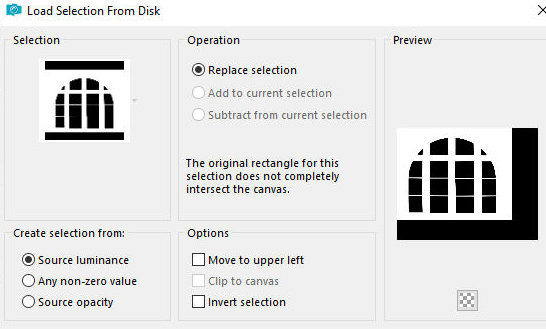
17. Selections / Load
selection from disk / Selection [sel_15.5_6_ventana_20_S]
18. Selections / Promote
selection to layer
19. Select none
20. Layers / Properties / blend mode: Multiply
21. Objects / Align / Horizontal Center
22. Objects / Align / Vertical Center
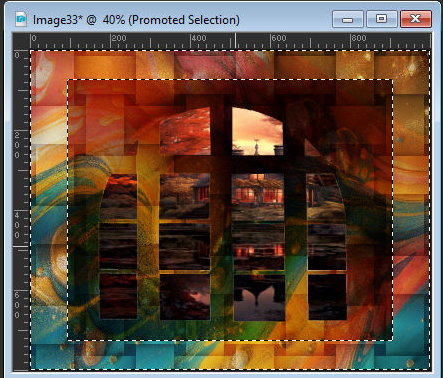
23. Select the inside of the window with the Magic Wand (feather=0)
as shown in the print

24. Add a new layer
25. Copy the landscape and paste it into the selection
26. Select none
27. Activate the Promoted Selection layer
28. Select the outside of the window with the Magic Wand as shown in
the print
29. Selections / Modify
/ Select selection borders

30. Add a new layer
layer
31. Paint with color #ca5717 or another color of your choice
32. Effects / 3D Effects / Inner Bevel

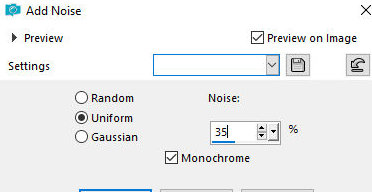
33. Adjust / Add/Remove/
Add Noise
34. null
35. Selections / Promote selection to layer
36. Select none
37. Effects / Plugins / Adjust / Variation: click on Original and
then 3 times on Darker
38. Effects / Distortion Effects / Punch=100

39. Activate the top
layer - Raster 2
40. Copy the tube [27-b] and paste it as a new layer
41. Position it in the upper left corner according to the model
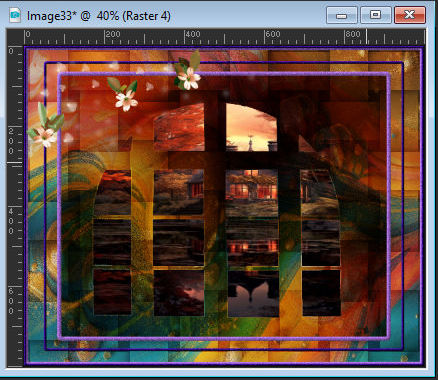
42. Layers / Duplicate
43. Image / Mirror / Mirror Vertical
44. Drop shadow: 0 0 60 20 black - apply to both copies of the tube
[27-b]
45. Effects / Plugins / Adjust / Variation: click on Original and
then 3 times on Darker (apply to both copies)
46. Copy the tube [element-EF(16)] and paste as a new layer
47. Image / Resize: 30%
48. Position according to the model
49. Adjust / Sharpness /
Sharpen
50. Drop shadow: 0 0 60 20 black
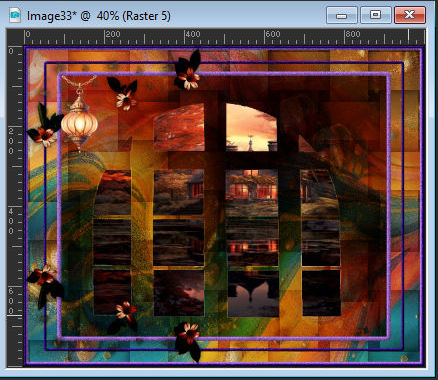
51. Copy the tube [dfc038...] and paste as a new layer
52. Position according to the model
53. Adjust / Sharpness / Sharpen
54. Drop shadow: 0 0 60 20 black
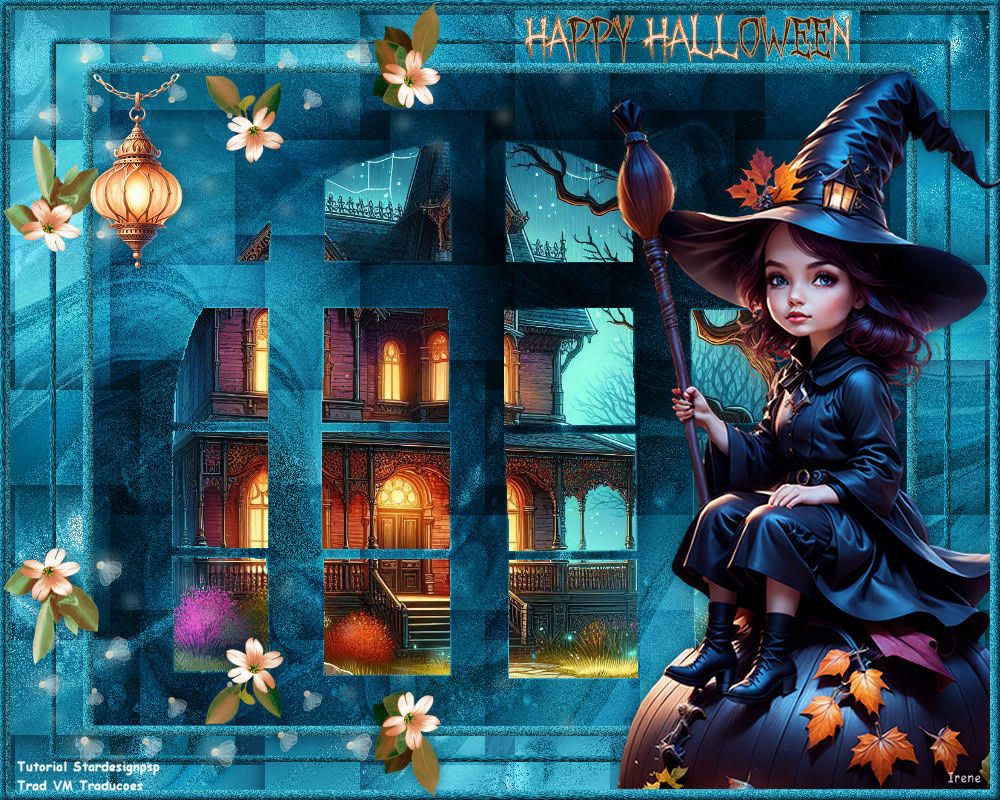
55. Copy the wordart [happy-halloween-24] and paste as a new layer
56. Image / Resize: 50% - all layers unchecked
57. Adjust / Hue and Saturation / Colorize [29/255 (values according
to your image] or use another method to colorize
58. Position as you prefer
59. Drop shadow: 1 -1 100 2 black
60. Place signatures
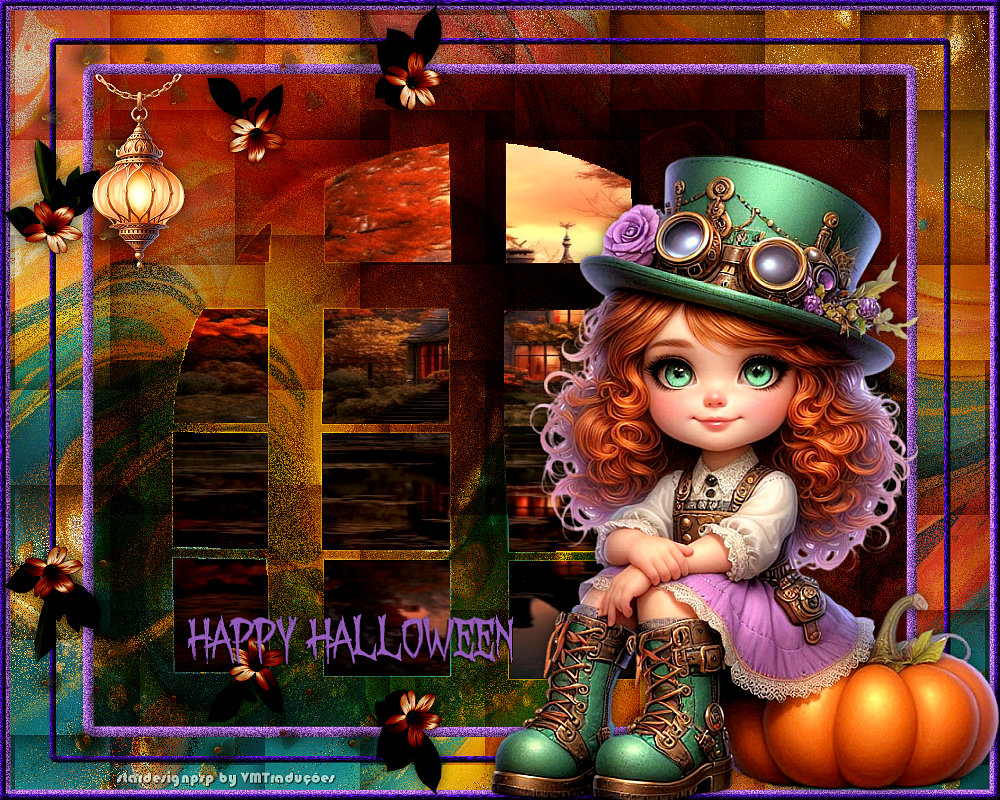
61. Merge all
62. Save as jpeg
*
Muito obrigado à minha
amiga Irene por testar minhas traduções

|