| Save the selections to the
PSP Selections folder.
For this tutorial, you will need:
1 JPG image (abstract or not)
1 main tube
1 misted landscape tube
1 decorative tube
If you want, use my images (link above).
1
Open a new transparent image measuring 900x600px
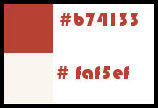
Set the color #b74133 to the foreground and #faf5ef to
the background.
2
Selections / Select all
Copy your JPG image
Paste into the selection
Select none
3
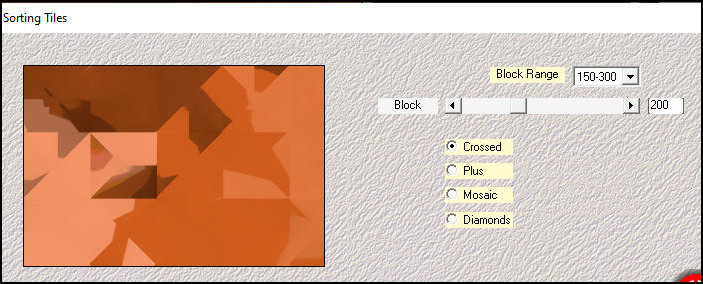
Effects / Plugins / Mehdi / Sorting Tiles
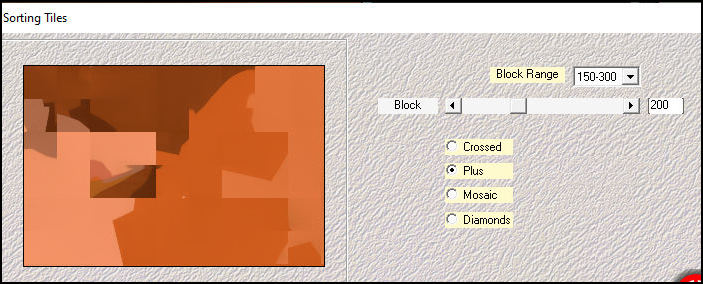
4
Effects / Plugins / Mehdi / Sorting Tiles
5
Effects / Plugins / Mura's Meister / Pole Transform

6
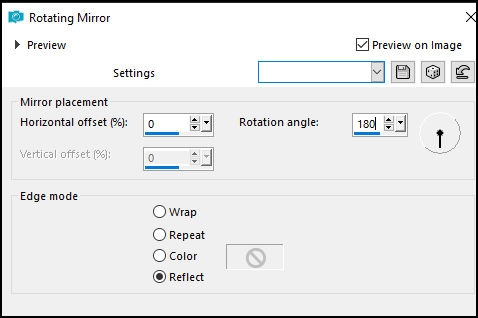
Effects / Reflection Effects / Rotating Mirror
Layers / Duplicate
Image / Mirror / Mirror Vertical
Layers / Properties / opacity: 50%
Merge down
7
Selections / Load selection from disk / Selection
[01ornament239-romana1]
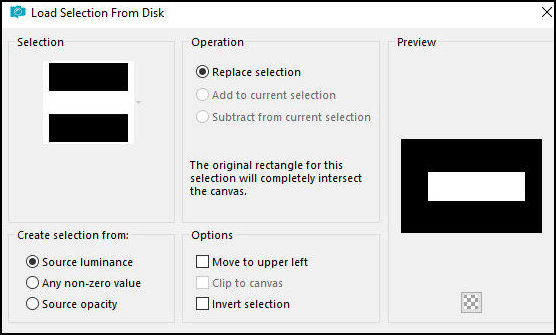
Selections / Promote selection to layer
Select none
8
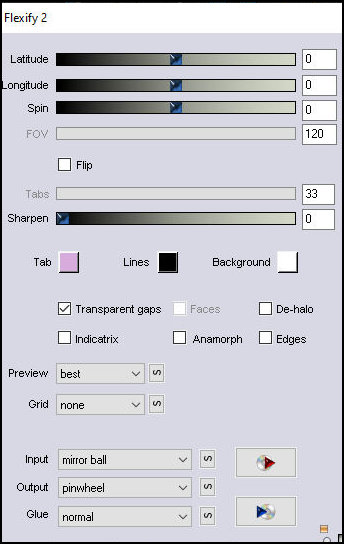
Effects / plugins / Flaming Pear / flexify 2
9
Effects / Image Effects / offset [30/0]

10
Drop Shadow: 0 0 100 15 black
11
Layers/Duplicate
Image / Resize:85% - all layers unchecked
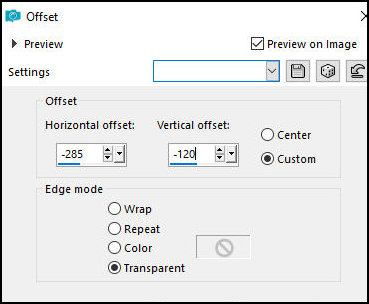
12
Effects / Image Effects / Offset [-285/-120]
13
Layers/Duplicate
Effects / Image Effects / Offset [570/210]

14
Add new layer
paint the layer with the background color
Layers / New Mask Layer / From Image / Mask [081]

Merge Group
15
Drop shadow:0 0 100 20 foreground color
Adjust / Sharpness / Sharpen
16
Add new layer
Selections / Load selection from disk / Selection
[01ornament240-romana1]
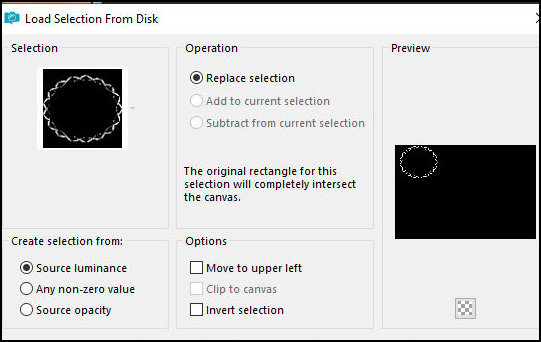
Paint the selection with the foreground color
Drop shadow same as before
Select none
17
Add new layer
Selections / Load selection from disk / Selection
[01ornament241-romana1]
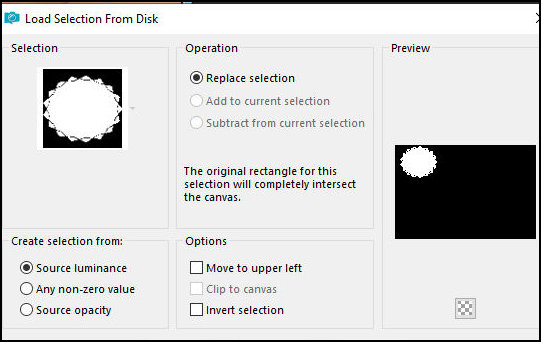
Copy your misted landscape tube
Paste into the selection
Adjust / sharpness / sharpen
Layers / Arrange / Move down
Select none
18
Copy your decorative tube
Paste as a new layer
Adjust the size
Position according to the model
Adjust / Sharpness / Sharpen
Drop shadow same as before
19
Selections / Select all
Borders:
1px / #faf5ef
20px / #b74133
20px / #faf5ef
1px / #b74133
Selections / Invert
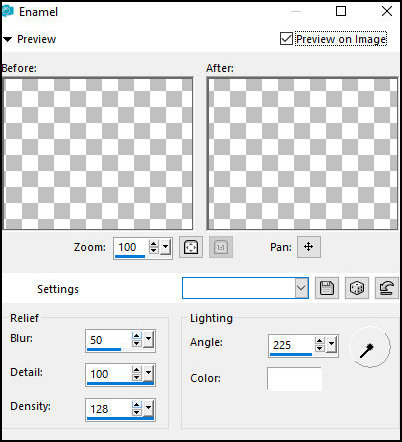
20
Effects / Artistic Effects / Enamel
21
Effects / 3D Effects / Cutout
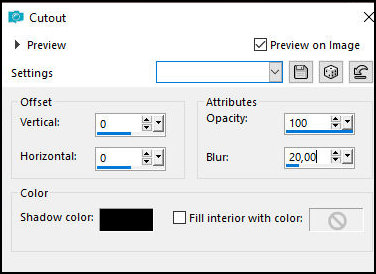
Select none
22
Copy your main tube
Paste as a new layer
Adjust the size
Position according to the template
Adjust / Sharpness / Sharpen
Drop Shadow as before
23
Activate the Text Tool
Choose a font and adjust the size
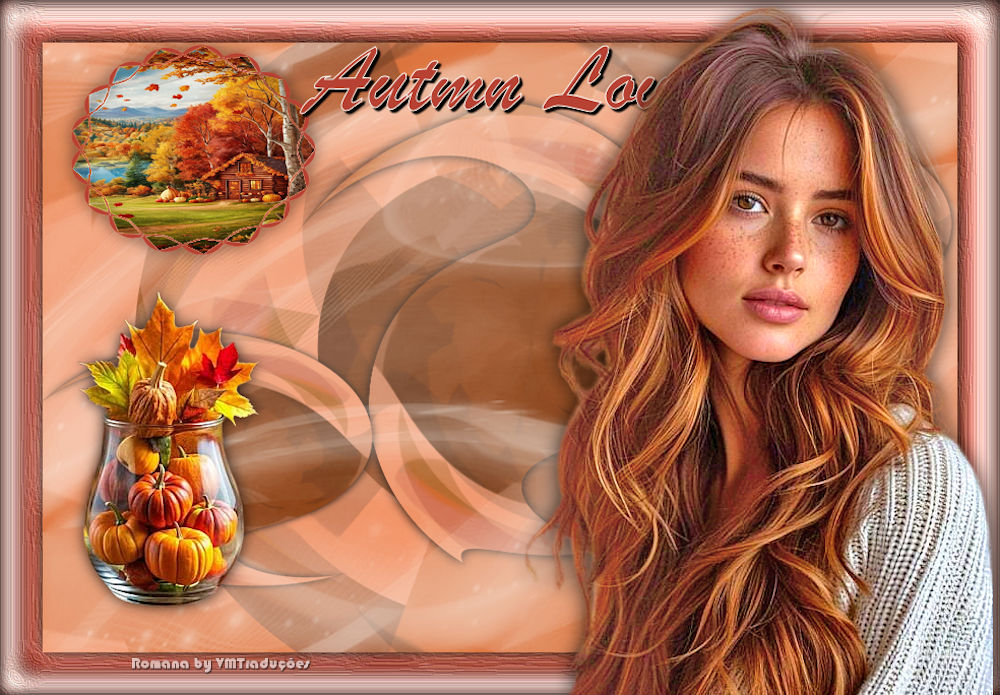
Write "Autumn Love"
Right-click on the layer
Select [Convert to Raster Layer]
Position according to the template
24
Drop shadow: 3 8 100 2 black
25
Place the signatures
Border: 1px/#b74133
Save as a jpeg
|