|
You will need:
1 main tube
1 floral tube
*
1. Open a new transparent image with 840x500px
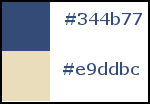
2. Original colors:
3. Paint the image with the color
#344b77
4. Image / Rotate Left
5. Selections / Select all
6. Copy the main tube
7. Paste it into the selection
8. Select none
9. Image / Rotate Right
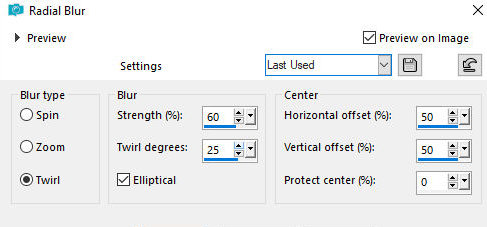
10. Adjust / Blur / Radial Blur
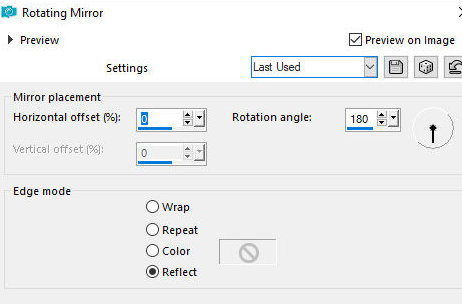
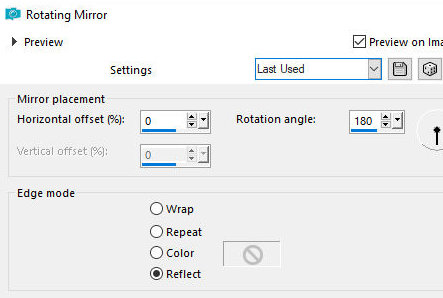
11. Effects / Reflection Effects /
Rotating Mirror
12. Layers / Duplicate
13. Copy (paste as a new layer and minimize)
14. Return to the original image
15. Image / Mirror / Mirror Vertical
16. On the copy layer:
17. Layers / Properties / Opacity: 50%
18. Merge down
19. Layers / Duplicate
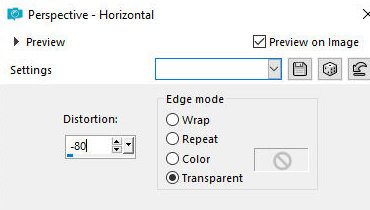
20. Effects / Geometric Effects / Perspective Horizontal
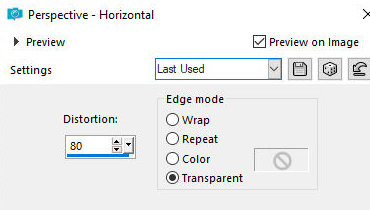
21. Effects / Geometric Effects /
Perspective Horizontal
22. Effects / Plugins / Flaming Pear /
Flexify 2
23. Image / Resize: 80% - all layers
unchecked
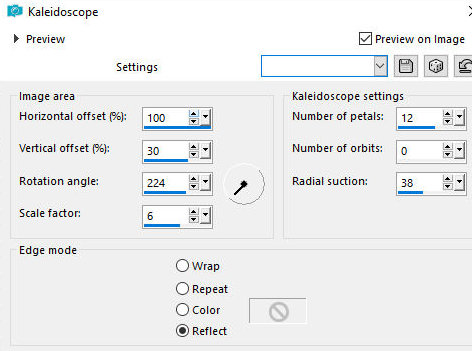
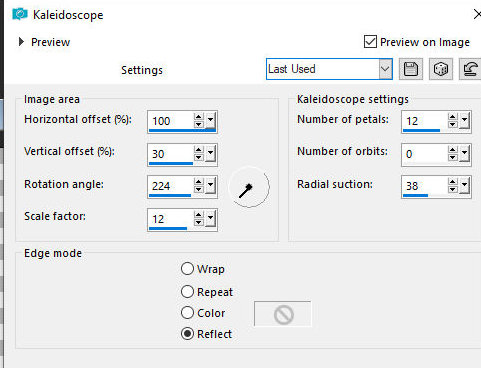
24. effects / Reflection Effects / Kaleidoscope
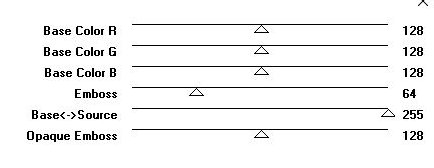
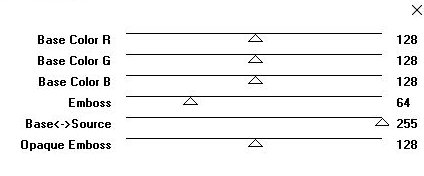
25. effects / plugins / Mura's
Seamless / Emboss at Alpha - default
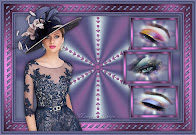
26. Copy tube [Deco]
27. Paste as new layer
28. Effects / reflection Effects / Kaleidoscope
29. Effects / Plugins / Mura's
Seamless / Emboss at Alpha - default
30. Drop shadow: 1 1 85 0 black
31. Layers / Arrange / Move Down
32. Stay on this layer
33. Copy the flower tube [virágom]
34. Paste as new layer
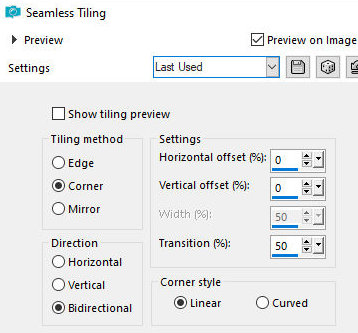
35. Effects / image Effects / Seamless Tiling
36. Effects / Reflection Effects /
Rotating Mirror
37. Edges:
2px / #e9ddbc
5px / #344b77
2px / #e9ddbc
38. Selections / Select all
39. Border: 30px / #e9ddbc
40. Selections / Invert
41. Copy the previously copied image that is minimized
42. Paste into the selection
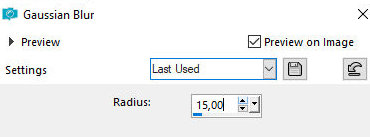
43. Adjust / Blur / Gaussian Blur: 15
44. Selections / Select all
45. Border: 40px / #e9ddbc
36. Selections / invert
37. Copy the previously copied image
38. Paste into the selection
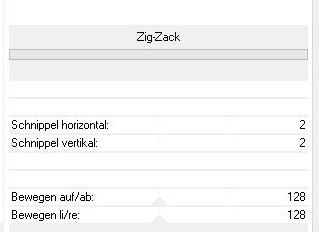
39. Effects / Plugins / Kiwi's Oil Filter / ZigZack
40. Effects / Edge Effects / Enhance
41. drop Shadow: 0 0 60 30 black
42. Select none
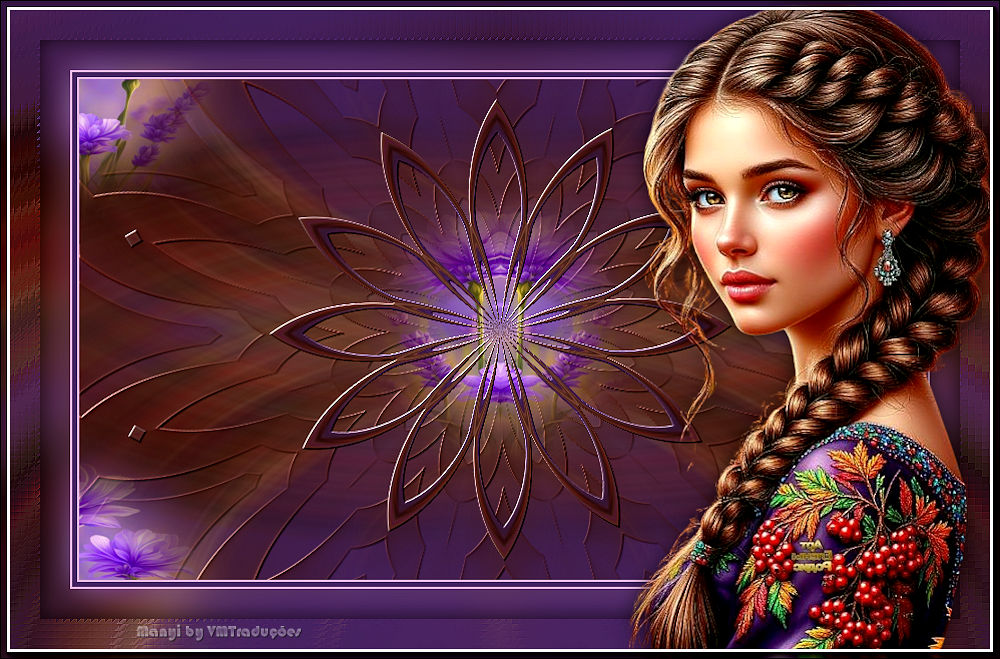
43. Copy the main tube [Mici lánykám]
44. Paste as a new layer
45. Adjust the size
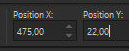
46. Position according to the model
47. Adjust / Sharpness / Sharpen
48. Drop shadow: 0 0 60 30 black
49. Merge visible
50. Effects / plugins / AAA Frames / Photo Frame
51. Resize if necessary
52. Add signatures
53. Merge all
54. Save as jpeg |