|


This tutorial is from Manyi who I thank for
letting me translate their tutorials.

Original here
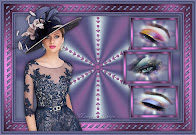
Tubes

Material

Many thanks to the creators of
these materials
Plugins
Eye Candy 5: Impact
Gmic Plugins X86 3.2.0
PLUGIN GMIC
INFORMATION
GMIC
You can find these plugins on the websites of:
Renée
Cloclo
You can also find this tutorial translated into these languages:
(Click on the flag)


SCRIPT
Notes:
> Open the material / Duplicate (shift+d) / Close the originals
> Change the blend mode of the layers to match their colors.
> In older versions of PSP, Mirror Horizontal=Mirror / Mirror Vertical=Flip /
Pick tool=deformation
1. Place the selections in the Selection folder on
the PSP
2. Double click on the Eye Candy 5: Impact/Extrude preset so it will
be installed in the plugin
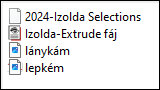
2b. Open a folder and name it gmic-izolda
3. Colors: Foreground: #E14E53 / Background: #FFFFFF

4. Open a new transparent image measuring 800x500px
5. Prepare a Linear gradient
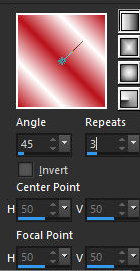
5b. Paint the image with this gradient
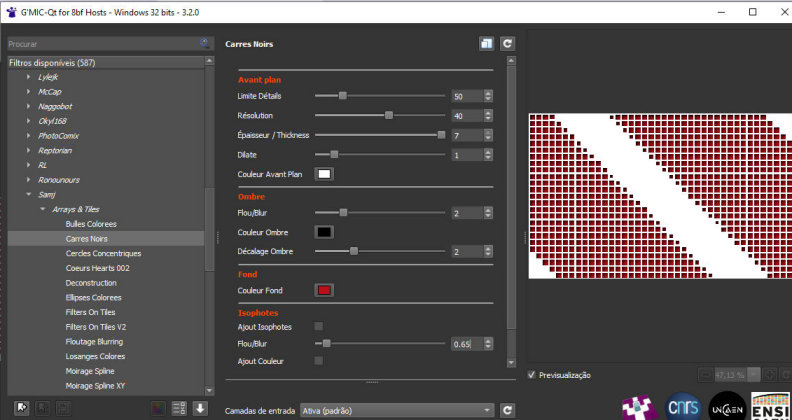
6. Effects / Plugins GMIC_QT / Samj / Arrays and Tiles / Carres
Noirs (before applying, write down the Background and Foreground
color codes and insert them in the specific fields of the pçugin,
see the print)
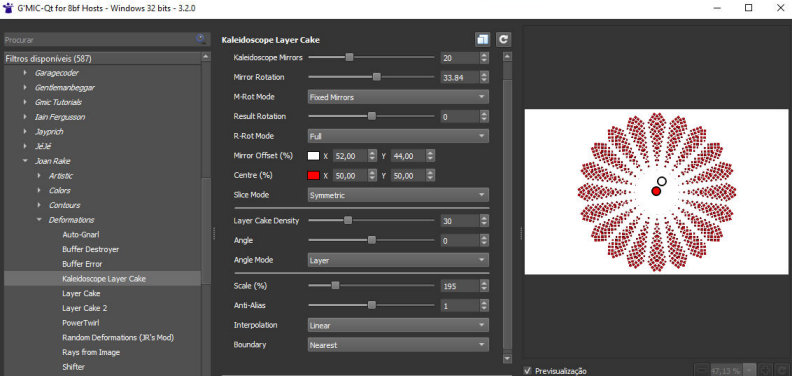
7. Effects / Plugins / Testing / Joan Rake / Deformations /
Kaleidoscope Layer Cake
8. Layers/Duplicate
9. Click on the white part with the Magic Wand (tolerance/feather=0)
to select
10. Selections/Invert
11. Press Delete on your keyboard
12. Select none
13. Drop Shadow: 1 1 80 1 #29070a
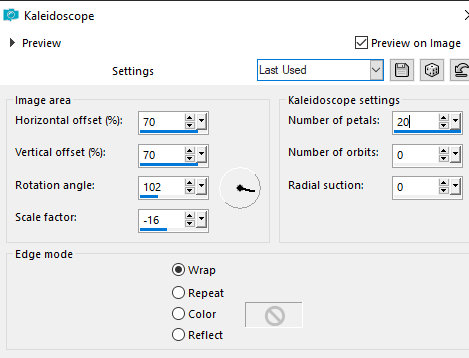
14. Effects / Reflection Effects / Kaleidoscope
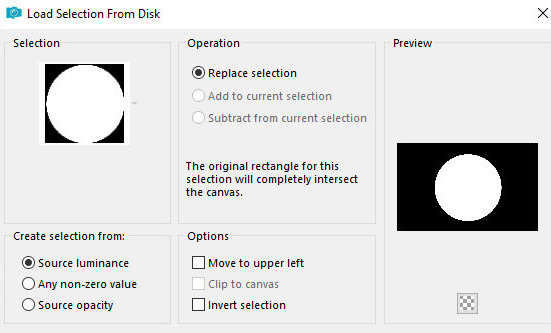
15. Selections / Load selection from disk / Selection [2024-izolda]
16. Press Delete on your keyboard
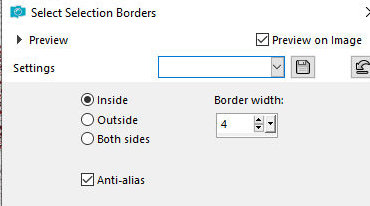
17. Selections / Modify / Select selection borders
18. Add a new layer
19. Paint the selection with the foreground color
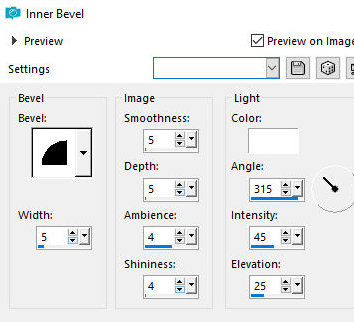
20. Effects / 3D Effects / inner Bevel
21. Select none
21b. Activate the background layer
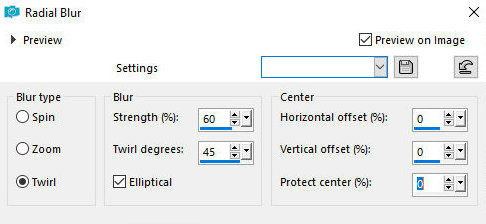
22.Adjust/blur/Radial Blur
23. Continue to the background layer
24. Copy the main tube [lánykám] and paste it as a new layer
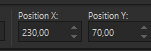
24b. Activate the Pick Tool and configure: X=230 / Y=70 - if you use
another tube, position it so that your face is clearly visible.
25. Activate the top layer
26. Activate the Magic Wand and click anywhere on the outside of the
circle to select
27. Return to the tube layer
28. Press Delete
29. Keep Selection and Merge Visible
30. Selections/Invert
31. Selections / Promote selection to layer
32. Select none
33. Image / Resize: 80% - all layers unchecked
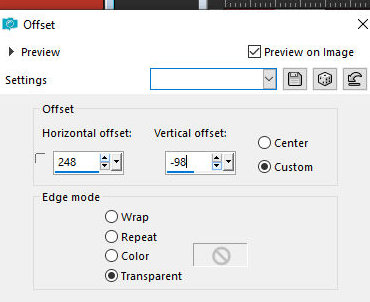
34. Effects / Image Effects / Offset [248/-98]
35. Layers/Duplicate
36. Image / Resize: 80% - all layers unchecked
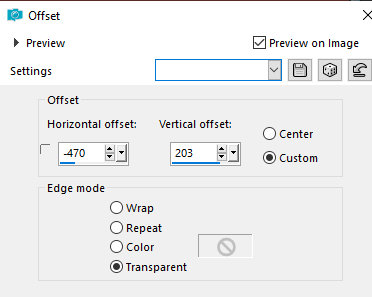
37. Effects/image Effects/Offset [-470/203]
38. Activate the top layer
39. Merge down
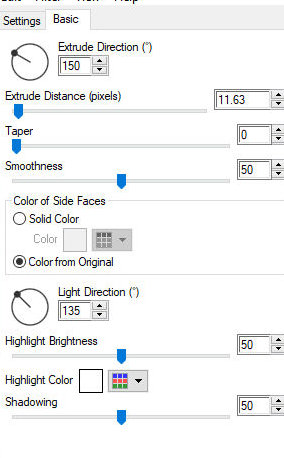
40. Effects / plugins / Eye Candy 5: Impact / Extrude
41. Merge Visible
42. Write down the code for this color: #f6c2c6 or another color of
your choice
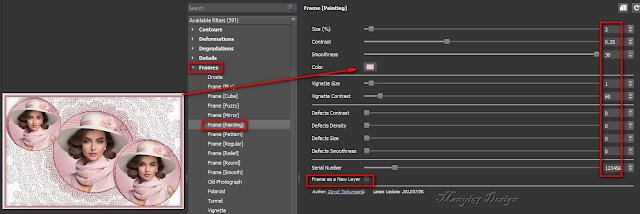
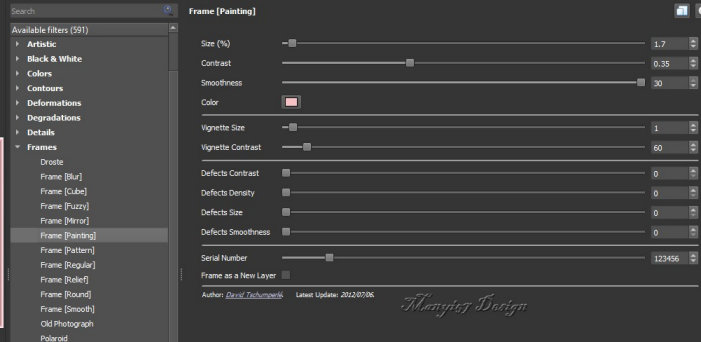
43. Effects / Plugins / GMIC_QT / Frames / Frame (painting)
44. Return to PSP
45. Save the image in the gmic-izolda folder with the number 1
46. Delete the image you were working on or set it aside to
delete later
47. Open image 1 saved in the gmic-izolda folder
48. Selections / Select all
49. Image / Add borders / 40px / color #F6C2C6
50. Selections/invert
51. Effects / Plugins / GMIC_QT / Deformation / Breaks
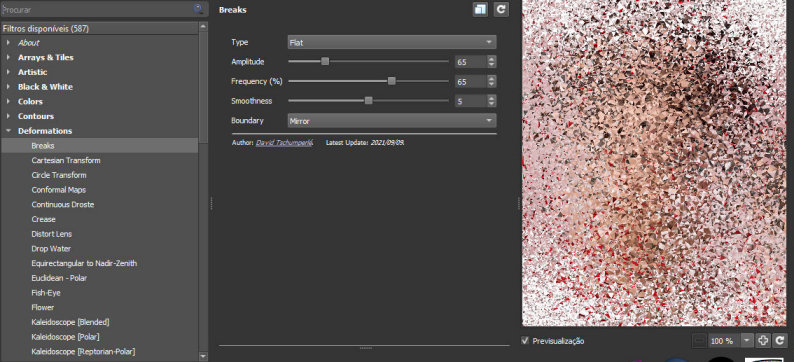
52. Select none
53. Effects / Plugins / GMIC_QT/ Frames / Frame(painting) - color
#F6C2C6
54. Return to PSP
55. Save the image in the gmic-izolda folder with the number 2
56. Delete the image you were working on or set it aside to delete
later
57. Open image 2 saved in the gmic-izolda folder
58. Copy the tube deco [lepkem] and paste it as a new layer
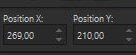
59. Effects / Image Effects / offset [269/210]
60. Drop Shadow of your choice
61. Merge all
62. Image/Resize: 900x614px (optional)
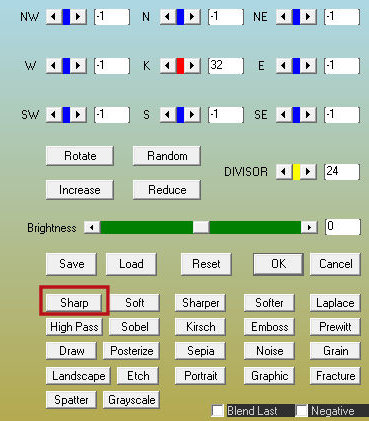
63. Effects / Plugins / AAA Filters / Custom / Sharp or Landscape
64. Put signatures
65. Merge all
66. Save as jpeg
*
Thank you Irene for testing my translations

|