| Open the alpha channel file
[2025-Irina] / Duplicate (shift+D) / Close the original
Set the color #5caeb9 to the foreground and the color #ffffff
to the background

Prepare a Rectangular gradient
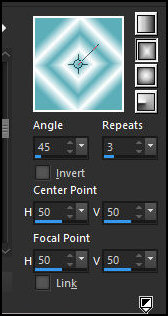
Paint the image with this gradient
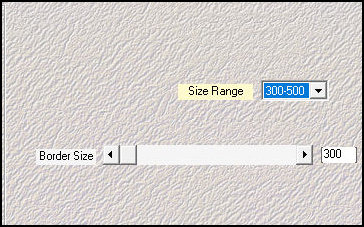
Effects / Plugins / Mehdi / Seamless Border
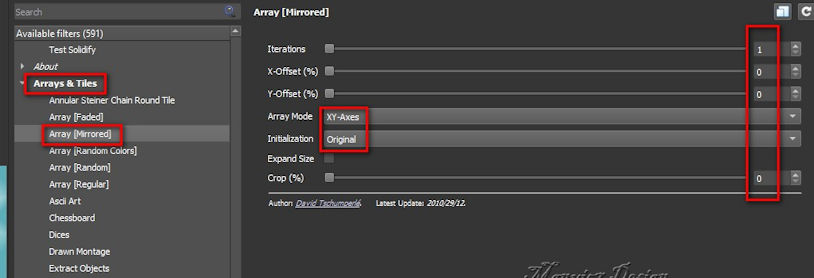
Effects / Plugins / GMIC-QT / Arrays and Tiles - Array (mirrored)
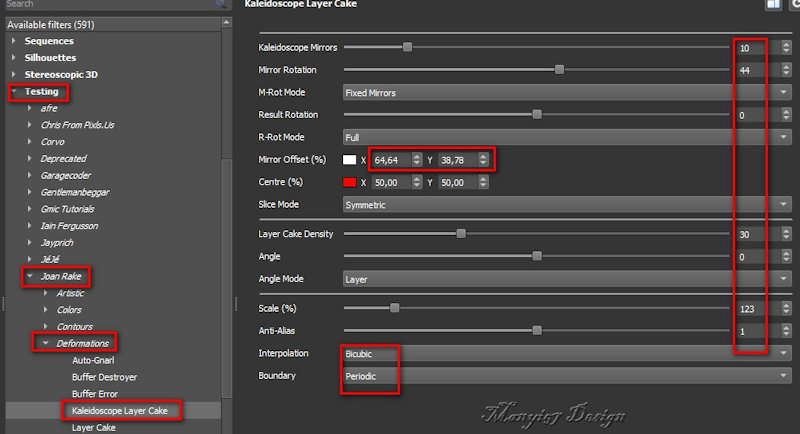
Effects / Plugins / GMIC_QT / Testing
/ Joan Rake / Deformations / Kaleidoscope Layer Cake
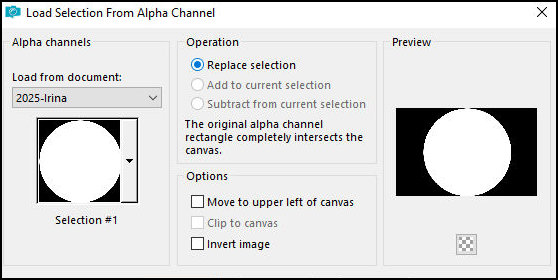
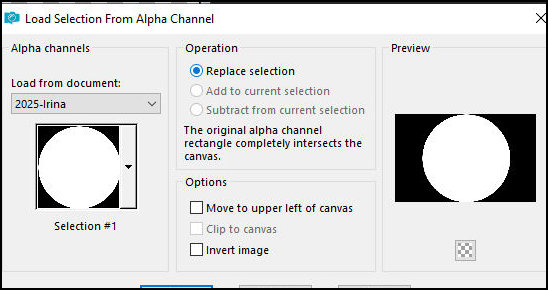
Selections / Load selection from Alpha Channel /
Selection #1
Selections / Promote Selection to layer
Select none
Layers Superior activated
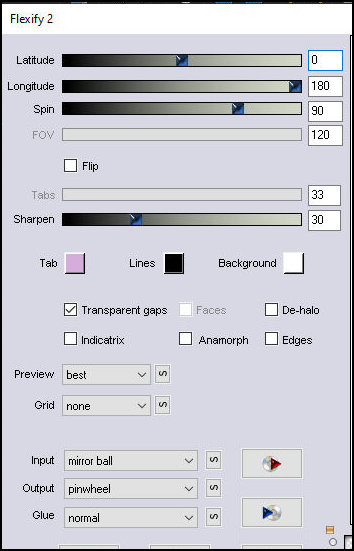
Effects / Plugins / Flaming Pear / Flexify 2
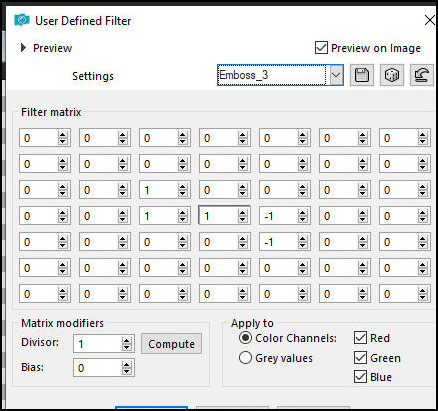
Effects / User Defined Filter / Emboss 3
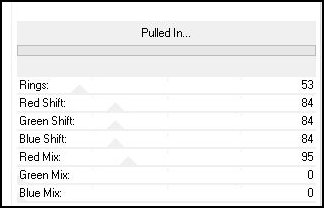
Effects / Plugins / Unlimited 2 / Sapphire Filter 1c-Pulled
In... - default
Effects / Edge Effects / Enhance
Add new layer
Selections / Load selection from alpha channel /
Selection #2
Copy the tube misted [tájam]
Paste into selection
Select none
Layers / Arrange / Move Down
Adjust / Sharpness / Sharpen More
Activate the top layer
Drop Shadow: 0 0 60 30 #1b3b3f
Merge visible
Open a folder named GMIC-IRINA
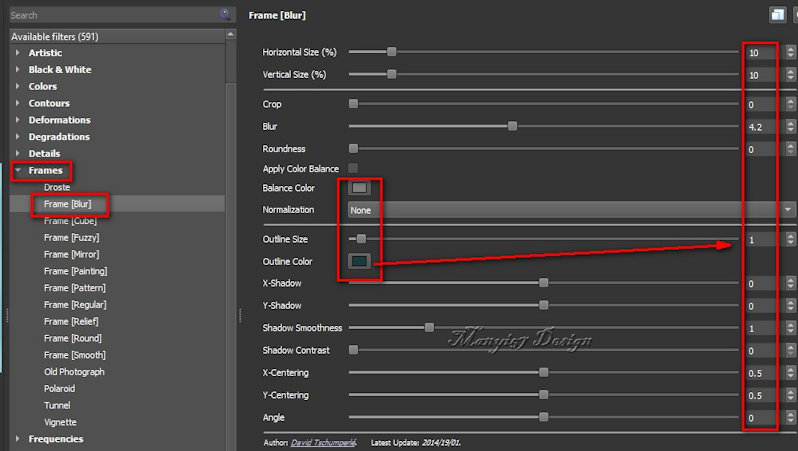
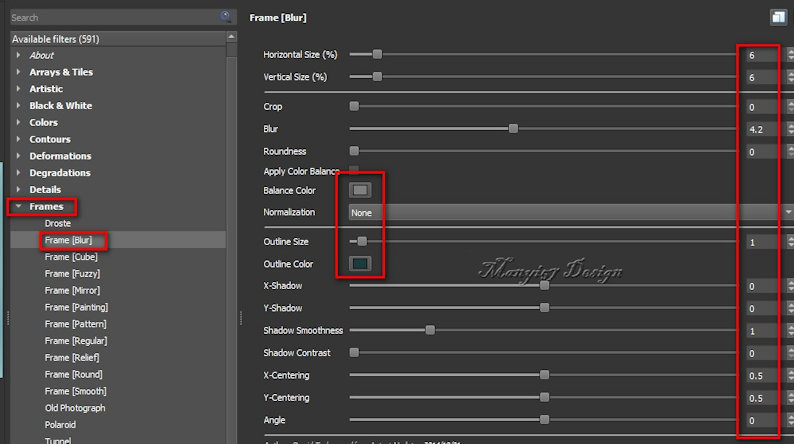
Effects / Plugins / GMIC-QT/ Frames / Frame Blur - Color
#1b3b3f
Return to PSP
Save the image in the gmic-irina folder with the name
[1]
Minimize the image you were working on
Open the saved image with the name [1]
Copy the main tube [Image5]
Paste as a new layer
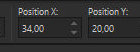
Activate the Pick Tool and set: X=34 - Y=20 - Press M (or
position to the left manually)
Adjust / Sharpness / Sharpen
Drop Shadow: 0 0 60 30 #1b3b3f
Merge visible
Effects / Plugins / GMIC-QT / Frames / Frame (Blur) -
Color: #1b3b3f
Return to PSP
Save the image in the gmic-irina folder with the name
[2]
Minimize the image you were editing
Open the image [2]
Copy the title [IRINA neve]
Paste as a new layer
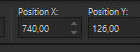
Activate the Pick Tool and set: X=740 - Y=126 - Press M
Merge Visible
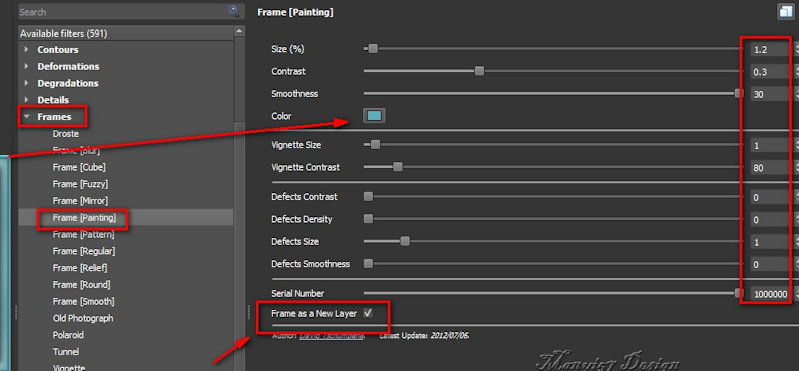
Effects / Plugins / GMIC-QT / Frames / Frame (Painting)
- Color #5caeb9
Return to PSP
This time, you'll click on the gmic-irina folder name
and then click "select folder." Two images will be saved:
the work image and a frame. This time, you won't be able
to name the files. Open both images in PSP
Minimize the one you were editing
Copy the frame and paste it into the other image as a
new layer
Layers / Duplicate
Image / Resize: 851 x 555px - aspect ratio and all
layers unchecked
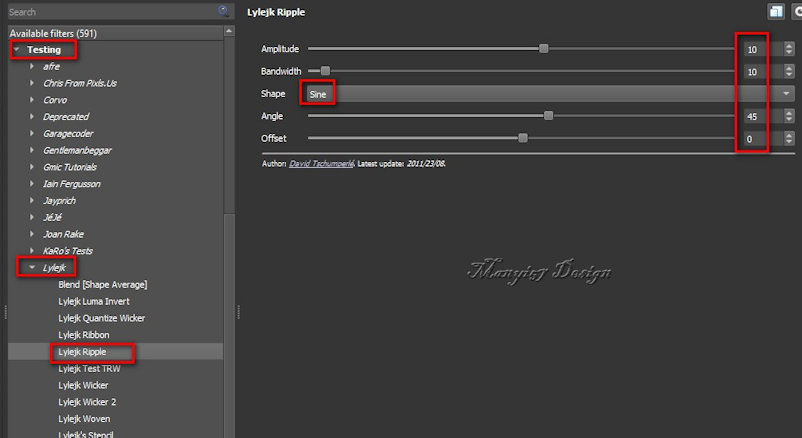
Effects / Plugins / GMIC-QT / Testing / Lylejk / Lylejk
Ripple
Using the Selection Tool, select the part of the image
that passes over the main tube as shown in the
screenshot
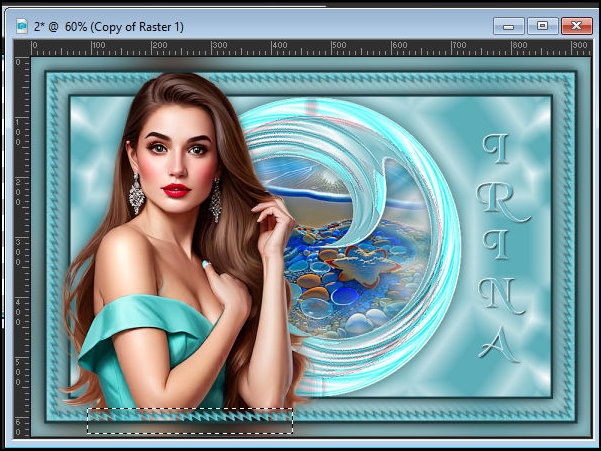
Press Delete
Select none
Borders: 2px / #1b3b3f
Now you can delete the minimized images
Image / Resize: 900x618px
Add the signatures
Merge all
Save as jpeg
|