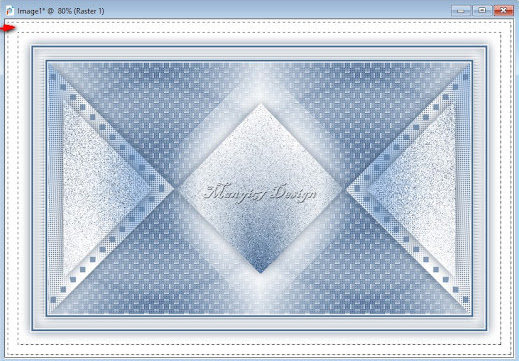
|


This tutorial is by Manyi, who I thank for letting me translate his tutorials.

Original here


Tubes


Material

Many thanks to the creators of
these materials


Plugins
Mehdi
Sorting Tiles
AP Lines –Silverlining
AAA Frames - Foto Frame
Eyecandy 5: Impact-Extrude

You can find these plugins on the websites of:
Renée
Cloclo

You can also find this tutorial translated into these languages:
(Click on the flag)


ROTEIRO
Observações:
> Abra o material / Duplique (shift+d) / Feche os originais
> Mude o blend mode das layers de forma a combinar com suas cores.
> Nas versões antigas do PSP o Mirror Horizontal=Mirror / Mirror Vertical=Flip /
Pick tool=deformation
1. Double click on the Eye Candy 5 [eniko2] preset
to install it in the plugin
2. Open the alpha [2024-Eniko] / Duplicate (shift+d) / Close the
original
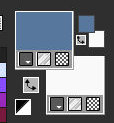
3. Colors; Foreground: #57779d / Background: #ffffff

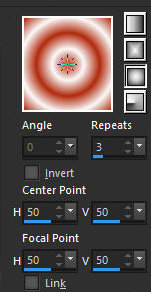
4. Prepare a Sunburst gradient

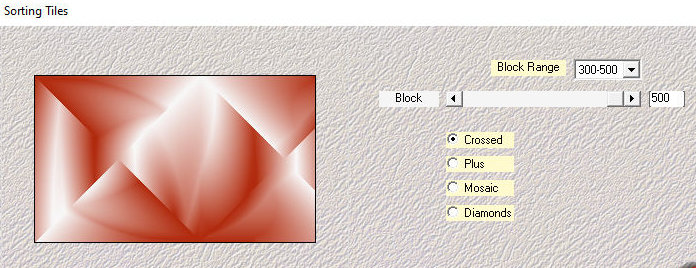
5. Effects / plugins / Mehdi / Sorting Tiles

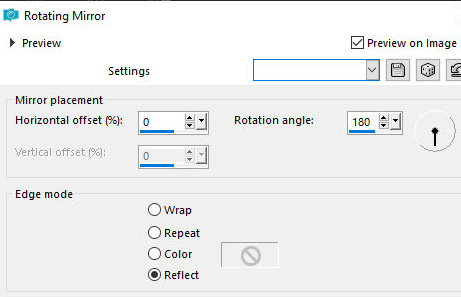
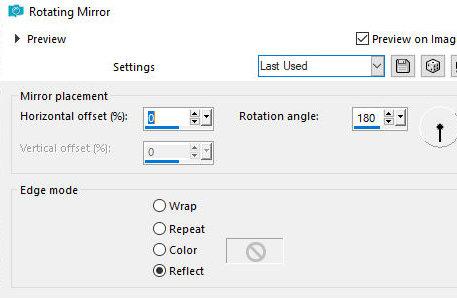
6. Effects / Reflection Effects / Rotating mirror

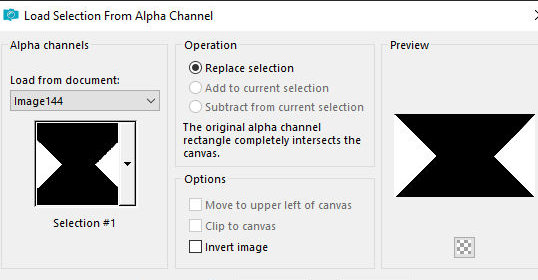
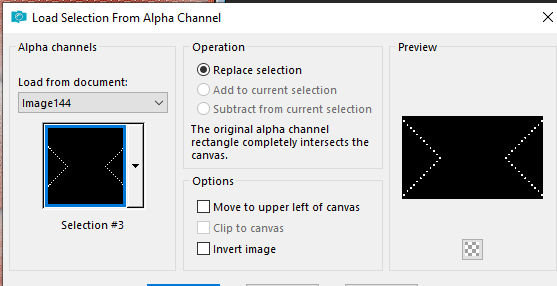
7. Selections / Load selection from alpha channel
/ Selection #1

8. Selections / Promote selection to layer
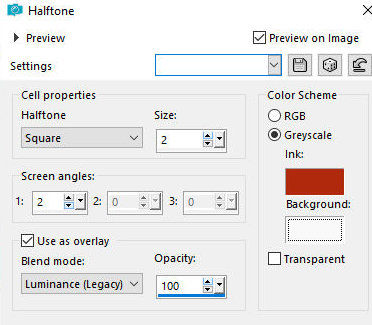
9. Effects / Artistic Effects / Halftone

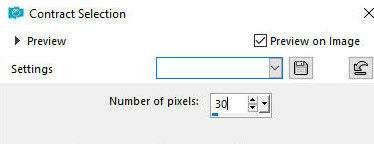
10. Selections / Modify / Contract=30

11. Selections / Promote selection to layer
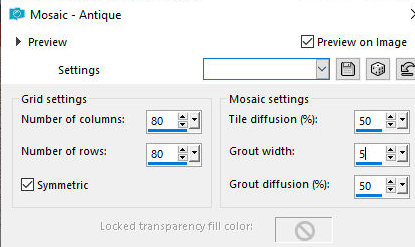
12. Effects / Texture Effects / Mosaic antique

13. Drop Shadow: 0 0 60 30 preto
14. Select none
15. Activate the middle layer
16. Drop Shadow same as the previous one
17. Activate the layer bottom
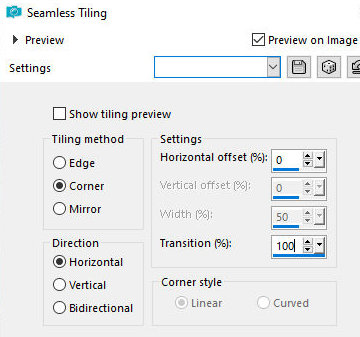
18. Effects / Image Effects / Seamless Tiling

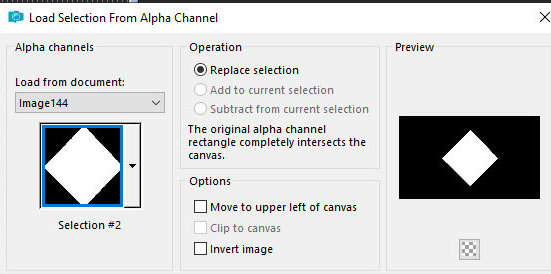
19. Selections / Load selection from alpha channel
/ Selection #2

20. Selections / Promote seelction to layer
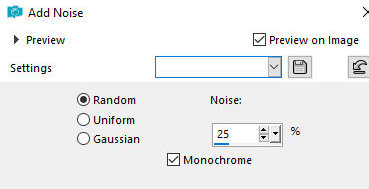
21. Adjust / Add/Remove Noise / Add Noise

22. Select none
23. Drp Shadow igual a anterior
24. Image / Rotate Left
25. Activate the background layer
26. Effects / Reflection Effects / Rotating Mirror
- igual ao anterior

26b. Image / Rotate Right
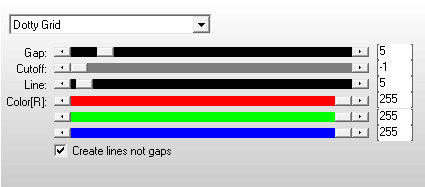
27. Effects / Plugins / Ap [Lines] / SilverLining

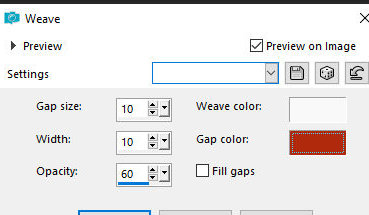
28. Effects / Texture Effects / Weave

29. Effects / Edge Effects / Enhance
30. Activate the top layer
31. Add a new layer
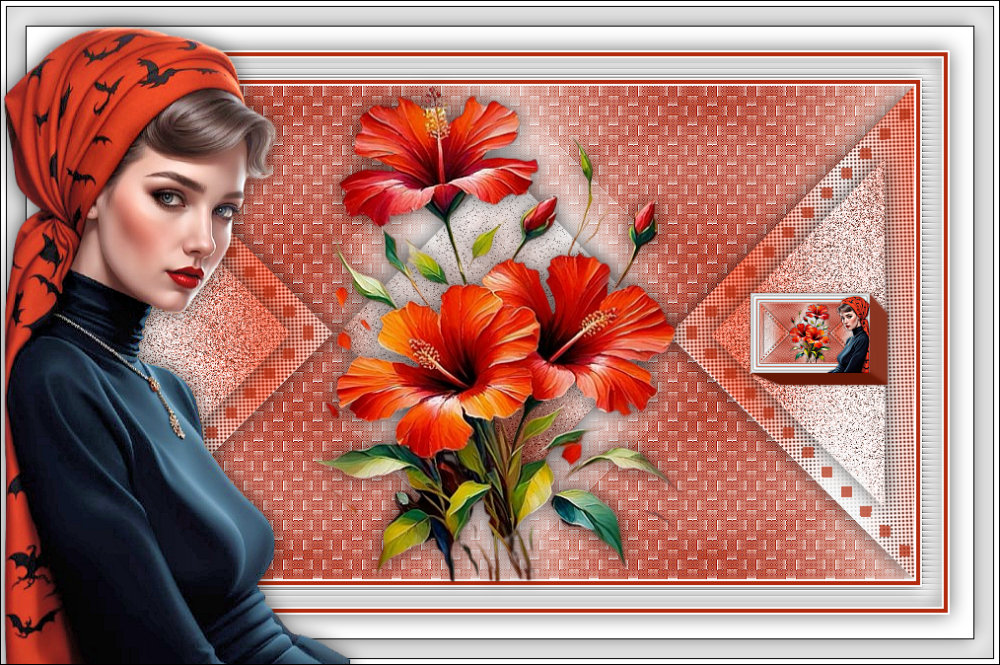
32. Selections / Load selection from alpha channel
/ Selection #3

33. Paint the selection with the foreground color
34. Select none
35. Layers / Properties / Opacity=70%
36. Image / Add borders / 2px / branco
37. Image / Add borders / 4px / cor do foreground
38. Image / Add borders / 2px / branco
39. Selections / Select all
40. Image / Add borders / 20px / branco
41. Drop Shadow same as above
42. Selections / invert
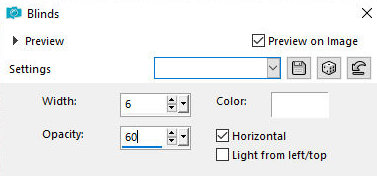
43. Effects / Texcture Effects / Blinds

44. Effects / Edge Effects / Enhance
45. Selections / Select all
46. Image / Add borders / 2px / white
47. Image / Add borders / 4px / foreground color
48. Image / Add borders / 2px / white
49. Selections / Invert
50. Drop shadow - same as above
51. Selections / Select all
52. Image / Add borders / 50px / white
53. Drop shadow - same as above
54. Select none
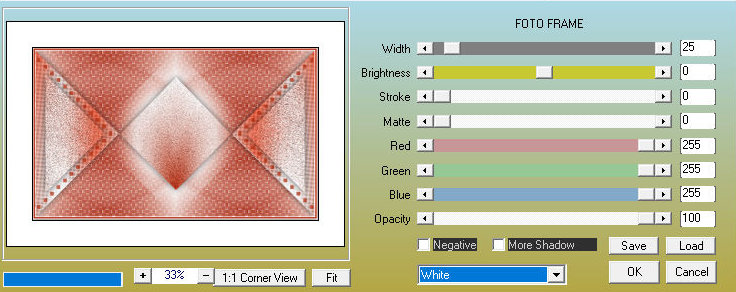
55. Effects / plugins / AAA Frames/ Foto Frame

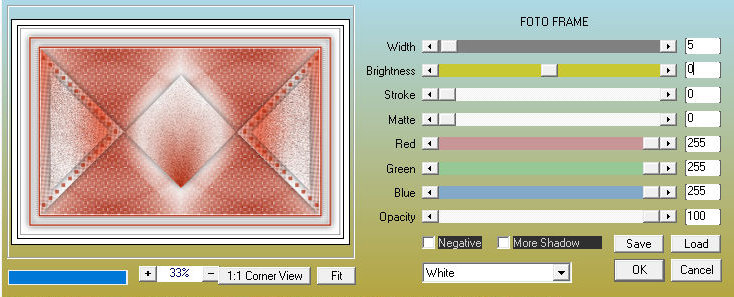
56. Effects / Plugins / AAA Frames / Photo Frame
with this other configuration

57. Select the border with the Magic Wand (tolerance/feather=0)

58. Selections / Invert
59. Drop shadow - same as before
60. Select none
61. Copy the floral tube [virágom] and paste as a new layer
62. Adjust the size (if using another tube) and do not need to move
it
63. Adjust / Sharpness / Sharpen
64. Drop Shadow of your choice (optional)
65. Copy the main tube [Enikő lánykám] and paste as a new layer
66. Position according to the model or as you prefer
67. Adjust the size
68. Adjust / Sharpness / Sharpen
69. Drop Shadow of your choice (optional)
70. Merge all
71. Layers / Duplicate
72. Image / Resize: 12% - all layers desmarcado
73. Activate the Pick Tool and set: X=760 / Y= 296

74. Image / Flip / Flip Horizontal
75. Adjust / Sharpness / Sharpen More
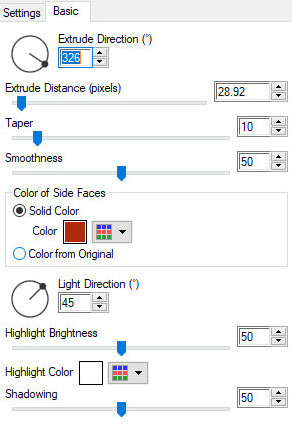
76. Effects / plugins / Eye Candy 5: Impact / Extrude - Preset
[Eniko2]

77. Drop shadow - same as above, with color #251238
78. Image / Add borders / 1px / black
79. Image / Resize; 950x631 (optional)
80. Add signatures
81. Merge all
82. Save as jpeg
*
Thank you Irene for testing my translations


|
