|
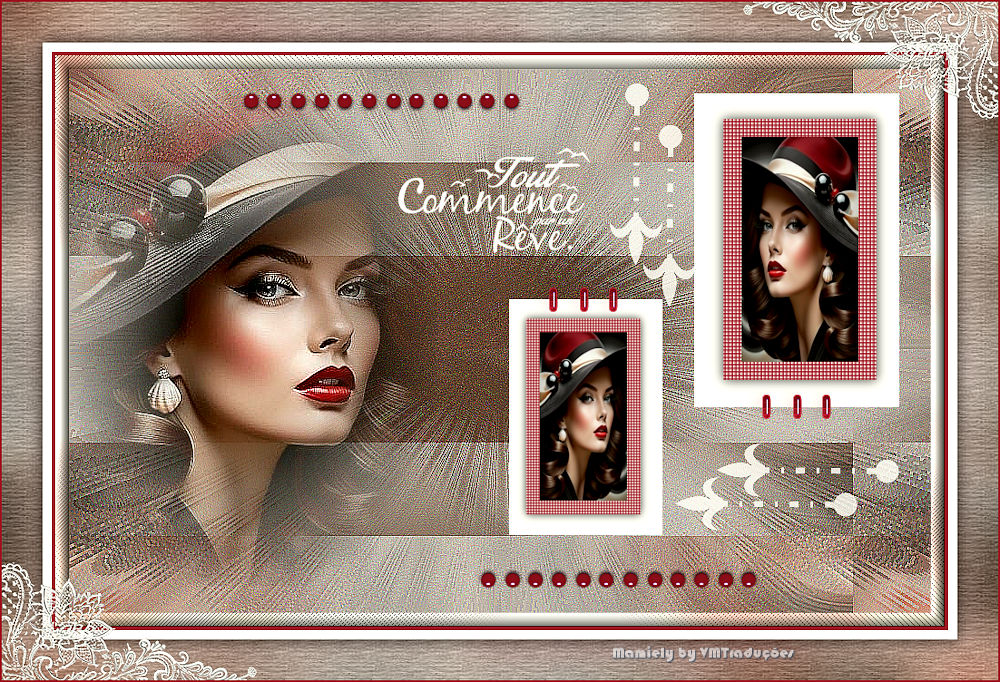
1. Original
Colors
2. Open a new transparent image with
950x600px
3. Selections / Select all
4. Copy [tube misted-Reveuse-ML-00]
5. Paste into selection
6. Select none
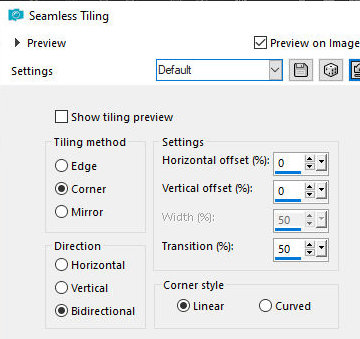
7. Effects - Image Effects - Seamless Tiling - Default
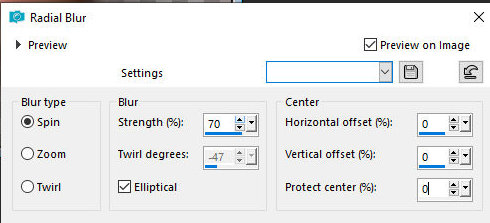
8.Adjust/Blur/Radial Blur
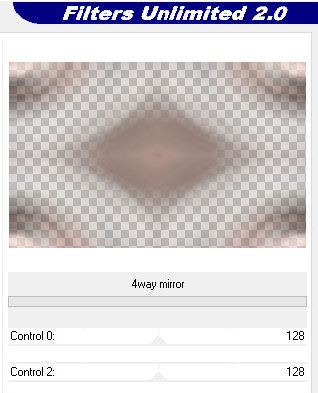
9. Effects / Pluins / Unlimited 2 /
Scribe / 4Way Mirror
10. Merge all
11.Effects / Edge Effects / Ehance More
12. Layers / Promote Background to layer
13. Layers/Duplicate
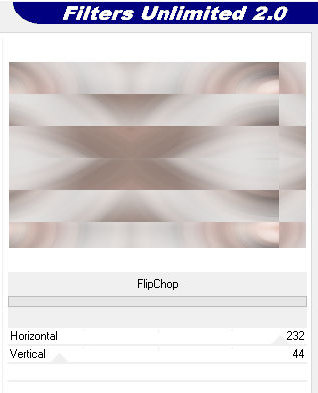
14. Effects / Plugins / Unlimited 2 / VM Distortion /
FlipChop
15. Effects / Edge Effects / Enhance
16. Close this layer
17. Activate the layer below - Raster 1
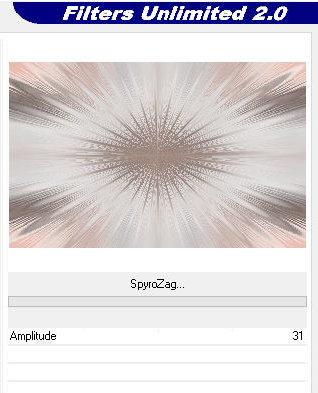
18. Effects / Plugins / Unlimited 2 / FunHouse /
SpyroZag
19. Effects / Edge Effects / Enhance
More
20. Open and activate the top layer
21. Layers / Properties / Blend Mode: Multiply (or
another that matches your colors)
22. Merge all
23. Add a new layer
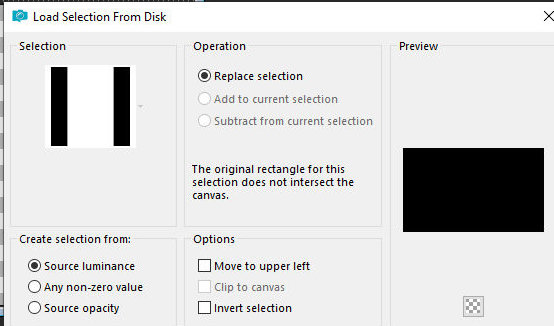
24. Selections - Load selection from disk / Selection
[20-06-2025-ML]
25. Paint with white
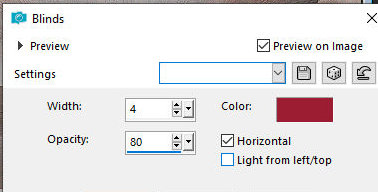
26. Effects / Texture Effects / Blinds - color: dark
27. Repeat the blinds with this other
setting
28. Select none
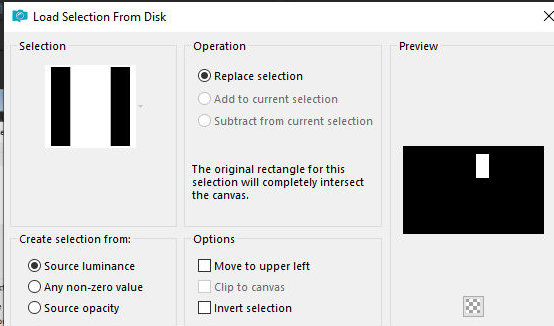
29. Selections / Load selection from disk / Selection
[20-06-2025-ML01]
30. Add a new layer
31. Copy the tube [image review]
32. Paste into the selection
33. Add a new layer
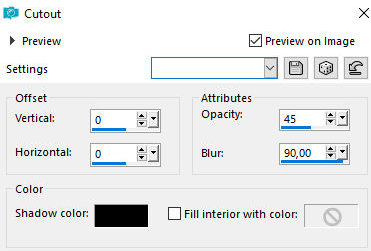
34. Effects / 3D Effects / Cutout
35. Select none
36. Merge Down - 2 times
37. Drop shadow: 0 0 75 20 black
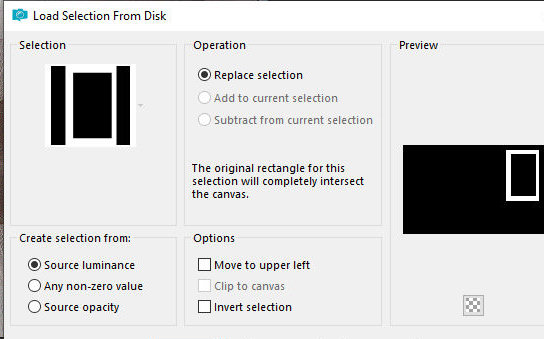
38. Selections / Load selection from disk / Selection
[20-06-2025-ML02]
39. Add new layer
40. Paint it white
41. Select none
42. Layers/Arrnage/Move down
43. Activate the top layer
44. Merge Down
45. Layers/Duplicate
46. Image / Mirror / Mirror Horizontal
47. Image / Resize: 75% - all layers unchecked
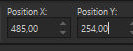
48. Activate the Pick Tool and configure: X=485 - Y=254
49. Copy [tube misted-Reveuse-ML-00]
50. Paste as new layer
51. Position according to the model
52.Adjust/Sharpness/Sharpen
53. Copy tube [Deco-01-ML]
54. Paste as new layer
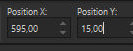
55. Activate the Pick Tool and configure: X=595 - Y=15
56. Copy the tube [Deco-accroche]
57. Paste as new layer
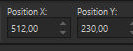
58. Activate the Pick Tool and configure: X=512 - Y=230
59. Copy the tube [Deco perle ML]
60. Paste as new layer
61. Copy the tube [text]
62. Paste as new layer
62b. Resize as desired
63. Position according to the template
64. Merge visible
65. Copy this image (it will remain in memory)
66. Image / Add borders / 15px / white
67. Select this border with the Magic Wand (tolerance/feather=0)
68. Paste the image that is in memory into the selection
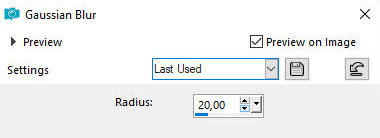
69. Adjust / blur / Gaussian B 20
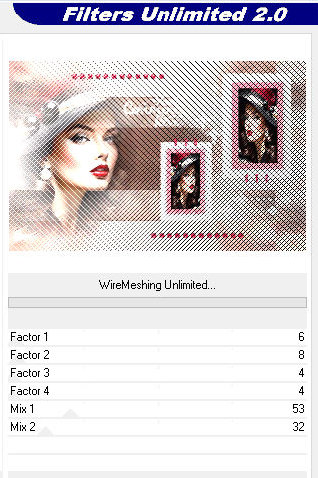
70. Effects / Plugins / Unlimited 2 /
Plugin AB 08 / Wire Meshing
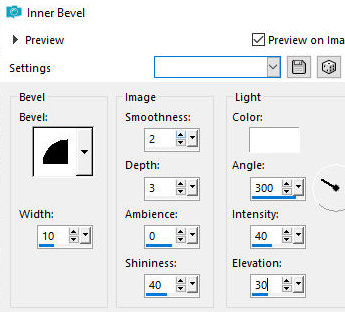
71. Effects / 3D Effects / Inner Bevel
72. Select none
73. Image / Add borders / 4px / dark color
74. Image / Add borders / 10px / white
75. Selections / Select all
76. Image / Add borders / 45px / any color
77. Selections / Invert
78. Paste the image copied above that is in memory into
the selection
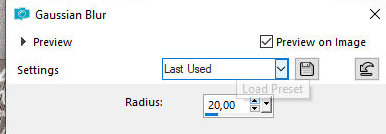
79. Adjust / Blur / Gaussian Blur: 20
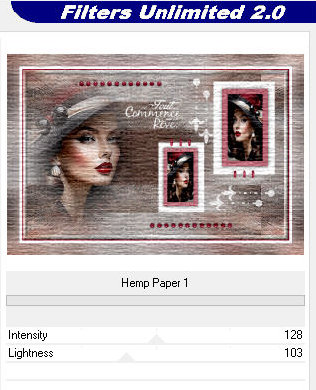
80. Effects / Plugins / Unlimited 2 /
Paper Texture / Hemp Paper 1
81. Selections / Invert
82. Drop Shadow: 0 0 85 25.00 black
83. Select none
84. Copy the frame [cadre dentelle]
85. Paste as a new layer
86. Image / Add borders / 2px / dark color
87. Image / Resize: 950px (width)
88. Add signatures
89. Merge all
90. Save as a jpeg |