|

This tutorial is from Mamiely to whom I thank
you for letting me translate your tutorials.

Original here

Tubes

Material

Many thanks to the creators of
these materials
creation.tine_masque191
NarahsMasks_1697
A@1.ml
A@2.ml
cadre ML
déco ML2
Déco.01-ML
filette8CLOCLO
texte joli Frimousse
Plugins
Mehdi
Simple
AP Line
VM Distorsion
Graphic plus
ScreenWorks
You can find these plugins on the websites of:
Renée
Cloclo
Também pode encontrar este tutorial traduzidos para estes idiomas:
(Clique na bandeira)


SCRIPT
Observations:
> Open the material / duplicate (Shift+D) / Close the Originals
> Change the layers blend mode to match your colors.
> In the antique versions of PSP the horizontal mirror = mirror /
vertical mirror = flip / pick tool = deformation
1. Open the masks in PSP and minimize
2. Put the selections in the PSP Selections folder
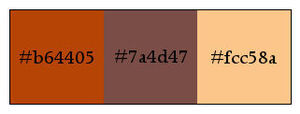
3. Colors:
33
4. Open a new transparent image with 950x600px
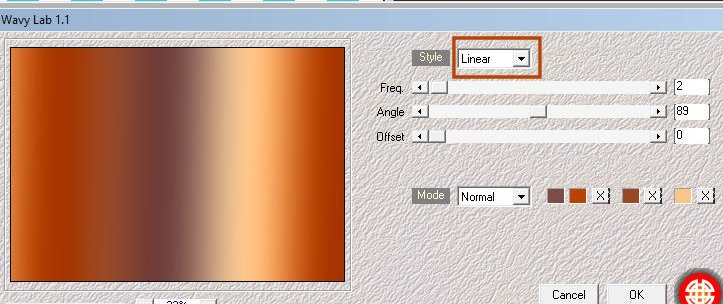
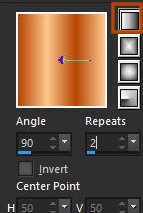
5. Effects / plugins / Mehdi / Wavy Lab 1.1
Colors: Background - Foreground - Default - #FCC58A
36
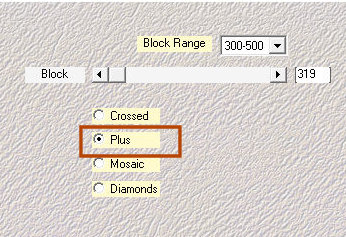
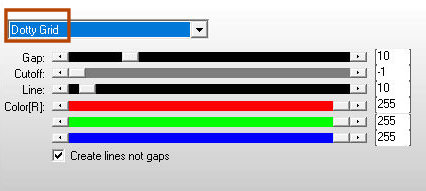
6. Effects / Plugins / Mehdi Sorting Tiles
37
7. Effects / Edge Effects / Enhance
8. Layers / duplicate
9. Effects / Plugins / Simple / Zoom Out and Flip
38
10. Layers / Properties / Blend Mode: Overlay / Opacity = 60
11. Add Nova Layer
12. Paint with white color
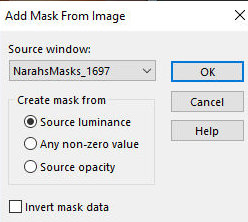
13. Layers / New Mask Layer / From Image / Mask [Narahsmasks_1697]
39/4
14. Merge Group
15. Add Nova Layer
16. Paint with white color
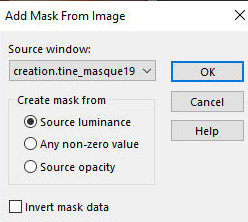
17. Layers / new mask layer / from image / mask [Creation.tine_masque191]
40/5
18. Merge Group
19. Add a new layer
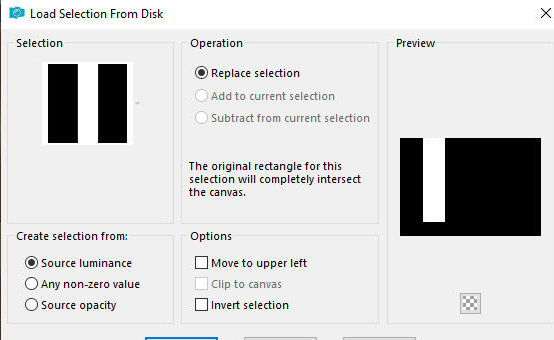
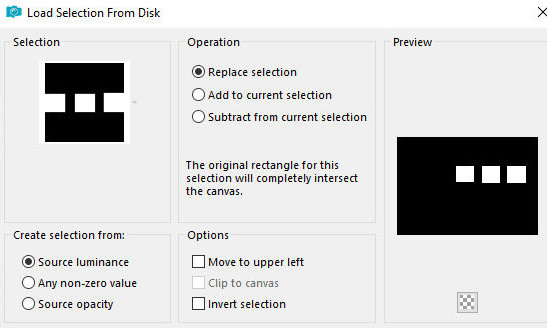
20.Selections / Load Selection From Disk / Selection [a@1.ml]
41/6
21. Put the color #B64405 on the foreground and the color #FCC58a in
the background
22. Prepare a linear gradient
42/7
23. Paint the selection with this gradient
24. Effects / Plugins / AP [Lines] / Silverlinging
43
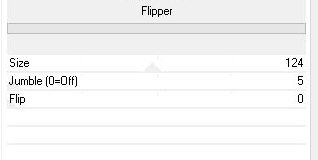
25. Effects / Plugins / VM Distortion / Flipper
44
26. Drop Shadow: 0 0 55 20 Black
27. SELECT NONE
28. Add Nova Layer
29. Selections / Load Selection From Disk / Selection [a@2.ml]
45/8
30. Paint with the gradient
31. Now choose three parts of your tube
32. Select each of them / copy and paste it as Nova Layer
33. Position each of these parts in the frames using the Move Tool
tool (see model)
55
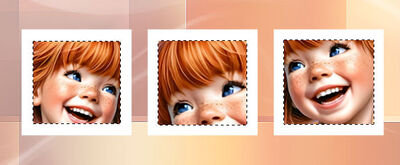
34. When you have the 3 images in the frames, give Merge Down twice,
joining the three images
35. Selections / Invert
36. Press delete on the keyboard
37. SELECT NONE
38. Activate the second layer from the bottom up
54
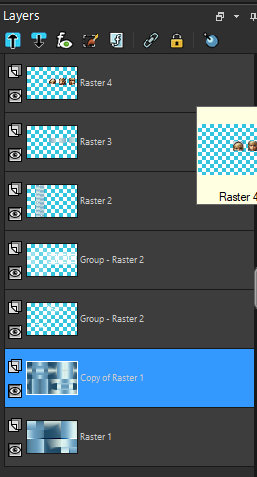
39. Copy the tube [Dec.01ml] and paste it as new layer
40. Activate the top laye
41. Copy the tube [Deco ML2] and paste as new layer
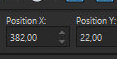
42. Activate Pick Tool and configure: x = 382 / y = 22
46/9
42b. Color according to your colors
43. Copy the text [Texte Joli Frimouse] and paste as Nova Layer
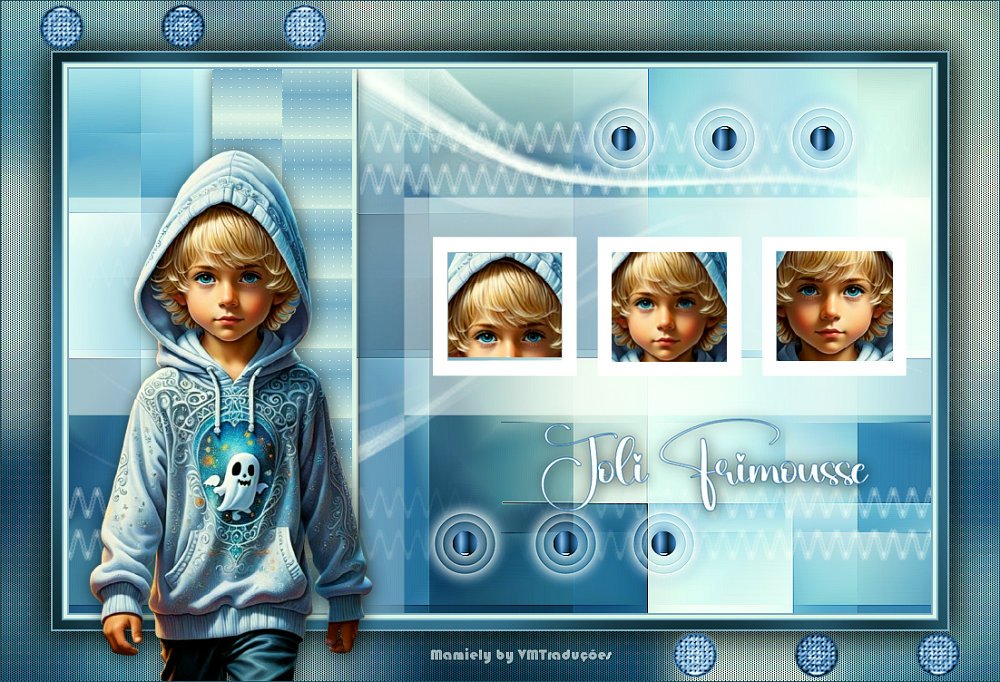
44. Position according to the model
45. MERGE ALL
46. Copie (will be in memory)
47. Image / add borders / 2px / color #b64405
48. Image / add borders / 4px / color #fcc58a
49. Image / add borders / 2px / color #b64405
50. Image / add borders / 10px / color #7a4d47
51. Select this 10px edge with Magic Wand (Tolerance/Feather = 0)
52. Effects / Plugins / Graphic Plus / Cross Shadow
47
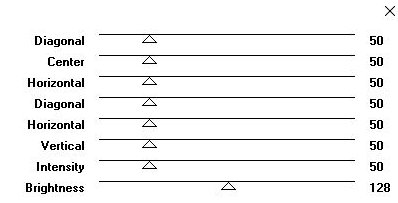
53. Repeat Cross Shadow
54. SELECT NONE
55. Image / add borders / 2px / color #b64405
56. Selections / SELECT ALL
57. Image / add borders / 55px / white
58. Selections / Invert
59. Cole in the selection the image that is in memory
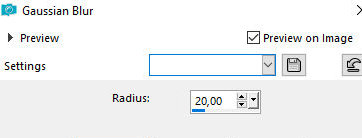
60. Adjust / Blur / Gaussian Blur = 20
48/10
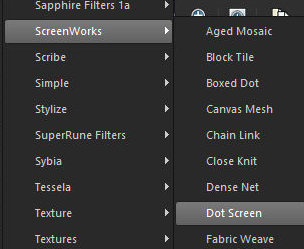
61. Effects / Plugins / Screenworks / Dot Screen
49
62. Selections / Invert
63. Drop Shadow: 0 0 100 50 Black
64. SELECT NONE
65. Copy the tube [FILETTE8CLOCLO] and paste as New Layer
66. Redimensions if necessary (according to your tube)
67. Adjust / Sharpness / Sharpen
68. Drop Shadow of your choice
69. Copy the tube [cadre ml] and paste it as new layer
70. Image / add borders / 1px / color #7a4d47
71. Image / resize: width = 950px - all layers marked
72. Put your signatures
73. Save as JPEG

|