|
Save the
selections to the PSP Selections folder.
*
You will need:
1 female tube
1 decorative tube or 2
I've included a link to the images I used above.
*
Step 1
1. Open a new transparent image measuring 850x500px.
2. Set the color #ceae96 to the foreground and #893319
to the background.
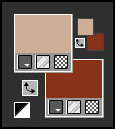
3. Prepare a Radial gradient.
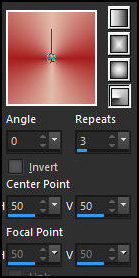
4. Paint the image with this gradient.
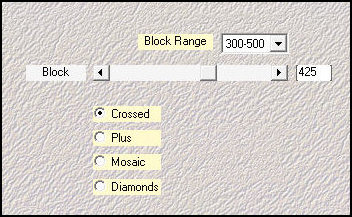
5. Effects / Plugins / Mehdi / Sorting Tiles
Step 2
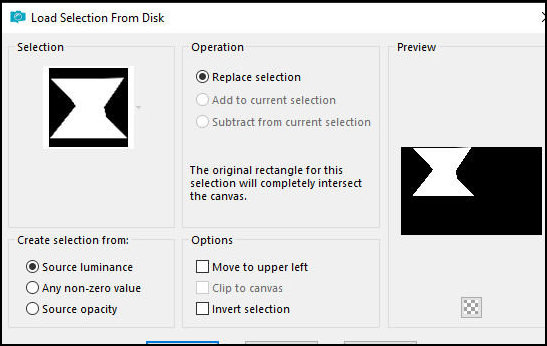
6. Selections / Load selection from disk / Selection
[#Ivana_LV25]
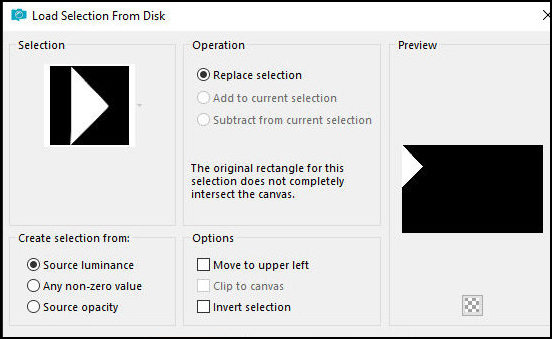
7. Selections / Promote selection to layer
8. Select none
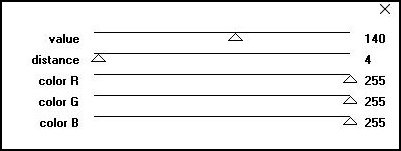
9. Effects / Plugins / Penta.com / Color Dot
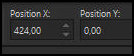
10. Activate the Pick Tool and set it to: 424/0
Step 3
11. Layers / Duplicate
12. Close the copy of the layer. Duplicate
13. Activate the layer below - promoted selection
14. Effects / Plugins / Toadies / What are you?
15. Layers / Duplicate
Step 4
16. Image / Mirror / Mirror Horizontal
17. Merge Down
18. Layers / Properties / Blend Mode: Screen (or other
of your choice)
19. Activate the background layer
20. Effects / Edge Effects / Enhance - Apply twice
Step 5
21. Activate and open the closed layer
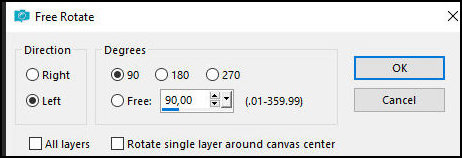
22. Image / Free Rotate: left/90
23. Objects / Align / Center in Canvas
24. Objects / Align / Bottom
25. Drop shadow: 0 0 90 25 black
Step 6
26. Effects / Plugins / Toadies / What are you?

27. Layers/Duplicate
28. Image / Mirror / Mirror Horizontal
29. Merge Down
30. Layers / Properties / blend Mode: Overlay (or other)
Step 7
31. Layers/Duplicate
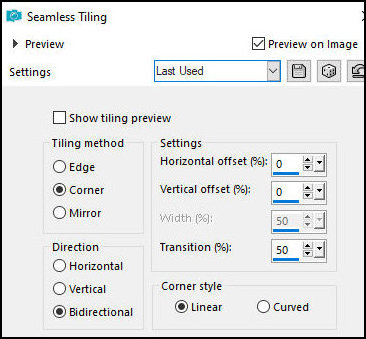
32. Effects / Image Effects / Seamless Tiling - default
33. Effects / Edge Effects / Enhance
34. Layers / Properties / blend Mode: overlay
35. Selections / Load selection from disk / Selection
[#Ivana2-LV25]
Step 8
36. Press Delete
37. Select none
38. Merge visible
39. Layers/Duplicate
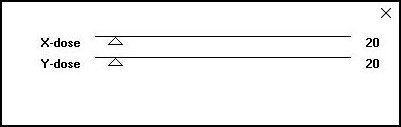
40. Effects / Plugins / Mura's meister / Perspective
Tiling

Step 9
41. Copy the tube [shadow]
42. Paste as new layer
43. Layers / Arrange / Move Down
44. Activate the top layer
45. Merge Visible
Step 10
46. Copy the tube [00031-MO(AI@LValella24)]
47. Paste as a new layer
48. Position it to the left as per the model
49. Layers / Properties / blend mode: overlay / opacity:
65%
50. Adjust / Sharpness / Sharpen
Step 11
51. Copy the tube [1053-TD(AILValella)]
52. Paste as a new layer
53. Image / Resize: 70% - all layers unchecked
54. Drop Shadow: 3 -3 50 20 #5a0904
55. Position it to the right as per the model
Step 12
56. Copy the tube [0973-TO(AILValella25]]
57. Position it to the left as per the model
58. Copy the title
59. Paste as a new layer
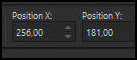
60. Activate the pick Tool and set: X=256 - Y=181 -
Press M
Step 13
61. Borders:
2px / black
3px / #ceae96
3px / #893319
3px / #ceae96
2px / black
62. Selections / Select all
Border: 35px / white
63. Drop Shadow: 0 0 90 20 black
64. Select none
65. Copy the tube [decorofoglie]
Step 14
66. Paste as a new layer
67. Border: 1px / black
68. Add the signatures
69. Merge all
70. Save as a jpeg |