|
You will need:
1 main tube
1 decorative tube
1 landscape/background tube
*
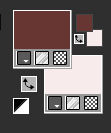
1. Original colors: foreground: #673633 - background:
#f7ebec
2. Open a new transparent image with
900x600px
3. Selections / Select all
4. Copy your landscape/background tube
5. Paste it into the selection
6. Select none
7. If you prefer, you can colorize your image according
to your images
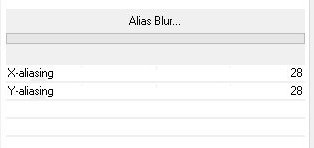
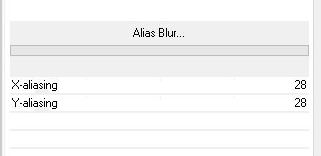
8. Effects / Plugins / Unlimited 2 / Deformation / Alias
Blur
9. Layers / Duplicate
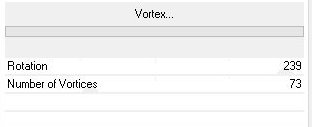
10. Effects / Plugins / Unlimited 2 / Deformation /
Vortex
11. Layers / Properties / Blend Mode:
Overlay
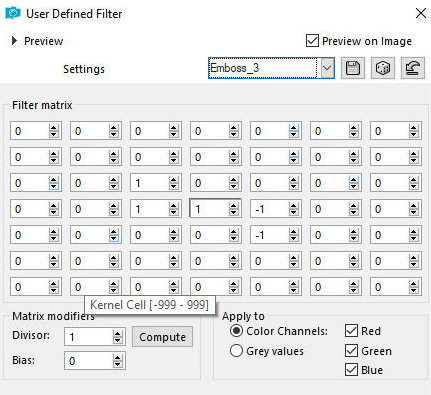
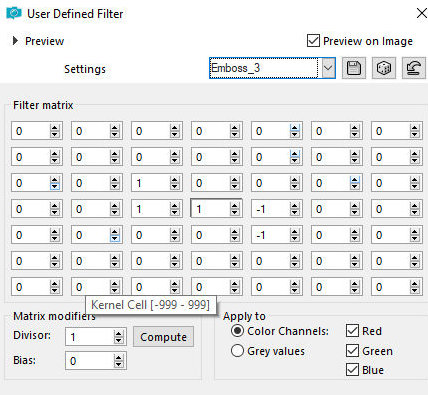
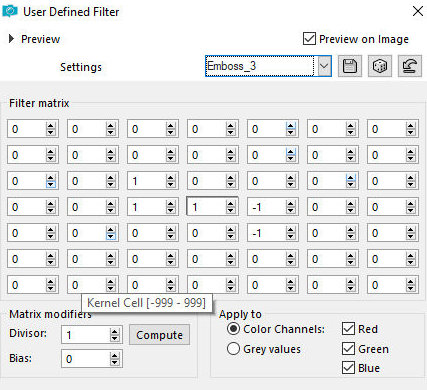
12. Effects / User Defined Filter / Emboss 3
13. Layers / Properties / Opacity: 58%
14. Activate raster layer 1
15. Add a new layer
16. Paint with the color of background
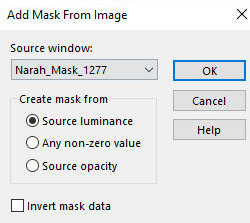
17. Layers / New Mask Layer / From Image / Mask [Narah-Mask-1277]
18. Layers. Duplicate
19. Merge group
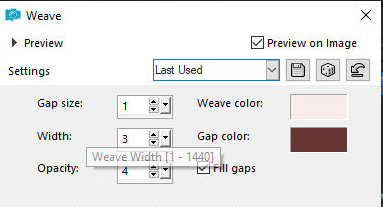
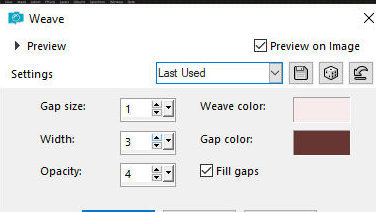
20. Effects / Texture Effects / Weave
21. Effects / User Defined Filter /
Emboss 3
22. Drop Shadow: 1 1 60 2 black
23. Layers/Duplicate
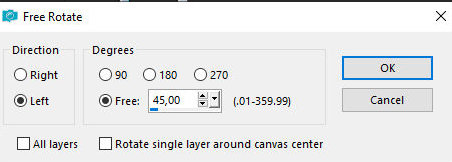
24. Image / Free Rotate - left 45
25. Merge down
26. Layers/Properties/Opacity: 56%
27. Add new layer
28. Paint with the foreground color
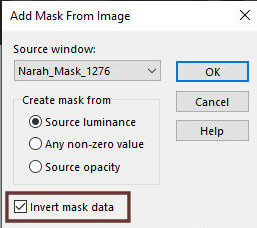
29. Layers / New mask layer / From Image / Mask [Narah-Mask-1276]
- INVERT MARKED
30. Layers / Duplicate - 2 times
31. Merge group
32. Effects / Texture Effects / Weave - same as above
33. Layers/Properties/Opacity: 65%
34. Drop Shadow: 1 1 5 0 35 black
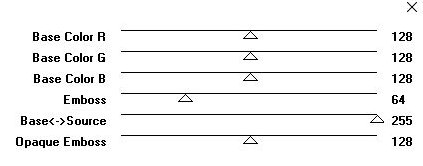
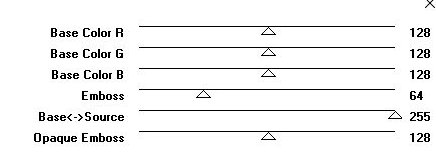
35. Effects / Plugins / Mura's Seamless / Emboss at
Alpha - default
36. Activate the Raster 1 layer
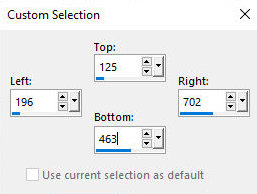
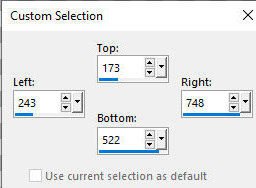
37. Activate the Selection Tool / Custom Selection and
configure:
38. Selections / Promote selection to
layer
39. Copy your landscape/background tube
40. Paste as a new layer
41. Move the image to the selection, positioning it as
desired
42. Selections / Invert
43. Press Delete
44. Select none
45. Layers / Properties / Opacity: 77%
46. Effects / User Defined Filter / Emboss 3
47. Activate the top layer
48. Add a new layer
49. Paint with the background color or white
50. Layers / New Mask Layer / From Image / Mask [Narah-Mask_1296]
51. Layers / Duplicate
52. Merge Group
53. Layers / Properties / opacity: 75%
54. Effects / Plugins / Mura's Seamless / Emboss at
Alpha - default
55. Border: 1px / black
56. Copy (will be in memory)
57. Selections / Select all
58. Border: 45px / background color
59. Selections / Invert
60. Paste the image from memory into the selection
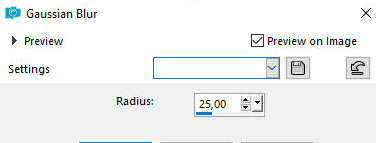
61. Adjust / Blur / Gaussian Blur: 25
62. Effects / Plugins / unlimited 2 /
Deformation / Alias Blur
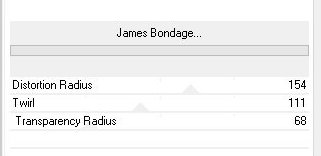
63. Effects / Plugins / Unlimited 2 /
Deformation / James Bondage
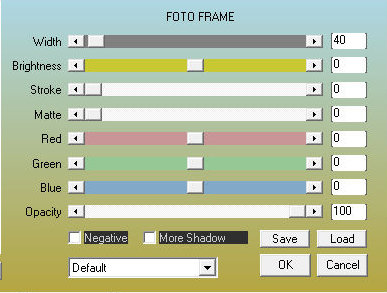
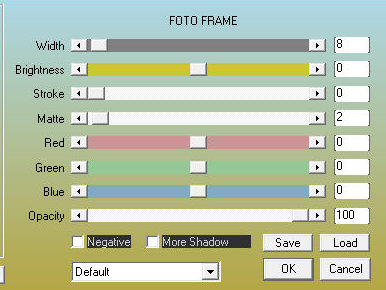
64. Effects / Plugins / AAA Frames /
Photo Frame - default
65. Keep the selection
66. Copy
67. Paste as a new image
68. Image / Mirror / Mirror Vertical
69. Copy
70. Return to the original image
71. Add a new layer
72. Paste into Selection
73. Layers / Properties / Opacity: 48%
74. Merge Down
75. Drop Shadow: 0 0 80 40 foreground color
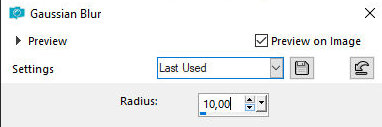
76. Selections / Invert
77. Drop Shadow: 0 0 80 40 foreground color
78. Select none
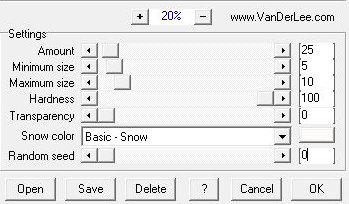
79. Activate the Selection Tool / custom selection and
configure as shown in the screenshot
80. Effects / Plugins / VanDerLee /
Snowflakes
81. Select none
82. Copy the tube [deco 1]
83. Paste as a new layer
84. Position as shown in the model
85. Copy your main tube
86. Paste as a new layer
87. Adjust the size
88. Position as shown in the model
89. Apply a drop shadow of your choice
90. Border: 2px / background color
91. Copy (will be stored in memory)
92. Selections / select all
93. Border / 35px / foreground color
94. Selections / Invert
95. Paste the image from memory into the selection
96. Effects / Plugins / Simple / Quick Tile
97. Adjust / Blur / Gaussian Blur: 10
98. Keep the selection
99. Effects / Plugins / AAA Frames / Photo Frame
100. Effects / Plugins / AAA Frames /
Photo Frame
101. Keep the selection
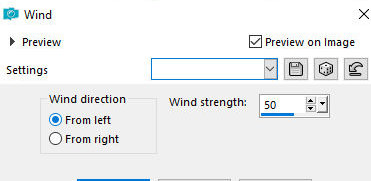
102. Effects / Distortion Effects / Wind - left 50
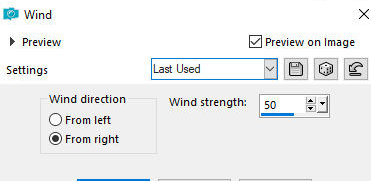
103. Effects / Distortion Effects /
Wind - right 50
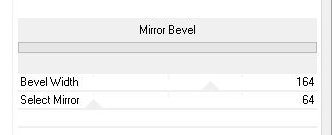
104. Effects / Plugins / Alf's Border
FX / Mirror Bevel
105. Repeat Mirror Bevel
106. Drop Shadow: 0 2 80 40 background color
107. Selections / Invert
108. Drop shadow as before
109. Select none
110. Copy your Decorative tube
111. Paste as a new layer
112. Adjust the size
113. Position it at the bottom left as shown in the
model
114. Copy the text
115. Paste as a new layer
116. Position it at the top as shown in the model
117. Border: 2px / foreground color
118. Image / Resize: 900px (width)
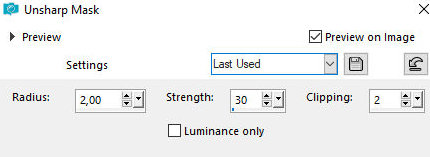
119. Adjust / Sharpness / Unsharp Mask
120. Add the signatures
121. Merge all
122. Save as jpeg |