|
Notes:
> Open the material / Duplicate (shift+d) / Close the originals
> Change the blend mode of the layers to match their colors.
> In older versions of PSP, Mirror Horizontal=Mirror / Mirror Vertical=Flip /
Pick tool=deformation
> Open the masks in psp and
minimize
>Adjust the size of the tubes according to your images
|

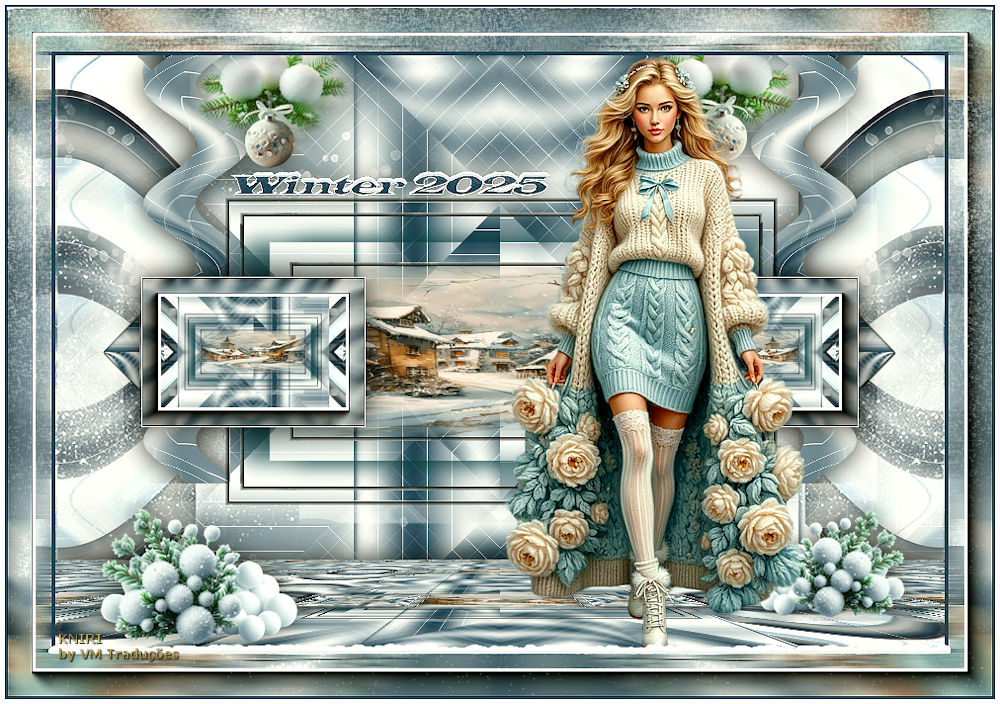
SCRIPT
1
Colors used: Foreground: #2a4a61 - Background: #ffffff
Open the alpha file [Alphak] / Duplicate (shift+d) / Close the
original
Rename to Raster 1
Effects/Plugins/Mehdi/Wavy Lab 1.1
Colors used:
1-#ffffff
2-#2a4a61
3 and 4- #91a1ad
2
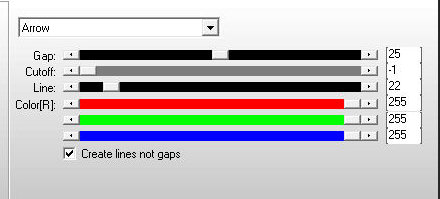
Effects / plugins / AP[Lines] / SilverLining
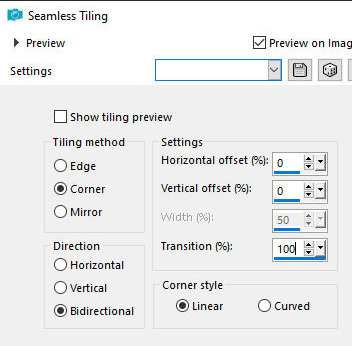
Effects / Image Effects / Seamless Tiling - default - Transition:
100
3
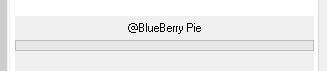
Effects / Plugins / Unlimited 2 / BKG Kaleidoscope / @BlueBerry
Pie
Effects / Plugins / Simple / Top Left Mirror
Effects / Plugins / Simple / Pizza Slice mirror
Effects / Image
Effects / Seamless Tiling - same as above
Layers /
Duplicate
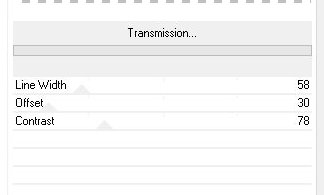
Effects / Plugins / VM Extravaganza / Transmission
4
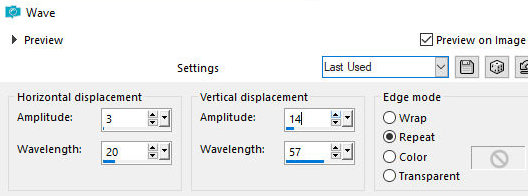
Effects / Distortion Effects / Wave
5
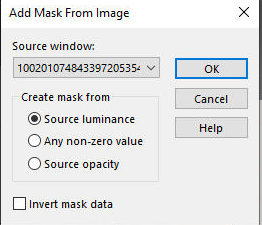
Layers / New Mask Layer / From image / Mask
[100201074843397205354528]
Merge Group
Effects / Plugins / Unlimited 2 / BKG Kaleidoscope / 4QFlip
ZBottomR
6
Copy the tube [deko]
Paste as new layer
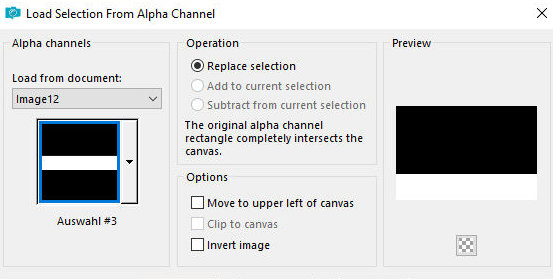
Activate the Raster 1 layer
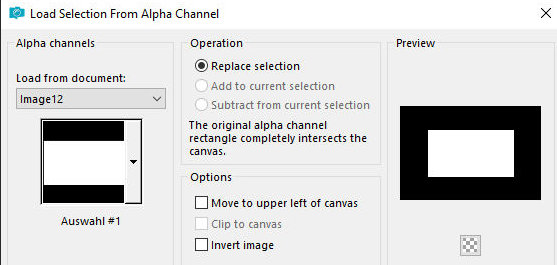
Selections / Load selection from alpha channel / Selection 1
Selectons /
Promote selecton to layer
Layers / Arrange / Bring to top
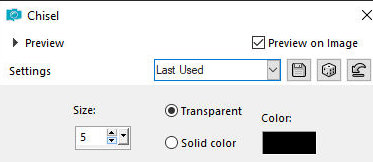
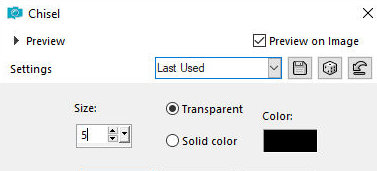
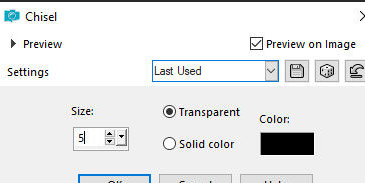
Effects / 3D Effects / Chisel
7
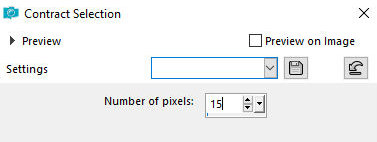
Selections/Modify/Contract; 15
Effects / 3D
Effects / Chisel - same as before
Selections /
Modify / Contract: 25
Drop shadow: 0
25 80 35 black
Drop Shadow: 0 -25 80 35 black
Selections / Modify / Contract: 25
Effects / 3D
Effects / Chisel - same as before
Add a new layer
Copy your tube misted background (landscape or other)
Paste it into the selection
Layers / Duplicate
Merge down - 2 times
Select none
Edit / Copy Special / Copy Merged
Paste as a new image
Image / Resize: 25px - all layers checked
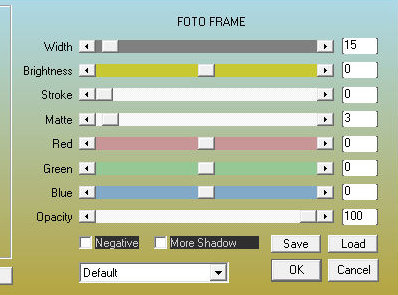
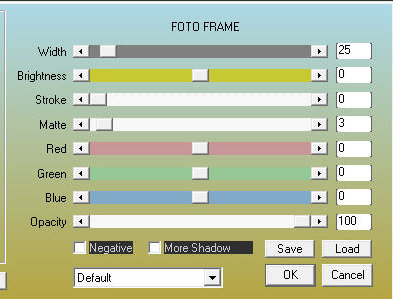
8. Effects / Plugins / AAA Frames / Photo Frame
Border: 1px /
white
Copy this image
Return to your main image
Paste as a new layer
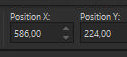
Activate the Pick Tool and set: X=586 - Y=224 - Press M
Layers /
Duplicate
Image / Mirror / Mirror Horizontal
Merge down
Drop shadow: 0 0 80 40 black
9.
Copy the tube [Deko
1]
Paste as a new layer
Objects / Align / Top
Layers / Arrange / Move down - 2 times
Activate the top layer
Edit / Copy Special / Copy Merged (will be in memory)
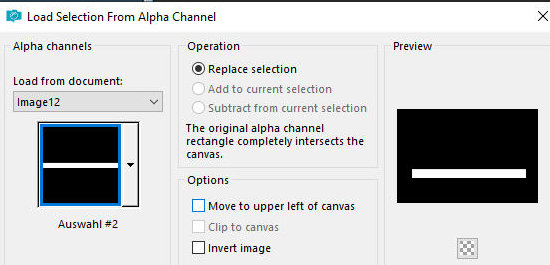
Selections / Load selection from alpha channel / Selection 3
Add a new layer
Paste into the selection
Select none
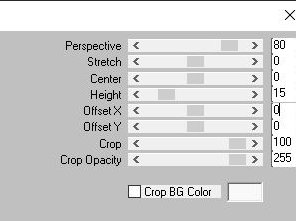
Effects / Plugins / Mura's Meister / Perspective tiling - height:15
Drop Shadow -
same as before
Activate the layer Copy of Group Raster 1
10.
Add a new
layer
Paint with white
Layers / New Mask Layer / From Image / Mask
[Silvie_Mask_Glitter_Deco88T]
Merge Group
Layers / Duplicate
Merge down
Drop shadow: 0 0 80 40 white
Layers / Duplicate
Image / Mirror / Mirror Horizontal
Merge Down
Activate layer Raster 4
Selections / Load selection from alpha channel / Selection 2
Press Delete
Select none
Activate the top layer
Copy your main tube
Paste as a new layer
Resize if necessary
Position according to the model
Drop Shadow of your choice
Copy the tube [Deko 2]
Paste as a new layer
Objects / Align / Bottom
Copy the tube [Deko 3]
Paste as a new layer
Position according to the model
11
Border: 4px / foreground color
Copy (will be in memory)
Selections / Select all
Border: 45px / background color
Selections / Invert
Paste the image from memory into the selection
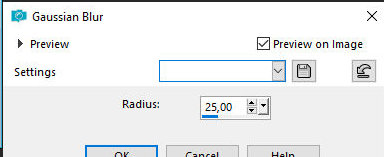
Adjust / Blur / Gaussian Blur: 25
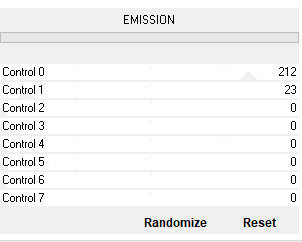
Effects /
Plugins / Unlimited 2 / AFS IMPORT / Emission
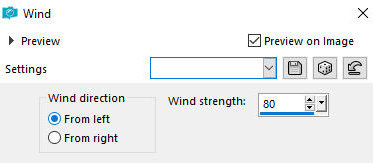
Effects /
Distortion Effects / Wind - left/80
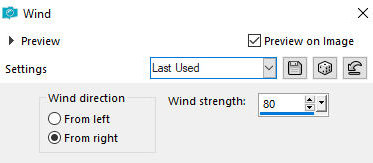
Effects /
Distortion Effects / Wind - right/80
12
Effects / Plugins / AAA Frames / Photo Frame
13
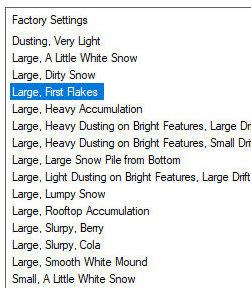
Effects / Plugins / Eye Candy 5: Nature / Snow drift- preset [large,
first flakes]
Adjust/Sharpness/Sharpen
Select none
14
Copy the text
Paste as new layer
Position according to the model or as you prefer
Edge:
2px / foreground color
5px / white
Image/Resize: 900px 9width)
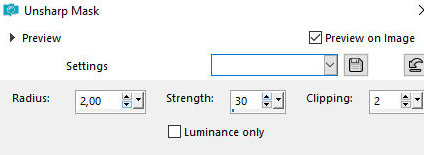
Adjust/Sharpness/Unsharp Mask
Put signatures
Merge all
Save as jpeg