|


This tutorial is from Kniri who I thank for
letting me translate their tutorials.

Original here

Tubes

Material

My images:
Here
Plugins
AAA Frames - Mura's Meister - AP [Lines]
- Graphic Plus
You can find these plugins on the websites of:
Renée
Cloclo
You can also find this tutorial translated into these languages:
(Click on the flag)


|
Notes:
> Open the material / Duplicate (shift+d) / Close the originals
> Change the blend mode of the layers to match their colors.
> In older versions of PSP, Mirror Horizontal=Mirror / Mirror Vertical=Flip /
Pick tool=deformation
> Open the masks in psp and
minimize
>Adjust the size of the tubes according to your images
|
SCRIPT
Images needed:
1 feminine tube
1 decorative tube
1 floral tube
*
1. Open the alpha file [Alphakniri]
/ Duplicate (shift+d) / Close the original
2. Selections / Select all
3. Copy the image [AIBGKniri]
4. Paste it into the selection
5. Select none
6. Name it Raster 1
7. Selections / Load selection from Alpha channel / Selection #1
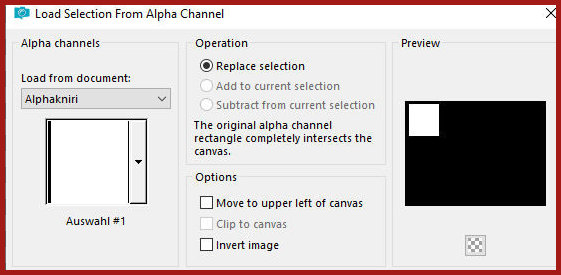
8. Selections / Promote selection
to layer
9. Effects / Art Media Effects / Brush Strokes

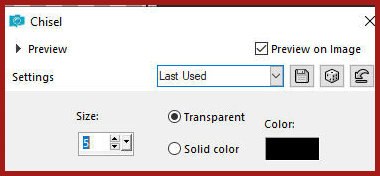
10. Effects / 3D Effects / Chisel
11. Select none
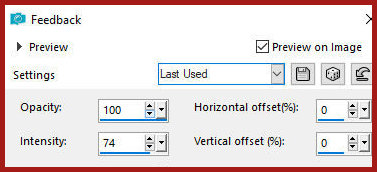
12. Effects / Reflection Effects / Feedback
13. Layers / Duplicate
14. Image / Mirror / Mirror Horizontal
15. Merge down
16. Blend : Hard Light
17. Layers / Duplicate
18.Image/Mirror/Mirror Vertical
19.Merge Down
20.Drop shadow: 1 1 60 25 black
21.Activate the Raster 1 layer
22.Selections / Load selection from alpha channel / Selection 2
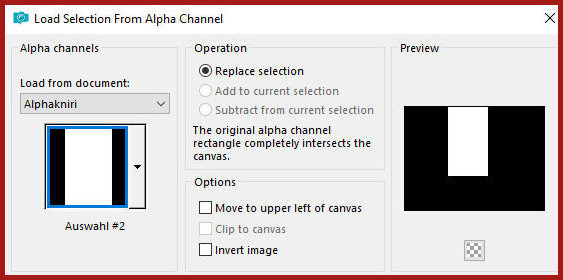
23.Selections / Promote selection
to layer
24.Layers / Arrange / Bring to top
25.Effects / 3D Effects / Chisel - same as above
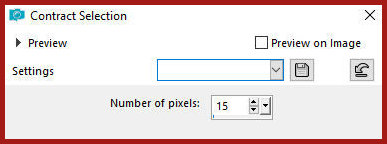
26.Selections / Modify / contract:
15
27.Effects / 3D Effects / Chisel -
same as above
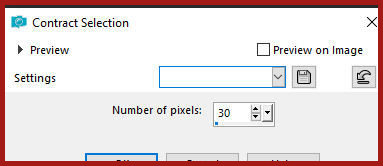
28.Selections/Modify/Contract: 30
29.Selections / Promote selection
to layer
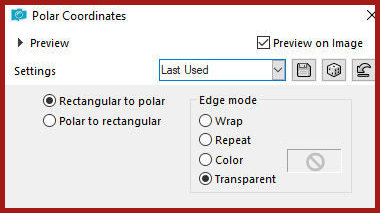
30.Effects / Distortion Effects / Polar Coordinates
31.Effects /3D Effects / Chisel -
same as above
32.Select none
33.Activate the Raster 1 layer
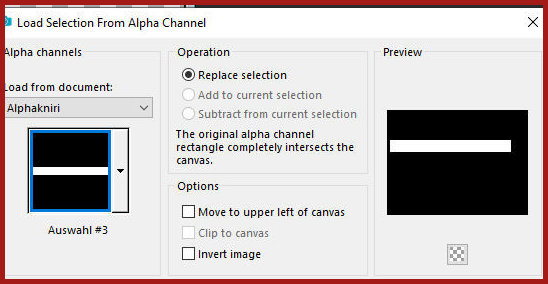
34.Selections / Load selection from alpha channel / Selection 3
35.Selections / Promote selection
to layer
36.Layers / Arrange / Bring to top
37.Select none
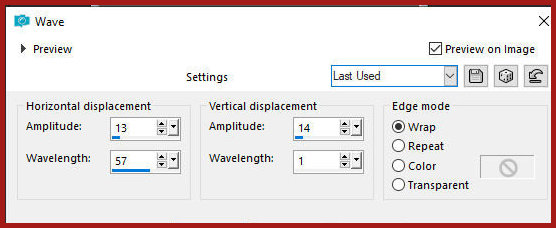
38.Effects / Distortion Effects / Wave
39.Drop Shadow same as above
40.Layers / Arrange /Move down - 2 times
41.Copy [AI dekok]
42.Paste as new layer
43.Layers/Arrange/Move Up
44.Opacity: 78%
45.Activate the top layer
46.Copy the tube [Deco1]
47.Paste as new layer
48.Merge visible
49.Layers/Duplicate
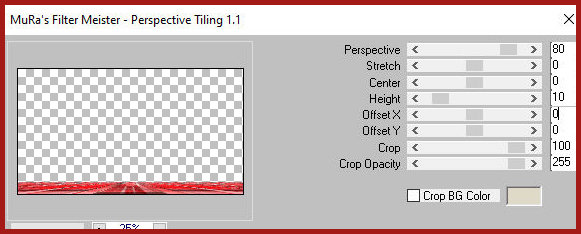
50.Effects / Plugins / Mura's Meister / Perspective Tiling - Height=10
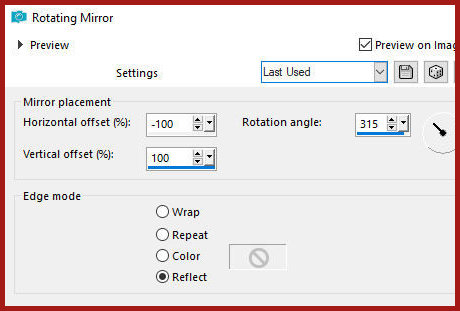
51.Effects / Reflection Effects /
Rotating Mirror
52.Drop Shadow: 0 0 60 30.00 black
53.Merge visible
54.Add new layer
55.Paint it white
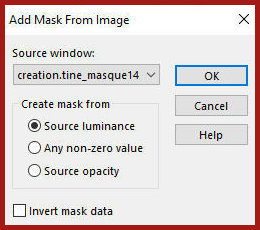
56.Layers / New Mask Layer / From Image / Mask [creation.tine-masque145]
57.Merge Group
58.Layers/Duplicate
59.Merge Down
60.Blend Mode: overlay
61.Drop shadow: 1 1 60 2 black
62.Effects/ edge Effects / Enhance
63.Image / Add borders / 5px / black
64.Image / Add borders / 5px / white
65.Select this white border with the magic wand
66.Selections /Invert
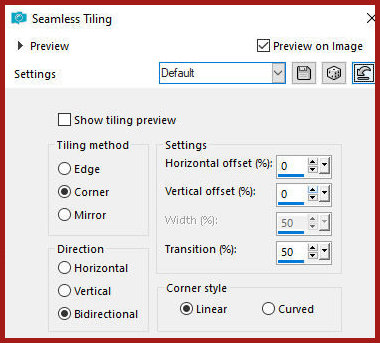
67.Effects / Image Effects / Seamless Tiling - Default
68.Selections / Invert
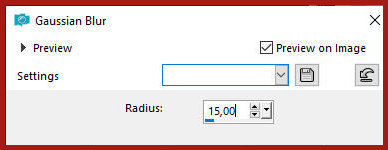
69.Adjust/Blur/Gaussian Blur: 15
70.Select none
71.Image / Add borders / 1px / black
72.Selections / Select all
73.Image / Add borders / 40px / #939596
74.Selections / Invert
75.Add new layer
76.Paint it white
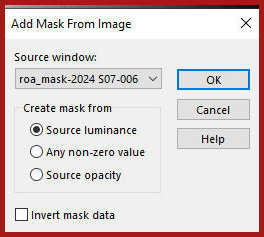
77.Layers / New Mask layer / From Image / Mask [roa_mask-2024
S07-006]
78.Merge Group
79.Keep the selection
80.Layers/duplicate
81.Merge down
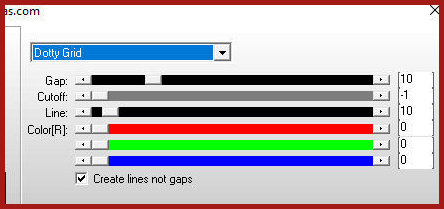
82.Effects / plugins / AP [Lines] / SilverLining - dotty grid -
default
83.Effects / Edge Effects / Enhance
more
84.Effects / Plugins / Graphic Plus / Cross Shadow - default

85.Repeat Cross Shadow
86.Select none
87.Merge visible
88.Selections / Select all
89.Selections/Modify/contract: 30
90.Selections / invert
91.Effects / Plugins / AAA Frames / Photo Frame
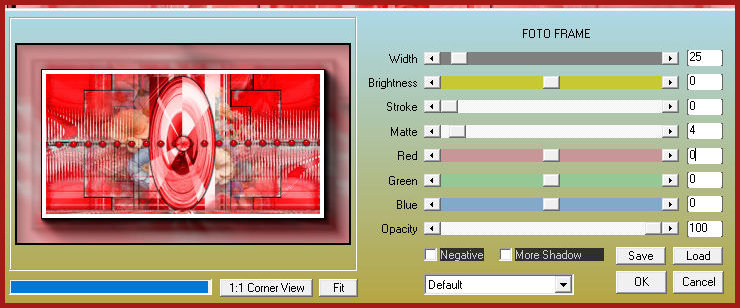
Selections / Promote selection to
layer
92.Color the selection with white color
93.Layers / New Mask Layer / From Image / Mask [roa-mask-2024
S07-006]
94.Merge Group
95.Select none
96.Copy your main tube
97.Paste as new layer
98.Adjust the size
99.Position as per model
100. Drop Shadow of your choice
101. Copy your decorative tube
102. Paste as a new layer
103. Position as per model
104. Drop shadow of your choice
105. Copy the text
106. Paste as a new layer
107. Position to the left as per model
108. Image / Add borders / 3px / black
109. Image / Add borders / 3px / white
110. Image / Add borders / 10px / #939596
111. Select this 10px border with the magic wand
112. Adjust / Add/Remove Noise / Add Noise
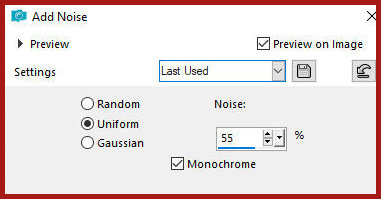
113. Select none
114. Image / Add borders / 2px / black
115. Image / Resize: 900px (width)
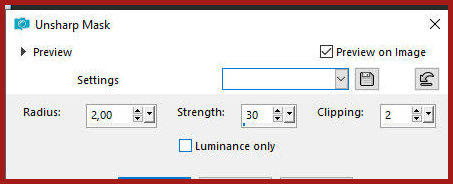
116. Adjust / Sharpness / Unsharp Mask
117. Add signatures
118. Merge all
119. Save as jpeg

|