|
This tutorial is from Kniri who I thank for letting me translate their tutorials.
Material
My images: Here
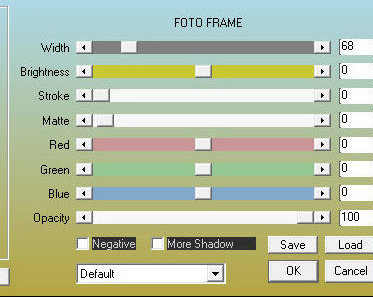
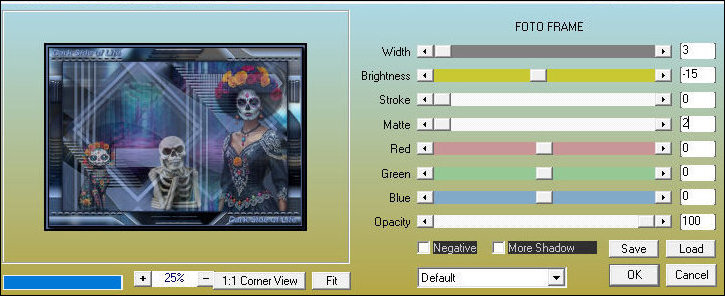
AAA Frames
You can also find this tutorial translated into these languages:
SCRIPT
*
|
|
This tutorial is from Kniri who I thank for letting me translate their tutorials.
Material
My images: Here
AAA Frames
You can also find this tutorial translated into these languages:
SCRIPT
*
|