|
You will need:
1 main tube
1 decorative tube
1 landscape image
1 background image
*
Step 1
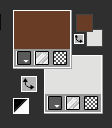
Original colors: Foreground: #683c26 - Background:
#e1e1df
Open the alpha channel file [alphak] /
Duplicate (shift+d) / Close the original
Rename to Raster 1
Selections / Select all
Copy the background image (BGK)
Paste it into the selection
Select none
Copy the tube [deko]
Paste it as a new layer
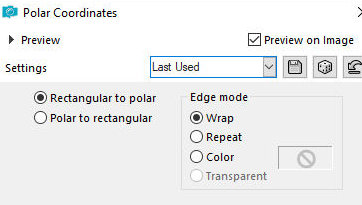
Effects / Distortion Effects / Polar Coordinates
Effects / Edge Effects / Enhance
Step 2
Activate the Raster 1 layer
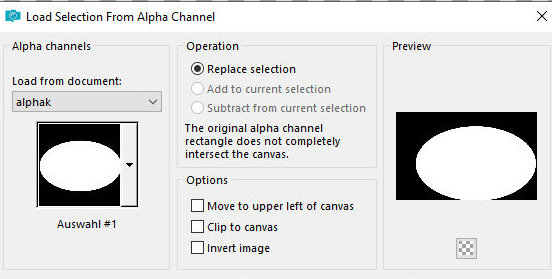
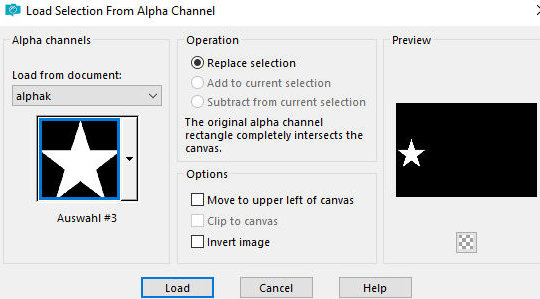
Selections / Load selection from alpha channel /
Selection 1
Selections / Promote selection to
layer
Paint the selection white
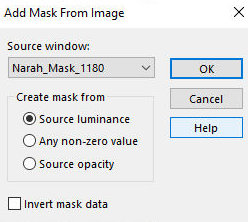
Layers / New Mask Layer / From Image / Mask [Narah-Mask-1180]
Merge group
Select none
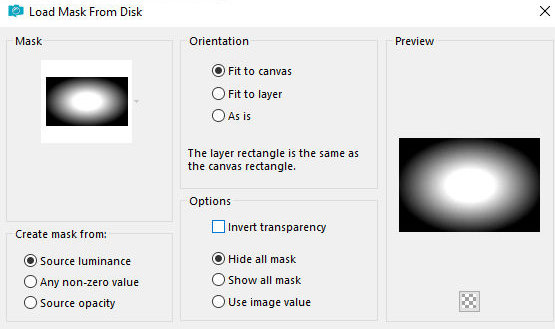
Layers / Load mask from disk / Mask [20 20]
Merge Group
Activate the top layer
Merge down
Adjust/Sharpness/Sharpen
Activate the Raster 1 layer
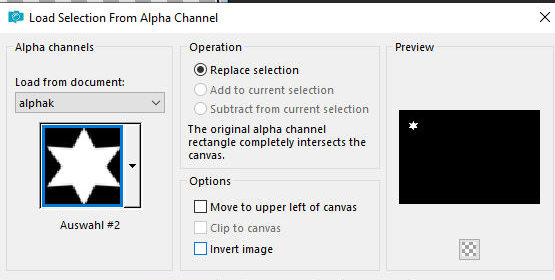
Selections / Load selection from alpha channel /
Selection 2
Selections / Promote selection to layer
Layers / Arrange / Bring to top
Step 3
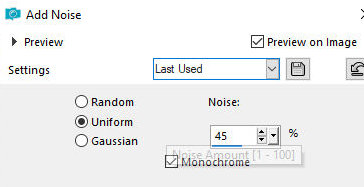
Adjust / Add Noise/ Remove - Add Noise
Step 4
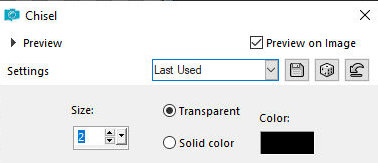
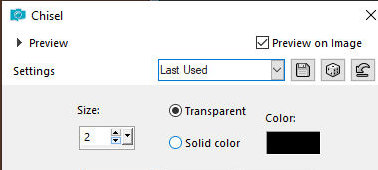
Effects / 3D Effects / Chisel
Select none
Step 5
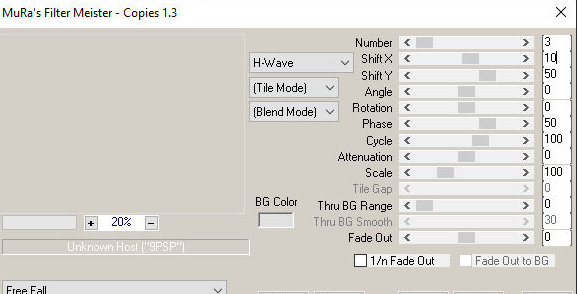
Effects / Plugins / Mura's Meister / Copies (before
configuring, click Reset)
Image/Resize: 60% - all layers
unchecked
Activate the pick Tool and configure: X=22 -Y=34 - press
M
Drop shadow: 0 0 50 2 black
Step 6
Copy your tube misted landscape
Paste like new Layer
Layers / Arrange / Move down
Activate the top layer
Edit / Copy Special / Copy Merged / Paste as new image /
return to your main image
Selections / Load selection from alpha channel /
Selection 3
Add a new layer
Paste the copied image above into the selection
Effects / 3D Effects / Chisel - same as before
Select none
Activate the Pick Tool and configure: X=21 - Y=124 -
Press M
Step 7
Copy the tube [schnee]
Paste as a new layer
Objects / Align / Bottom
Activate the Raster 3 layer (large star)
Layers / Duplicate
Image / Resize: 40% - all layers unchecked
Effects / plugins / Mura's Meister / Copies
Image / Mirror / Mirror Horizontal
Position to the right as per the model
8. Activate the second layer from bottom to top
Add a new layer
Paint with the color White
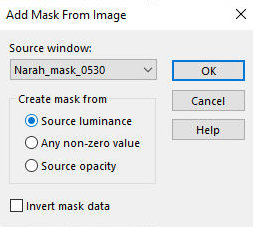
Layers / New Mask Layer / From Image / Mask [Narah_Mask-0530]
Layers / Duplicate
Merge Group
Activate the top layer
Copy the tube [schneeball]
Paste as a new layer
Position it at the bottom left as per the model
Copy the smaller (decorative) tube
Paste as a new layer
Adjust the size
Position it as per the model between the snowballs
Step 9
Border:
1 px / foreground color
3 px / background color
2 px / foreground color
Selections / Select all
Border: 45px / white
Selections / Invert
Copy your landscape jpg image
Paste it into the selection
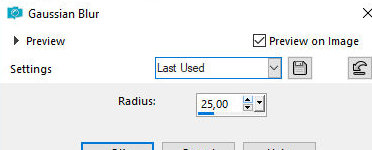
Adjust / Blur / Gaussian Blur: 25
Add a new layer
Copy the tube [Rahmen]
Paste it into the selection
Layers / Properties / Blend mode: overlay
Selections / invert
Drop shadow: 0 0 80 40 black
Select none
Step 10
Copy your second tube
Paste as a new layer
Adjust the size
Position as per the model
Drop Shadow of your choice
Copy the text
Paste as a new layer
Position at the top as per the model
Border: 5px / background color
1px / foreground color
Copy the tube [deco 1]
Paste as a new layer
Merge visible
Image / Resize: 900px (width) - all layers checked
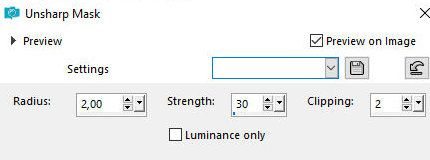
Adjust / Sharpness / Unsharp Mask
Add the signatures
Merge all
Save as jpeg
|