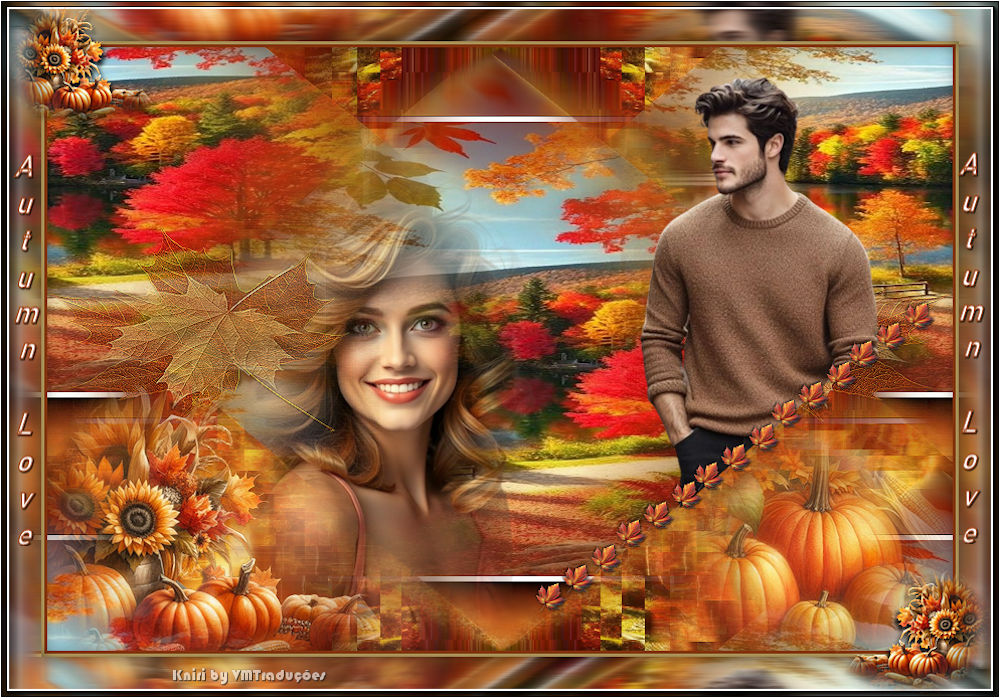
| For this tutorial you will
need:
1 female tube
1 male tube
1 misted landscape tube (BG)
2 autumn-themed images with leaves, pumpkins, etc.
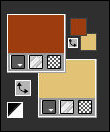
Set the color #9d3d10 to the foreground and the color
#e2c375 to the background
Open the alpha channel [alphachannel herbst] / Duplicate
(shift+d) / Close the original
Selections / Select all
Copy the image [hbkniri]
Paste into the selection
Select none
Layers / Duplicate
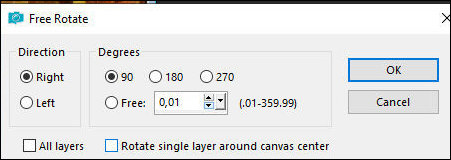
Image / Free Rotate [right/90]
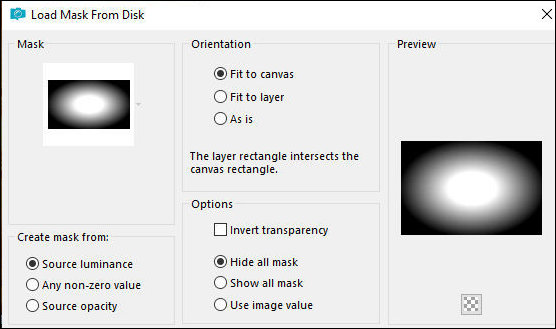
Layers / Load mask from disk / Mask [20 20]
Merge Group
Drop Shadow - default
Layers / Duplicate
Image / Resize: 70% - all layers unchecked
Image / Mirror / Mirror Vertical
Activate the layer below
Effects / Distortion Effects / Wind

Stay on layer
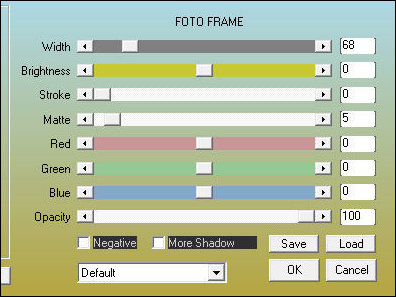
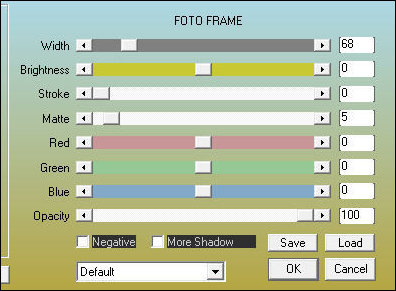
Effects / Plugins / AAA Frames / Photo Frame
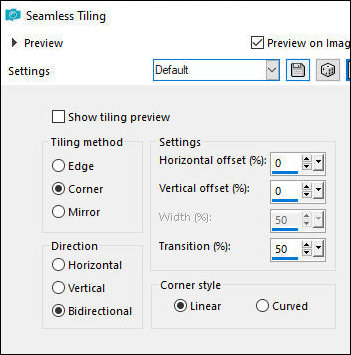
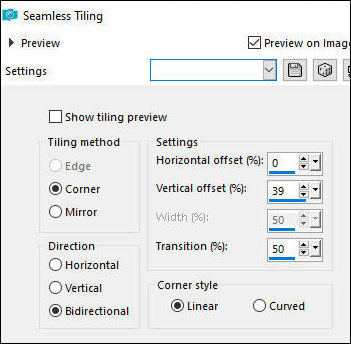
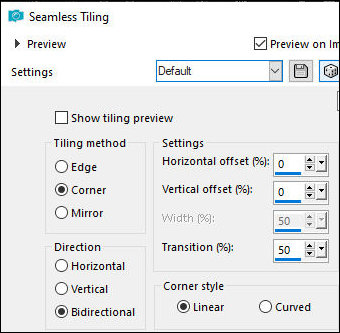
Effects / Image Effects / Seamless Tiling - default
Adjust/Sharpness/Sharpen
Activate the background layer
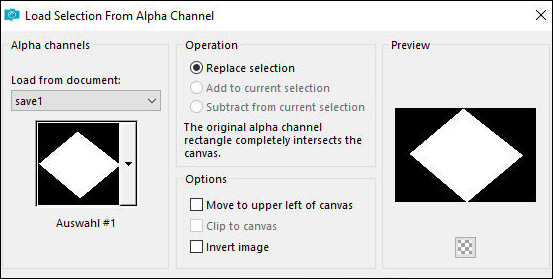
Selections / Load selection from alpha channel /
Selection 1
Selections / Promote selection to layer
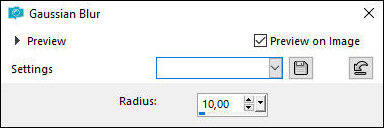
Adjust/blur/Gaussian Blur: 10
Copy your tube misted landscape
Paste into selection
Select none
Layers / Arrange / Bring to top
Effects / plugins / AAA Frames / Photo Frame - same as
above
Effects / Image Effects / Seamless Tiling
Adjust/Sharpness/Sharpen
Add new layer
Paint with the foreground color
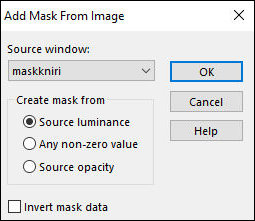
Layers / New Mask Layer / From image / Mask [maskkniri]
Merge group
Drop Shadow: 1 1 60 2 black
Effects / Edge Effects / Enhance More
Add new layer
Paint with background color
Layers / New Mask Layer / From Image / Mask [Maskkniri]

Merge Group
Image / Resize: 70% - all layers unchecked
Image / Mirror / Mirror Vertical
Merge down
Image / Resize: 40% - all layers unchecked
Move to the right
Layers Duplicate
Image / Mirror / Mirror Vertical
Image / Mirror / Mirror Horizontal
Merge Down
Effects / Edge Effects / Enhance
Copy the tube [aikniri1]
Paste as a new layer
Position bottom left as per model
Adjust / Sharpness / Sharpen
Copy the tube [aikniri2]
Paste as a new layer
Position bottom right as per model
Adjust / Sharpness / Sharpen
Copy your male tube
Adjust the size
Move to the right as per model
Selections / Load selection from alpha channel /
selection 2
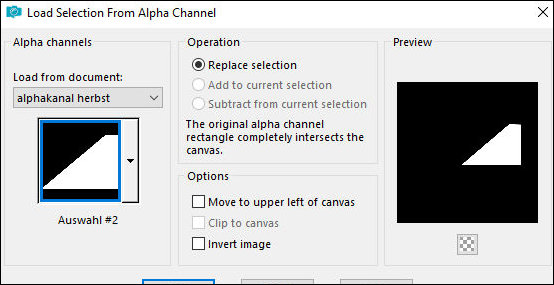
Press Delete
Select none
Activate the Promoted Selection layer
Copy your female misted tube
Paste as a new layer
Adjust the size
Position according to the model
Copy the tube [deko 1]
Paste as a new layer
Layers / Arrange / Bring to top
Position according to the model
Border:
3px / foreground color
3px / background color
Selections / Select all
Copy (will remain in memory)
Border: 40px / white
Selections / Invert
Paste the image that is in memory into the selection
Selections / Invert
Effects / Image Effects / Seamless Tiling - default
Selections / Invert
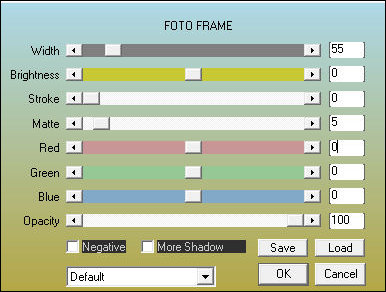
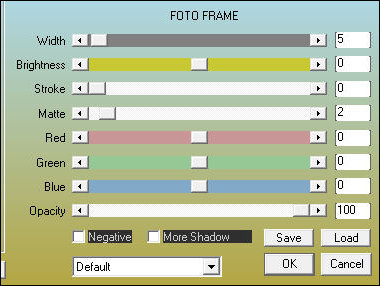
Effects / Plugins / AAA Frames / Foto Frame
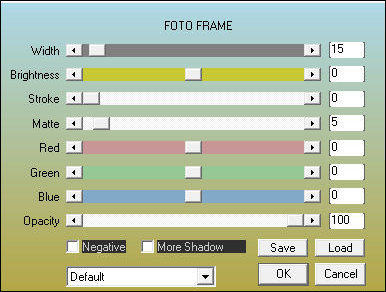
Repeat the Foto Frame with this other configuration
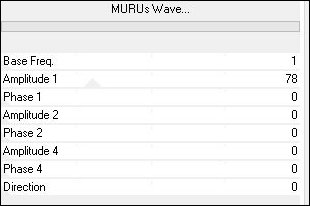
Effects / Plugins / Unlimited 2 / BKG Designer sf10 II /
MURU's Wave
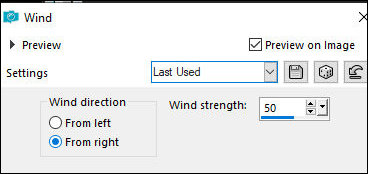
Effects / Distortion Effects / Wind
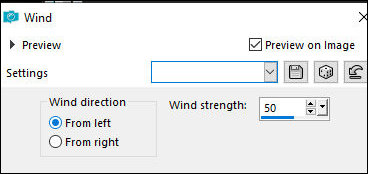
Effects / Distortion Effects / Wind
Effects / Plugins / AAA Frames / Photo Frame
Drop Shadow: 0 0 60 25 black
Selections / Invert
Repeat the Drop Shadow
Select none
Copy the tube [deko 2]
Paste as a new layer
No need to move
Copy the text
Paste as a new layer
No need to move
Image / Add borders / 1px / white
Image / Resize: 900px (width)
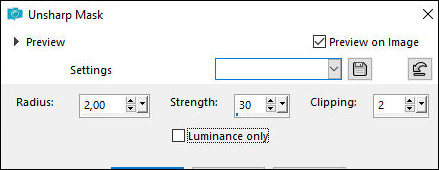
Adjust / Sharpness / Unsharp Mask
Insert the signatures
Merge all
Save as a jpeg |