|
For this
tutorial, you will need:
1 main tube
1 landscape image
1 JPG image for the base (opcional)
1 pattern
*
If the AV Bros plugin has problems, use the layer saved
in the material.
*
Open a new transparent image with 1024x600px.
Add a new layer.
Selections / Select all.
Copy the image [aura1]
Paste into the selection.
Select none.
Image / Resize: 80% - all layers unchecked.
Effects / Plugins / Av Bros / Av Bros Page Curl Pro 2.2.
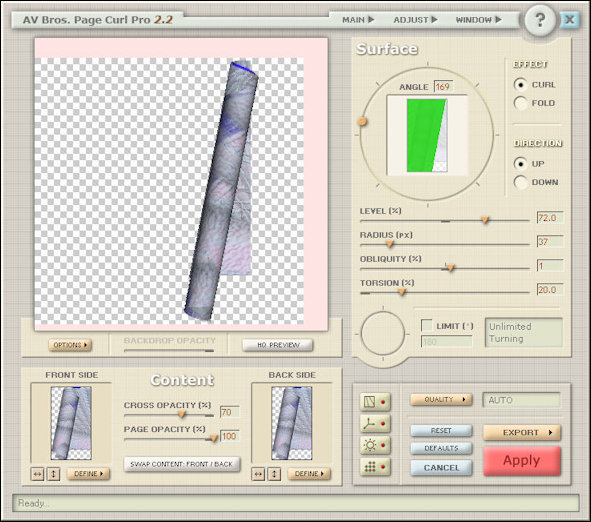
If you can't use this plugin, copy the page with this
effect available in the material and paste it as a new
layer.
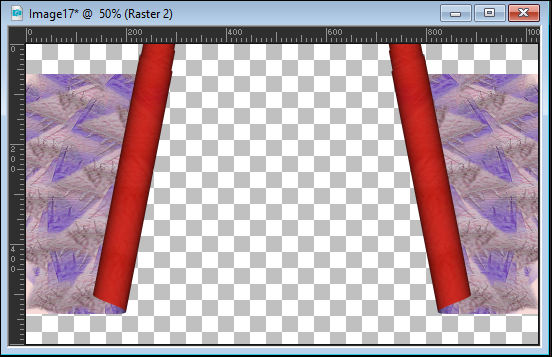
Image / Mirror / Mirror Vertical.
Objects / Align / Right.
Layers / Duplicate.
Image / Mirror / Mirror Horizontal.
Merge Down.
Activate the Raster 1 layer.
Selections / Select all.
Copy the misted landscape tube.
Paste into the selection.
Select none.
Effects / Plugins / Virtual Painter. 4
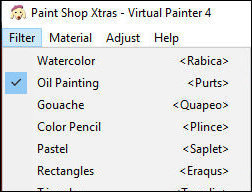 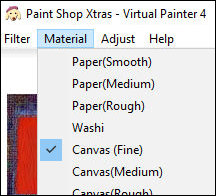 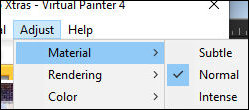
If you have trouble using this plugin, use the script
provided in the [scriptvirtual] material. Save it to
your PSP's Scripts-restricted folder. To use: Filter/Script/Run
Activate the layer above (with the Av. Bros effect)
Objects / Align / Bottom
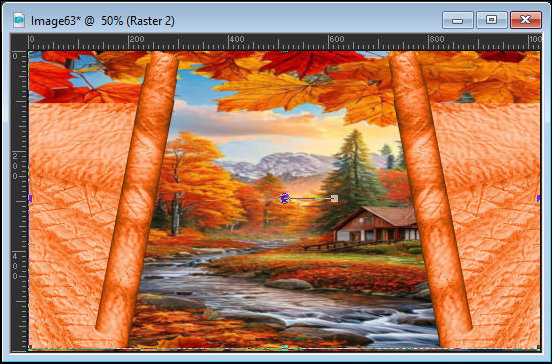
Activate the Pick Tool and adjust the Av. Bros effect,
lifting the top edge to the top edge and adjusting the
bottom as shown in the screenshot.
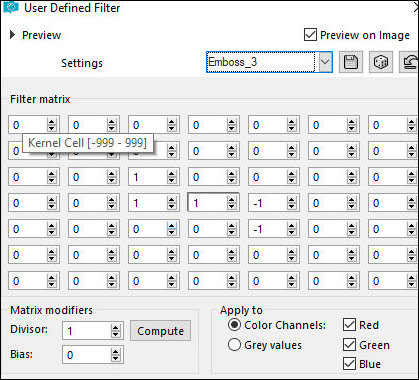
Effects / User Defined Filter / Emboss 3
Choose two colors from your tube: a dark color for the
foreground and a light color for the background.
Borders:
1px / dark color
3px / light color
1px / dark color
20px / white
Select this border with the Magic Wand (tolerance/feather=0)
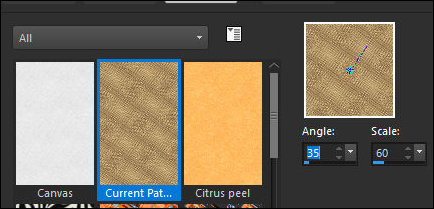
Click on the color palette / Select the Pattern option /
Find a pattern of your choice (or go to the PSP Textures
folder, choose one, open it in the PSP area, and
minimize it. Adjust as shown in the screenshot).
Keep the selection.
Adjust / Blur / Gaussian Blur: 20
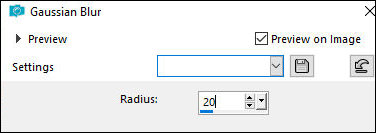
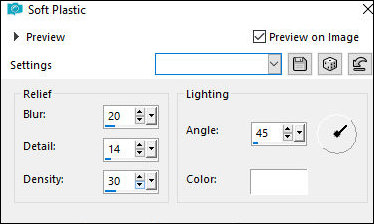
Keep the selection.
Effects / Texture Effects / Soft Plastic - white
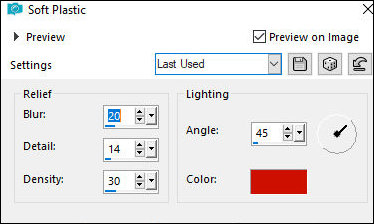
Repeat the Soft Plastic with the dark color
Selections / Invert
Drop Shadow: 3 3 100 20 black
Repeat the Drop Shadow: -3 -3 100 20 black
Select none
Border:
1px/dark color
3px/light color
1px/dark color
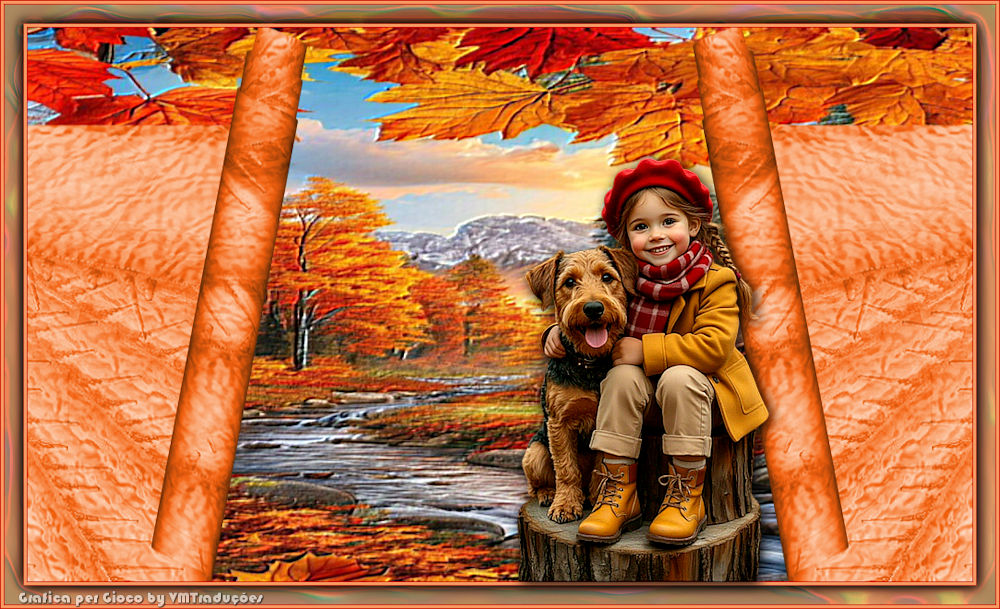
Copy your main tube
Paste as a new layer
Adjust the size
Drop Shadow: 3 3 100 20 black
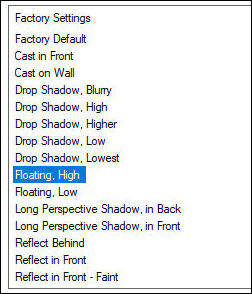
Effects / Plugins / Eye Candy 5: Impact / Perspective
shadow - preset [Floating High]
Merge visible
Image / Resize: 1024px (width)
Insert signatures
Merge all
Save as jpeg
*
Another version
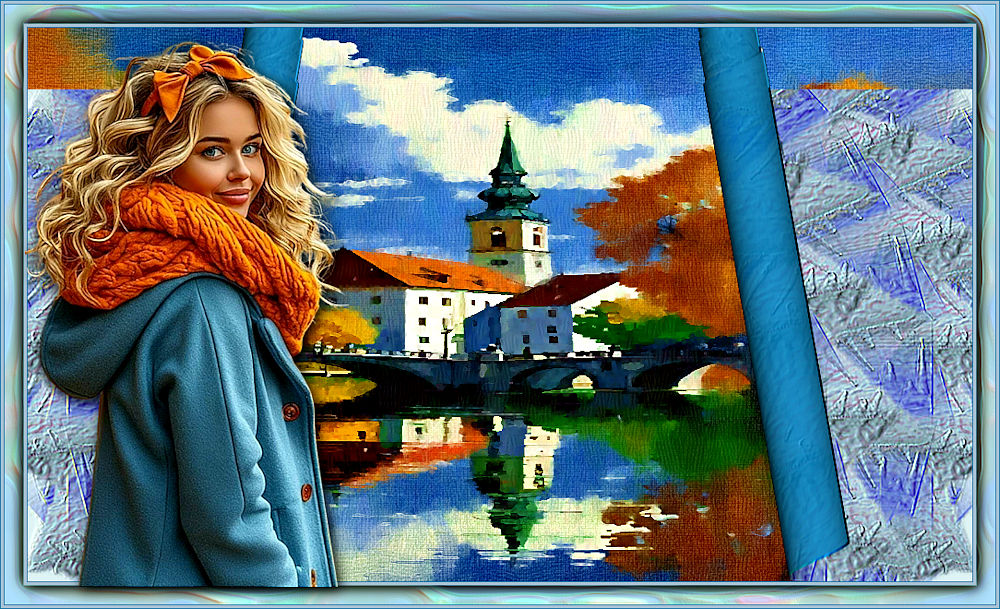 |