|
Step 1
Open a new transparent image measuring 900x600px
Selections / Select all
Copy a colorful fractal and paste it into the selection
Select none
Adjust / Blur / Gaussian Blur: 10
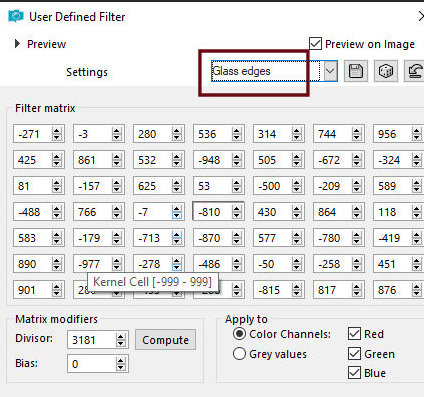
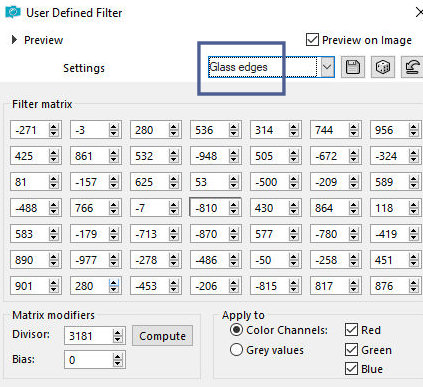
Effects / User Defined Filter - Preset
[Glass Edges]
Add a new layer
Paint with white
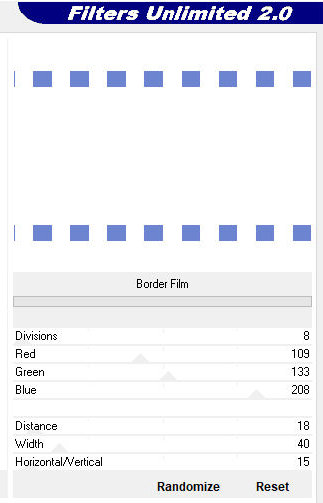
Effects / Plugins / Alf's Border FX / Border Film
Effects / Plugins / Transparency /
Eliminate White
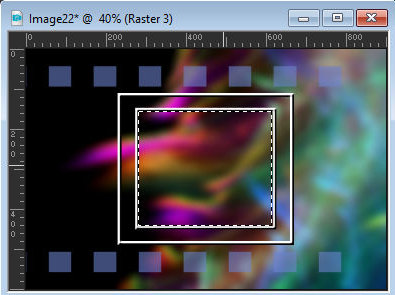
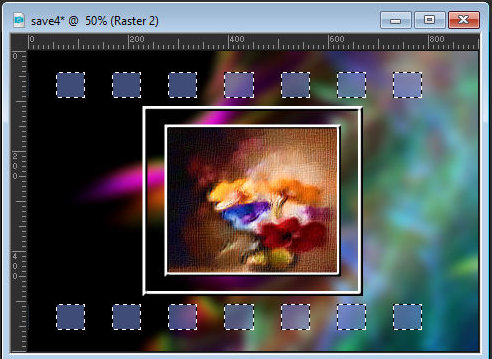
Select and delete the last two squares on the right as
shown in the screenshot
Select none
Step 2
Copy the Frame and paste it as a new layer
No need to move it
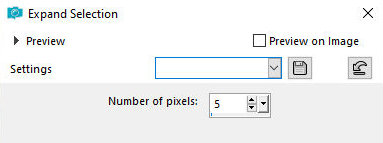
Select the inside of the frame with the Magic Wand (tolerance/feather=0)
Selections / Modify / Expand: 5
Add a new layer
Layers / Arrange / Move down
Copy a tube background and paste it into the selection
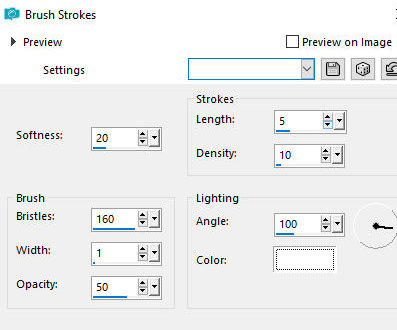
Effects / Art Media Effects / Brush Strokes
Effects / Photo Effects / Retro Lab
Step 3
Effects / Plugins / Virtual Painter / Virtual
Painter 4:
- Filter: Oil Painting
- Material: Canvas (Medium)
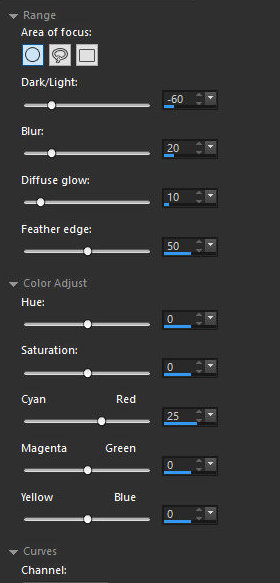
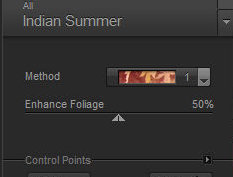
Effects / Plugins / Nik Software / Indian Summer
Step 4
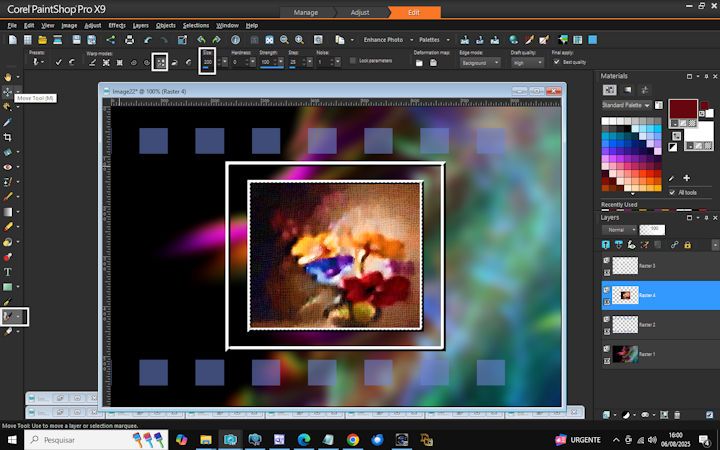
Activate the Warp Brush / Configure according to
the print
Apply to the background of the image
with light touches
Effects / User Defined Filter / Preset [Glass Edges]
Select none
Step 5
Activate the Raster 2 layer
Layers / Arrange / Bring to top
Select all the squares using the Magic Wand (tolerance/feather=0)
Add a new layer
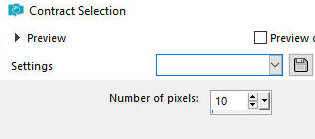
Selections / Modify / Contract: 10
Press Delete on the keyboard
Copy the tube background and paste it into the selection
Select none
Merge Down
Step 6
Select the edges of the squares with the Magic
Wand
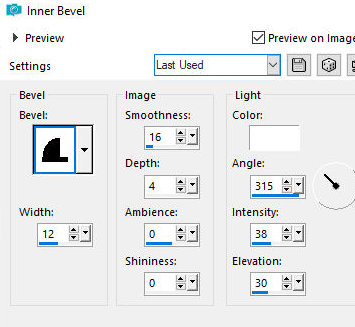
Effects / 3D Effects / Inner Bevel
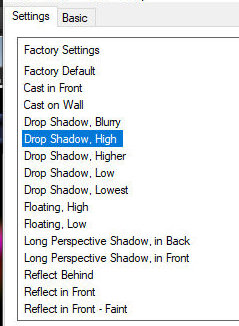
Effects / Eye Candy 5: Impact /
Perspective Shadow / Preset [Drop Shadow, High]
Select none
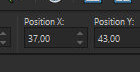
Activate the Pick Tool and set: X=37 - Y=43
Step 7
Activate the top layer
Selections / Select all
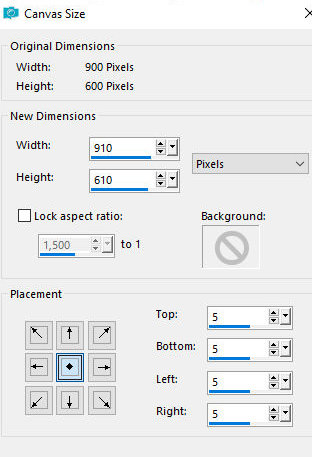
Image / Canvas Size: 910x610 5 5 5 5 (Center position)
Selections / Invert
Add a new layer
Paint with white
Selections / Select all
Image / Canvas Size: 1010x710 (Center position)
Selections / Invert
Add a new layer
Paint with #4d5e92
Select none
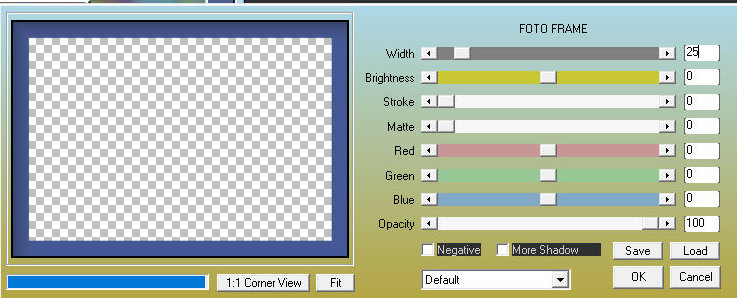
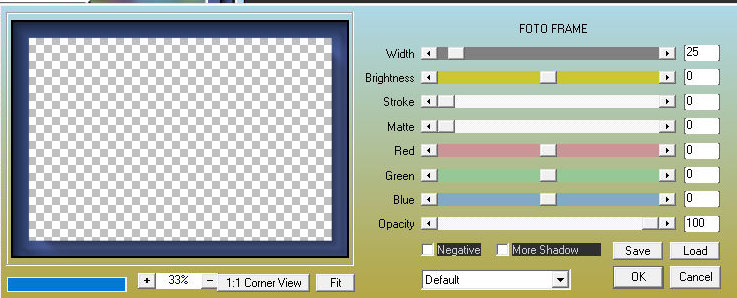
Effects / Plugins / AAA Frames / Foto Frame - width: 25
Selections / Select all
Repeat the Foto Frame
Select none
Copy the main tube and paste it as a new layer
Resize if necessary
Apply Drop Shadow of your choice Choose
Position as desired
Do the same with the decorative tube
If you are not going to create the animation:
Merge all
Image / Resize: 900px (width)
Include the signatures
Save as a jpeg
TO CREATE THE ANIMATION:
Do not merge the layers
Click on the squares layer
Layers / Duplicate - 3 times
Rename these 4 layers: L1, L2, L3, and L4
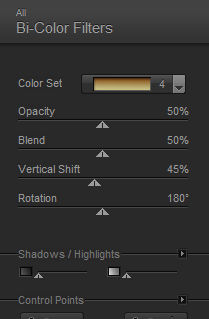
Effects / Plugins / Nik Software / Color Effex Pro 3.0
Complete - Bi-color Preset
This effect has 5 color groups; choose
a group that matches your colors
Activate layer L1 and close the other layers
Apply color 1 from the chosen group
Close L1 and open and activate L2
Apply color 2 from the chosen group
Close L2 and open and activate L3
Apply color 3 from the chosen group
Close L3 and open and activate Activate L4
Apply color 4 from the chosen group
Close L4 and open L1
Edit / Copy Special / Copy Merged
In AS (Animation Shop): Edit / Paste as New Animation
On PSP: Close L1, Open L2
Edit / Copy Special / Copy Merged
In AS: Edit / Paste After Current Frame
On PSP: Close L2 and Open L3
Edit / Copy Special / Copy Merged
In AS: Edit / Paste / After Current Frame
On PSP: Close L3 and open L4
Edit / Copy Special / Copy Merged
In AS: Edit / Paste After Current Frame
View / Animation
Save as GIF
*
Animation version
 |