|

This tutorial is from Grafica Pergioco, whom I thank for letting me translate
their tutorials.

Original HERE

Tubes

Material

Many thanks to the creators of these materials
Plugins
VM Experimental / Magnetic
Detection
AAA Frame / Texture frame
Unlimited 2 / BKg designer sf10 II / MURA Diagonal
Alien skin xenoflex 2 / Constellation
FM tile tools /blend emboss
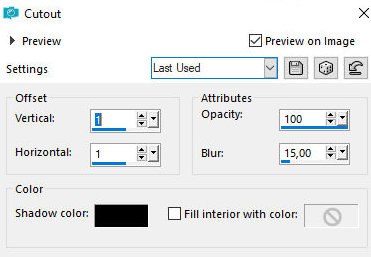
You can find these plugins on the websites of:
Renée
Cloclo
You can also find this tutorial translated into these languages:
(Click on the flag)


SCRIPT
Notes:
> Open the material / Duplicate (shift+d) / Close the originals
> Change the blend mode of the layers to match their colors.
> In old versions of PSP Mirror Horizontal=Mirror / Mirror Vertical=Flip
/ Pick tool=deformation
1. For this tutorial you will need a character tube and a landscape
misted, if you don't want to use the misted provided in the
material. (In my version I used the tube itself)
1b. Open the mask [MASKSUIZA-0085] on psp and minimize
2. Open a new transparent image with 900x600px
3. Paint with a light color from your tubes
4. Selections / Select all
5. Copy the misted tube and paste into the selection
6. Select none
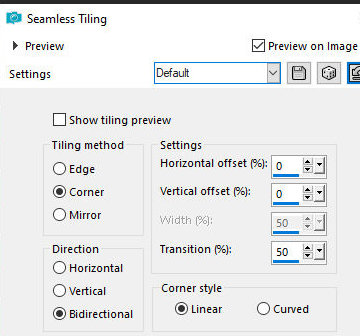
7. Effects / Image Effects / seamless Tiling - default
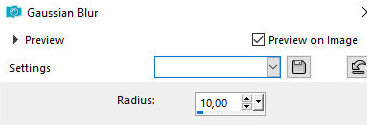
8. Adjust / Blur / Gaussian=10
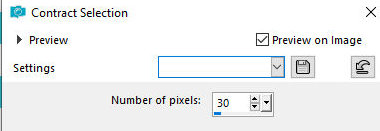
9. Selections / Select all
10. Selections / Modify / contract=30
11. Selections / Invert
12. Selections / Promote selection to applicant
13. Add a new layer
14. Effects / 3D Effects / Cutout
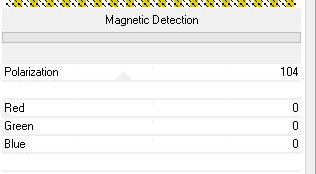
15. Effects / Plugins / Unlimited 2 / VM Experimental / Magnetic
Detection
16. Image / Add borders / Symmetric marked / 2px / light color
17. Image / Add borders / Symmetric marked / 5px / dark color
18. Image / Add borders / Symmetric marked / 2px / light color
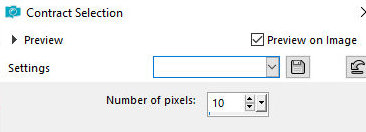
19. Selections / Select all
20. Selections / Modify / Contract=10
21. Selections / Invert
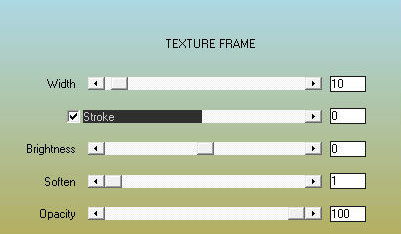
22. Effects / Plugins / AAA Frames / Texture Frame
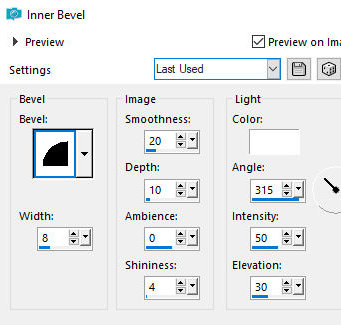
23. Effects / 3D Effects / inner Bevel
24. Select none
25. Selection / Select All
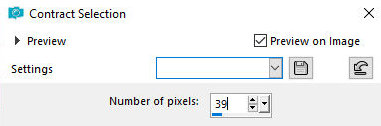
26. Selections / Modify / Contract=39
27. Selections / Invert
28. Selections / Promote selection to layer
29. Selections / Invert
30. Activate the background layer
31. Selections / Promote selection to layer
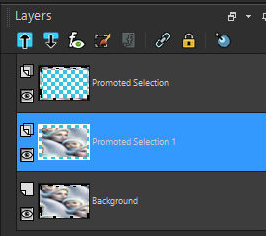
32. The layers will look like this:
33. Select none
34. Activate the middle layer
35. Layers / Duplicate
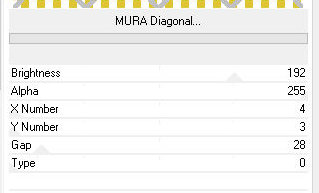
36. Effects / Plugns / BKG Designers sf10 II / MURA Diagonal
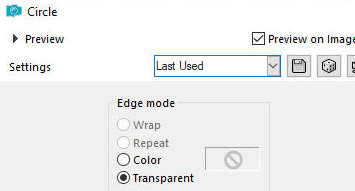
37. Effects / Gometric Effects / Circle / Transparent
38. Image / Resize: 80%
39. Layers / Duplicate - repeat twice more, until you have 3
identical layers
40. Rename the layers to G1, G2 and G3
41. Activate layer G1
42. Select with the Magic Wand (tolerance/feather=0). (You can close
layers G2 and G3 while doing this, to see it better)
43. Effects / Plugins / Alien Skin Xenofex 2 / Constellation
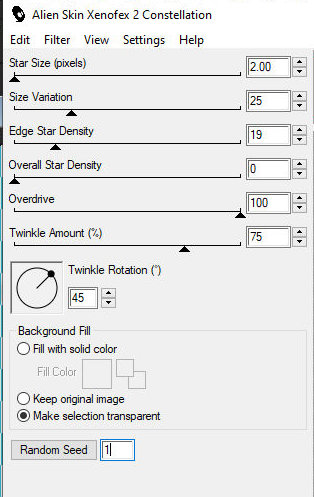
44. Apply Constellation to the other two layers (G2 and G3), just by
clicking on Random Seel
45. Select none
46. Drop Shadow: 2 2 50 10 black
47. Repeat the Drop Shadow on the other two layers
48. Add a new layer
49. Paint with white color
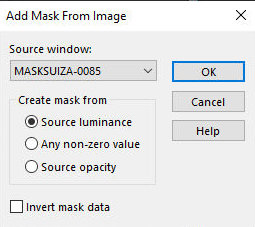
50. Layers / New Mask Layer / From Image / Mask [MASKSUIZA-0085]
51. Merge Group
52. Effects / Plugins / FM Tile Tools / Blend Emboss - Apply 2 times

53. Activate the Sharpen Tool (see print) and configure as shown in
the print
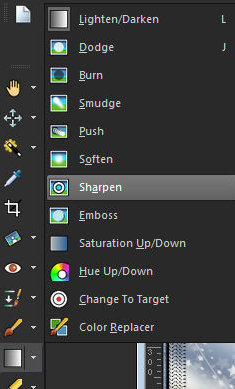 
54. Click on the larger or more prominent stars to highlight them.
55. If you prefer, you can move the mask over the globe
56. Activate the top layer
57. Copy the tube character and paste it as a new layer
58. Drop shadow of your choice
59. Place the signatures
If you are not going to make the animation, you can now save
the image
60. Activate layer G1 and close layers G2 and G3 (click on the eye)
61. Edit/Copy Special/Copy Merged
62. Open Animation Shp (AS)
63. Edit/Past as New Animation
64. Return to PSP
65. Activate and open layer G2
66. Close G1
67. Edit/Copy Special/Copy Merged
68. Return to AS
69. Edit / Paste / After current frame
70. Return to PSP
71. Activate and open layer G3
72. Close layer G2
73. Edit/Copy Special/Copy Merged
74. Return to AS
75. Edit / Paste / After current Frame
76. You will have 3 frames
If you don't want to make the second animation, you can save
it now: File / Save as / Locate the folder / Name it / OK / Click
three times on Next / Finish
77. To make the starlet animated
78. In the work you have been editing (we will call it Image 1 for
ease), click on the first frame.
79. Edit / Select All
80. Open the animation [Stellina]
81. Click on the first frame of this animation (image 2)
82. Edit / Select all
83. Now you will have both images side by side, with all frames
selected.
84. Click on the first frame of image 2 and drag without releasing,
to image 1, locate a star and click on its center, release and
return to image 2.
85. In image 2, click on Undo and the star will appear again.
86. Click again on the first frame of this image 2 and drag to
another star in the first frame of image 1.
87. Repeat these three steps (84, 85 and 86) as many times as you
want.
88. After applying the sequins, watch the animation: View Animation
89. Now save as explained above.
*
Thank you Irene for testing my translations


|