|

This tutorial is from who I thank for
letting me translate their tutorials.

Original here

Tubes

Material

My images:
Here
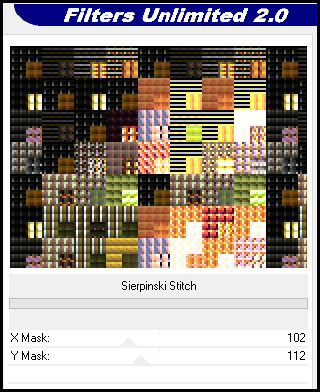
Plugins
Greg's Factory Output Vol. II
Unlimited
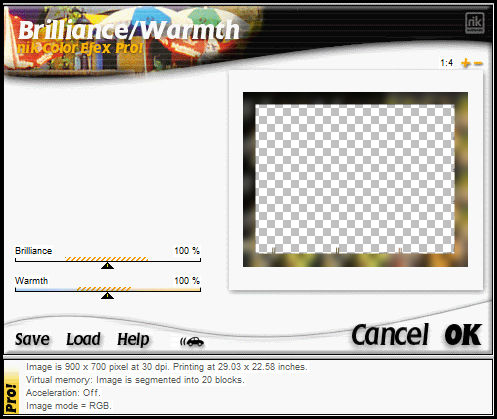
Nik Software
You can find these plugins on the websites of:
Renée
Cloclo
You can also find this tutorial translated into these languages:
(Click on the flag)


SCRIPT
|
Notes:
> Open the material / Duplicate (shift+d) / Close the originals
> Change the blend mode of the layers to match their colors.
> In older versions of PSP, Mirror Horizontal=Mirror / Mirror Vertical=Flip /
Pick tool=deformation
> Open the masks in psp and
minimize
>Adjust the size of the tubes according to your images
|
*

|