|
You will need:
1 character tube
1 landscape or floral JPEG image
1 misted tube of the same image
The link to the images I used is above
*
Save the selection in the PSP Selections folder
*
Step 1
Open a new image measuring 900x700px
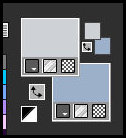
Original colors: Foreground (light color) #CED2D6 -
Background (dark color) #9CB0CA
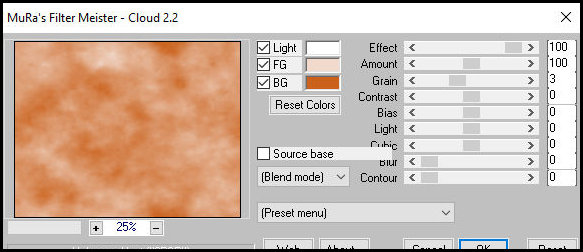
Effects / Plugins / Mura's Meister / Cloud - default
Activate the Selection Tool / Custom and set:
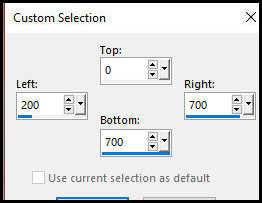
Step 2
Add a new layer
Copy the misted landscape tube
Paste it into the selection
Select none
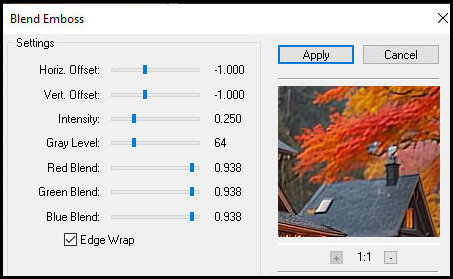
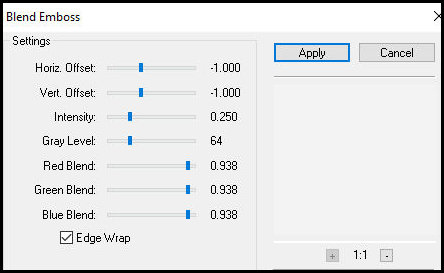
Effects / Plugins / FM Tiles Tool / Blend Emboss -
default
Add a new layer
Paint it with white
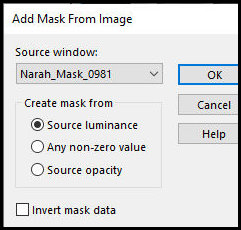
Layers / New Mask Layer / From Image / Mask
[Narah_Mask_0981]
Merge Group
Effects / Plugins / FM Tiles Tool / Blend Emboss -
Default
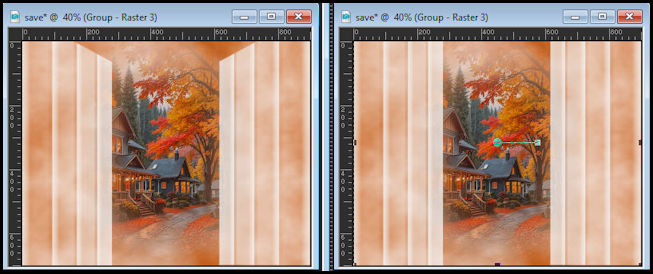
Lengthen the mask as shown in the screenshot.
Border: 2px / dark color
Border: 2px / light color
Step 3
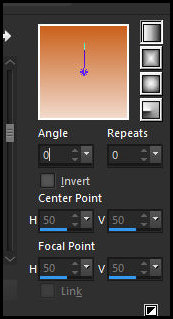
Prepare a linear gradient
Select the 30px border with the Magic Wand
Paint with the gradient
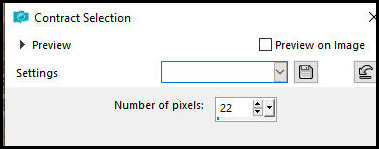
Selections / Select all
Selections / Modify / Contract: 22
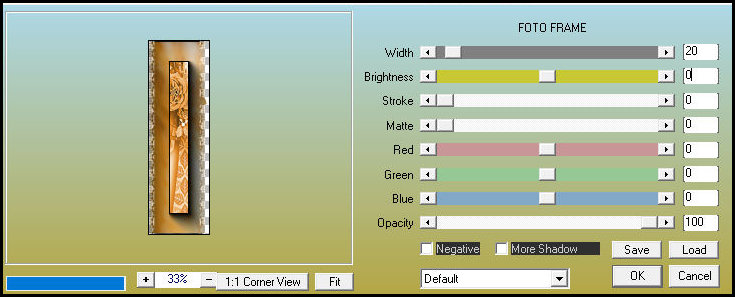
Effects / Plugins / AAA Frames / Foto Frame
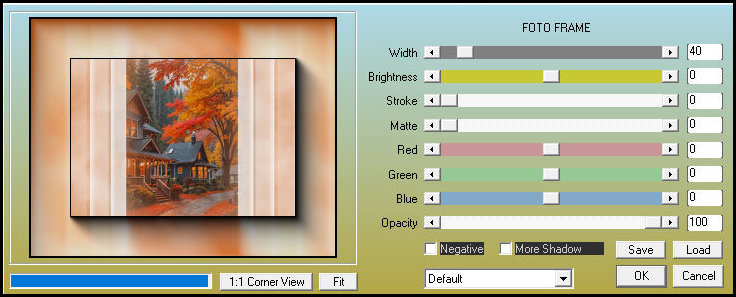
Select none
Step 4
Border: 5px - light color
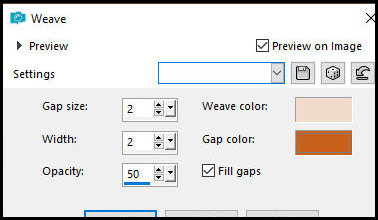
Select this border with the Magic Wand
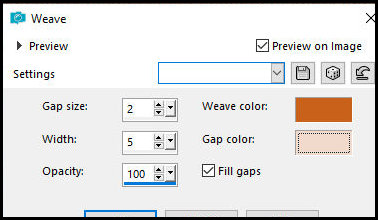
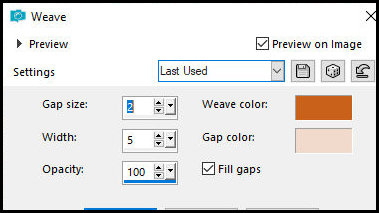
Effects / Texture Effects / Weave - colors:
foreground/background
Step 5
Select none
Border: 2px / dark color
Border: 5px / light color
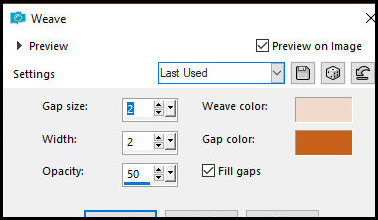
Select the 5px border with the Magic Wand
Effects / Texture Effects / Weave - colors:
foreground/background
Select none
Step 6
Border: 10px / dark color
Border: 30px / light color
Select the 30px border with the Magic Wand
Effects / Texture Effects / Weave - colors:
background/foreground
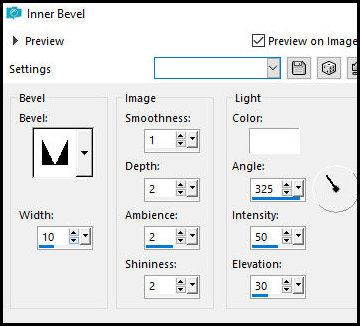
Effects / 3D Effects / Inner Bevel
Step 7
Effects / Plugins / FM Tiles Tool / blend Emboss -
default

Select none
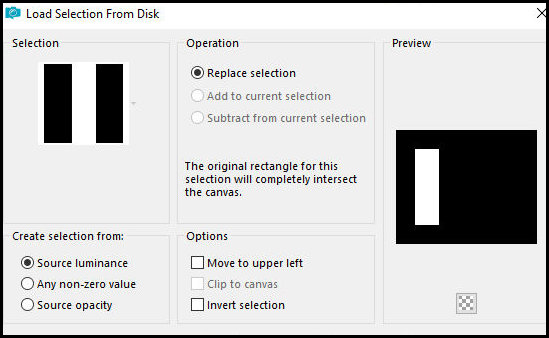
Selections / Load selection from disk / Selection [aurainfisso]
Add new layer
Copy the tube [valentina_eastermemories_border4]
Paste into selection
Effects / Edge Effects / Enhance
Effects / Plugins / AAA Frames / Foto Frame
Step 8
Select none
Layers / Duplicate
Image / Mirror / Mirror Horizontal
Activate the Selection Tool (rectangle)
Select the image as shown in the screenshot
Step 10
Add a new layer
Effects / 3D Effects / Cutout
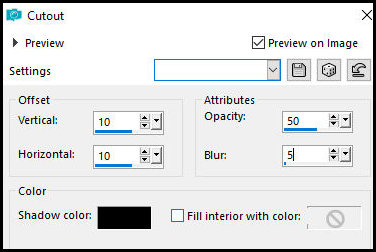
Add a new layer
Drop Shadow: -10 -10 50 5.00 black
Keep the selection
Copy the tube character
Paste into the selection
Select none
Merge Down
Border: 5px / dark color
Select this border with the Magic Wand
Effects / Texture Effects / Weave - same as before
Select none
Place the signatures
Merge all
Save as a jpeg |