|
Original
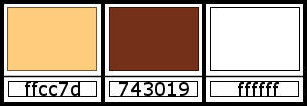
colors: Foreground: #ffcc7d - Background: #743019
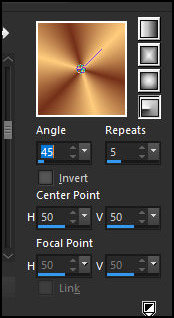
Prepare a Radial gradient
Open the alpha channel file [Alfablad] / Duplicate (shift+d)
/ Close the original
Paint the image with the background color
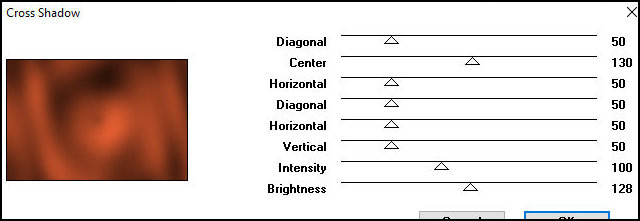
Effects / Plugins / Graphic Plus / Cross Shadow
Add a new layer
Paint with the gradient
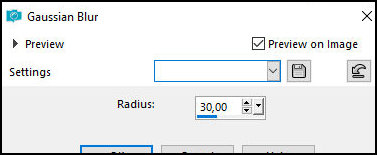
Adjust / Blur / Gaussian Blur: 30
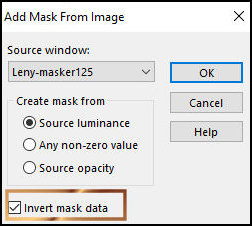
Layers / New Mask layer / From Image / Mask [Leny Mask
125] - INVERT checked
Merge Group
Effects / Edge Effects / Enhance More
Drop shadow: 0 0 50 15.00 black
Activate the background layer
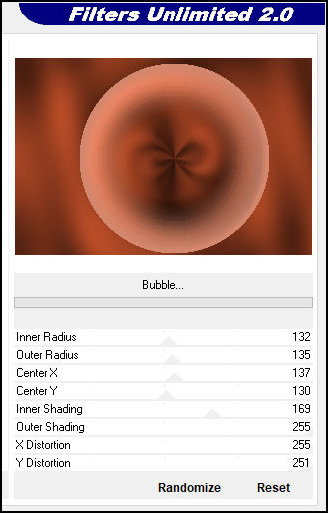
Effects / Plugins / Unlimited 2 / FF Gallery B / Bubble
Selections / Load selection from alpha channel /
Selection 1

Selections / Promote selection to layer
Select none
Drop Shadow same as above
Copy the tube [Leny tekst]
Paste as new layer
Objects/Align/Right
Layers / Arrange / Move down
Activate the layer above - promoted selection
Selections / Load selection from alpha channel /
Selection 2
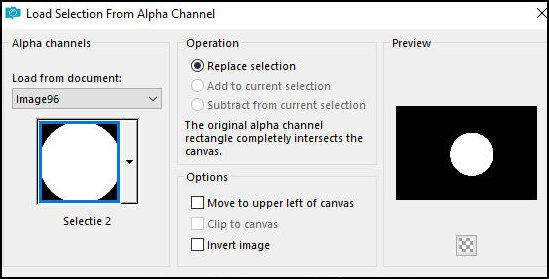
Selection / Promote selection to layer
Select none
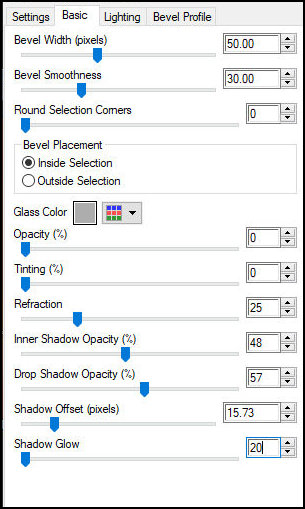
Effects / plugins / Eye Candy 5: Impact / Glass
Image/Resize: 70% - all layers unchecked
Layers/Duplicate
Image/Resize: 20% - all layers unchecked
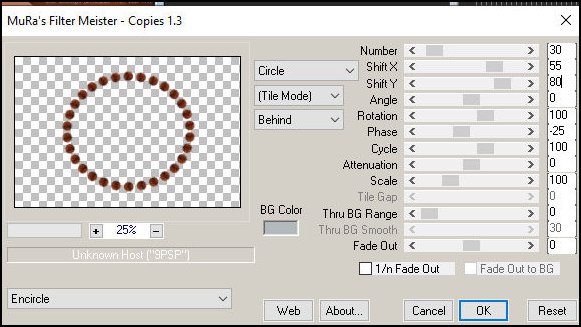
Effects / Plugins / Mura's Meister / Copies
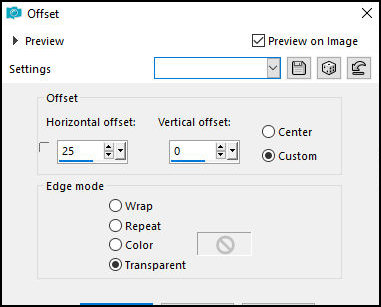
Effects / Image Effects / Offset
Drop Shadow same as above
Copy the jpg image [plaatje]
Paste as new layer
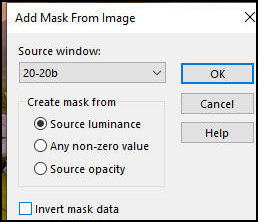
Layers / New Mask Layer / From Image / Mask [20-20b]
Layers/Duplicate
Merge Group
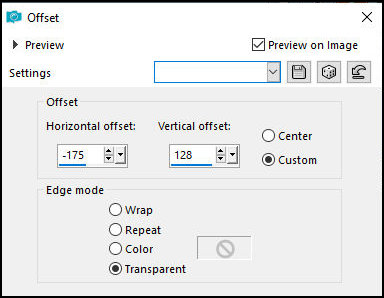
Effects / Image Effects / Offset (or position Manually
crop according to your image)
Activate the layer below
Selections / Select all
Activate the layer above
Image / Crop to selection
Copy the tube [Leny-deco]
Paste as a new layer
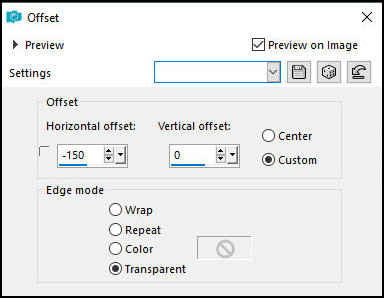
Effects / Image Effects / Offset
Copy the tube [leafs]
Paste as a new layer
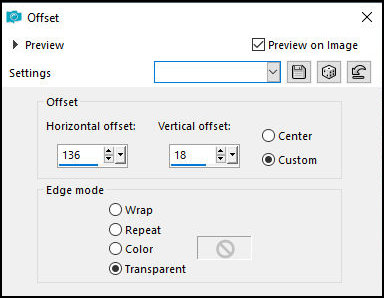
Effects / Image Effects / Offset
Activate the layer above
Copy the tube [Leny-wordart124a]
Paste as a new layer
Position according to the model
Merge all
Border: 2px / background color
Selections / Select all
Border: 25px / white
Drop shadow same as previous
Select none
Border: 2px / background color
Selections / Select all
Border: 40px / white
Drop shadow same as previous
Select none
Border: 2px / background color
Copy the tube [Rand]
Paste as a new layer
Position in Top as per template
Layers / Duplicate
Image / Free Rotate
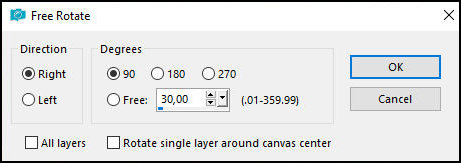
Position to the left as per template.
For better positioning, after positioning:
Objects / Align / Vertical Center
Place signatures
Merge all
Save as jpeg |