| 1
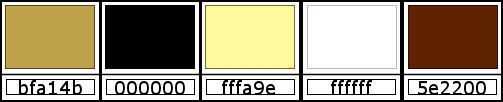
Set the color #bfa14b to the foreground and the color
#000000 to the background.
Prepare this sunburst gradient.
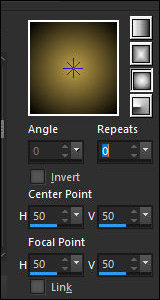
Open the alpha channel [alfablad] /
Duplicate (shift+d] / Close the original.
Paint the image with the gradient.
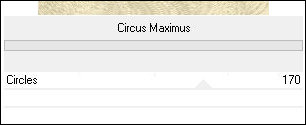
2
Effects / Plugins / Unlimited 2 / BKG Designer sf10 I /
Circus Maximus.
Layers / Duplicate
Layes / Properties / Blend Mode: Hard Light.
Effects / Edge Effects / Enhance More.
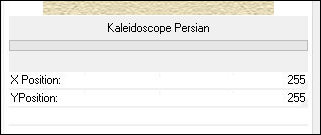
Effects / Plugins / Unlimited 2 / BKG Kaleidoscope /
Kaleidoscope Persian.
3
Add a new layer.
Paint with the foreground color.
Layers / New Mask Layer / From Image / Mask.
[NarahsMasks_1825]
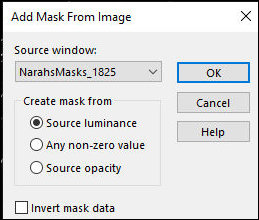
Merge Group
4
Layers / Properties / Blend Mode: Luminance (L)
Effects / Edge Effects / Enhance
Image / Mirror / Mirror Vertical
Add new layer
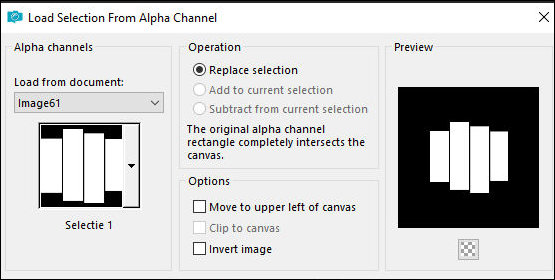
Selections / Load selection from alpha channel /
Selection #1
5
Paint the selection black
Keep the selection
Add new layer
Copy the image [plaatje]
Paste into the selection
Layers / Properties / Blend Mode: Hard Light
6
Selections / Modify / Select selection borders
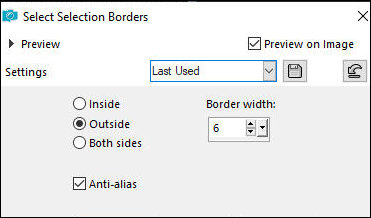
Paint the selection black
Merge down
Select none
7
Drop shadow: 0 0 80 35 color #ece67c
Effects / Image Effects / Offset [98/37]
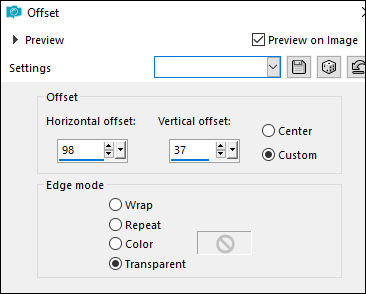
Add new layer
Selections / Load selection from alpha channel /
Selection #2

Paint the selection black black
Keep the selection
Copy the tube [moon]
Paste into the selection
8
Layers / Properties / Blend Mode: Hard Light
Select none
Merge Down
Repeat the Drop Shadow
Merge Down
9
Copy the tube [Les346]
Paste as a new layer
Effects / Image Effects / Offset [-322/-13]
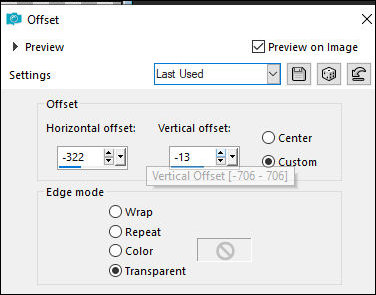
Layers / Properties / Blend Mode: Hard
Light
Layers / Arrange / Move down
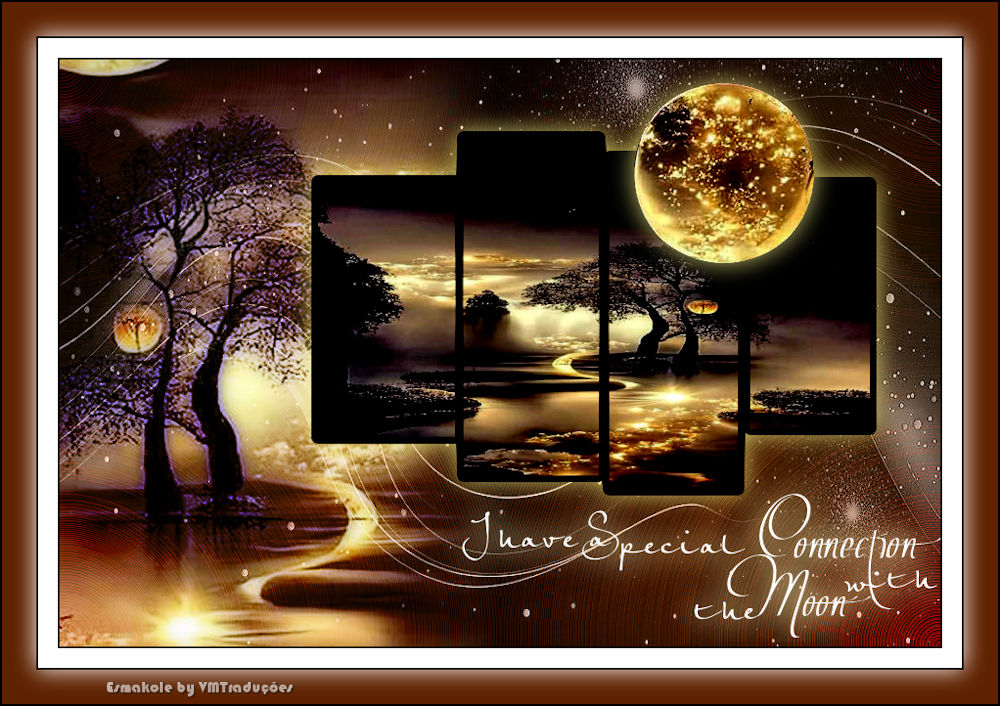
10.
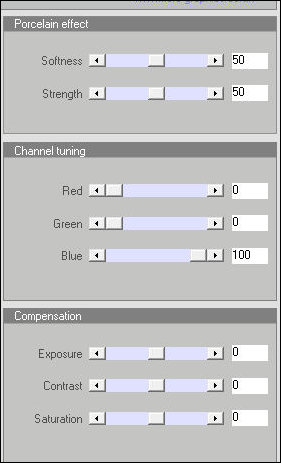
Effects / Pluginx / Xero / Porcelain - default
Activate the second layer from the
bottom - Copy of Raster 1
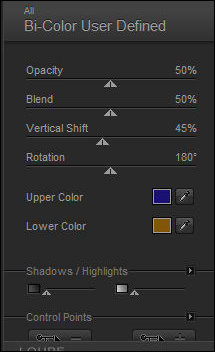
Effects / Plugins / Nik Software / Color Effex Pro 3.0 /
Bi-Color User Defined - default
11.
Activate the top layer
Copy the tube [Leny-text]
Paste as a new layer
Position bottom right as per the model
Repeat the Drop Shadow but with the color White
Merge all
12
Borders:
2px/black
20px/white
2px/black
Selections / Select all
Border: 35px / color #5e2200
Drop Shadow: 0 0 100 3 white
Select none
13
Border: 2px/black
Place the signatures
Merge all
Save as jpeg
|