|
You will need:
1 main tube
1 landscape tube
1 decorative tube. There's a link above to download the
ones I used in my version.
*
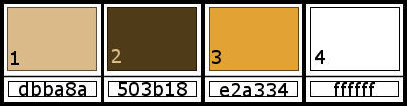
Original colors: Foreground: #dbba8a - Background:
#503b18
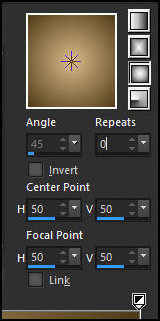
Prepare this Sunburst gradient.
Open the alpha channel file [Alfablad] / Duplicate (shift+d)
/ Close the original.
Paint the image with the gradient.
Image / Resize: 80% - all layers unchecked.
Add a new layer.
Paint with the background color.
Layers / Arrange / Move down.
Activate the top layer.
Merge down.
Adjust / Blur / Radial Blur.

Effects / Edge Effects / Enhance More.
Add a new layer.
Paint this layer with the color #e2a334.
Layers / New Mask Layer / From Image / Mask
[Narah_Mask_0524]
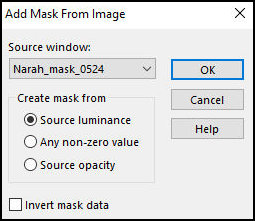
Merge Group.
Layers / Properties / Blend Mode: Dodge / Opacity: 58.
Add a new layer.
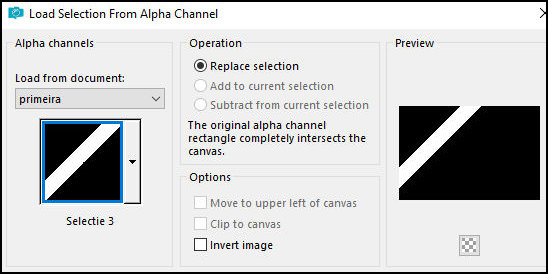
Selections / Load selection from. Alpha Channel /
Selection 1
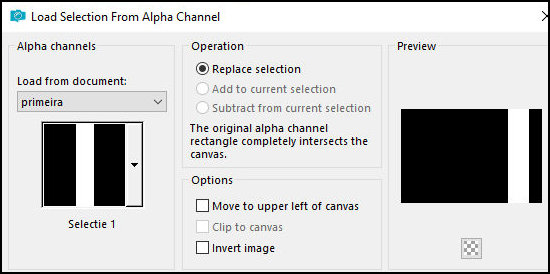
Paint the selection with the foreground color
Select none
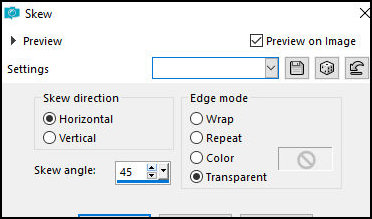
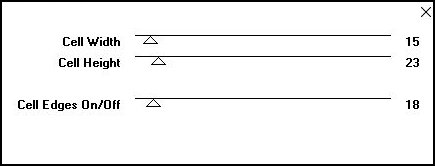
Effects / Geometric Effects / Skew
Effects / Plugins / Unlimited 2 / Toadies / Rasterline
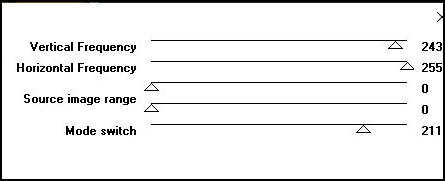

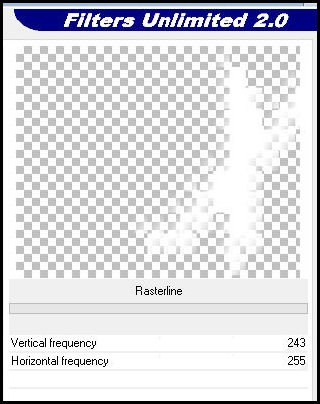
Note: My version of this plugin is different from the
author's, so when I applied it, the image disappeared.
So I used the one I had in Unlimited 2, as shown in the
screenshot below. As the color was different, I applied
the blend mode: overlay
Layers/Duplicate
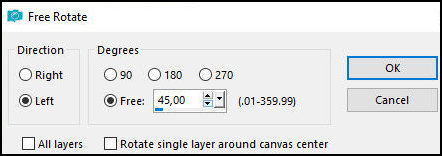
Image / Free rotate
Merge down
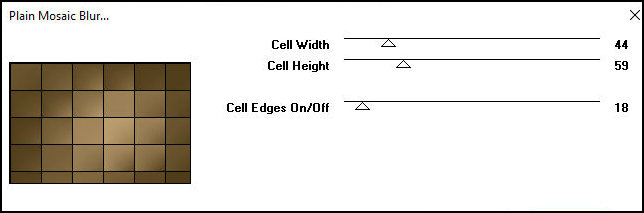
Effects / plugins / Unlimited 2 / Toadies / Plain Mosaic
Blur
Selections / Load selection from alpha channel /
Selection 2
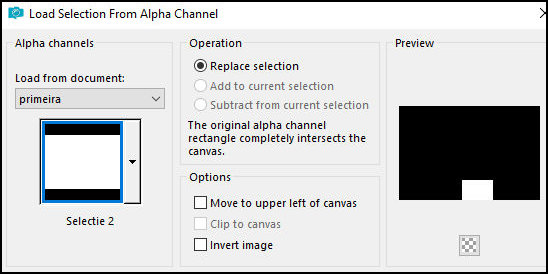
Press Delete
Select none
Effects / Edge Effects / Enhance More
Drop Shadow: 0 0 80 20 black
Add new layer
Selections / LOad selection from alpha channel /
Selection 3
Paint the selection with the foreground color
Select none
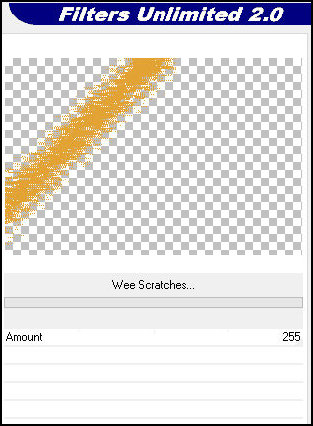
Effects / Unlimited 2 / Plots / Wee Scratches
Layers / Properties / blend Mode: Overlay / Opacity:52%
Layers/Arrange Move Down
Repeat Move Down
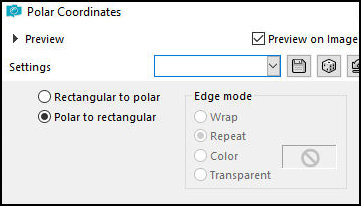
Effects / Distortion Effects / Polar Coordinates
Layers/Duplicate
Image / Mirror / Mirror Vertical
Image/Mirror/MIrror Horizontal
The opacity of the layer remains at 52
Activate the top layer
Add new layer
Paint with white color
Layers / ew Mask layer / From image / Mask
[Narah_Mask_0568]

Merge Group
Layers / Properties / blend Mode: Luminance (L) /
Opacity:48
Drop shadow: 0 0 80 20 black
Activate the background layer
Layers/Duplicate
Effects / Plugins / Unlimited 2 / Toadies / plains
Mosaic Blur
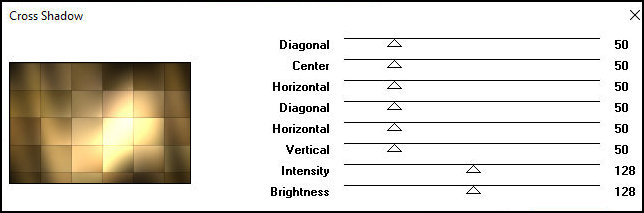
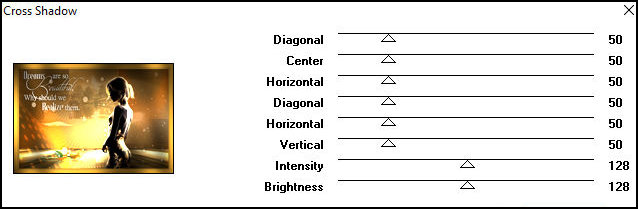
Effects / Plugins / Graphic Plus / Cross Shadow
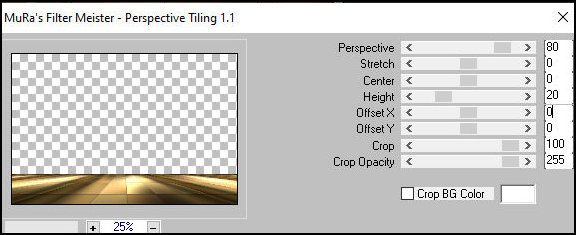
Effects / Plugins / Mura's meister / Perspective Tiling
Activate the background layer
Layers/Duplicate
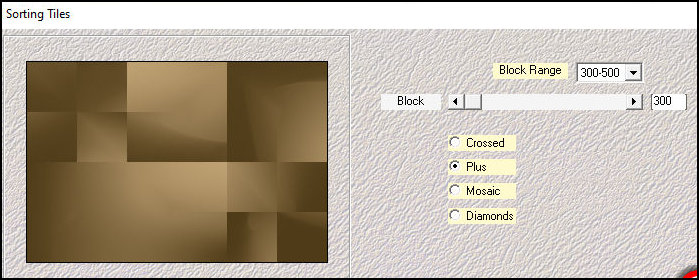
Effects / Plugins / Mehdi / Sorting Tiles
Layers / Properties / Blend Mode: Overlay / opacity: 59
Continue on this layer
Copy the tube [Leny-misted18]
Paste as new layer
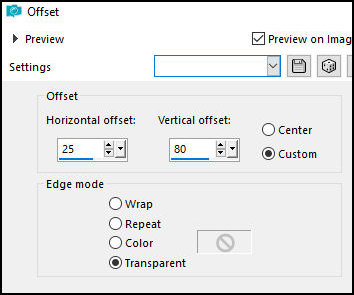
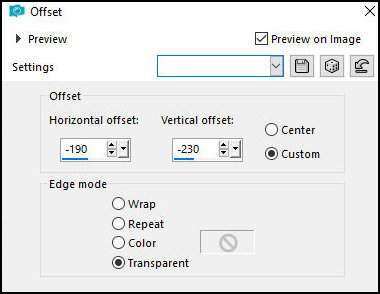
Effects / Image Effects / Offset
Selections / Load selection from alpha channel /
Selection 4
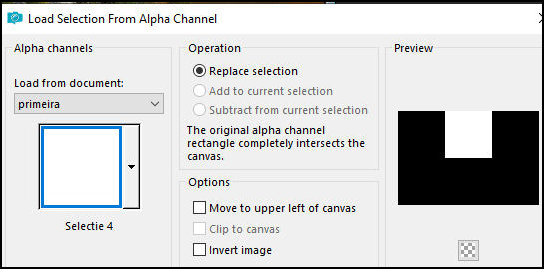
Selections/Invert
Press Delete
Select none
Layers / Properties / blend mode: Luminance / Opacity:
32
Activate the top layer
Copy the tube [Leny-vrouw1539]
Paste as new layer
Effects / Image Effects / Offset

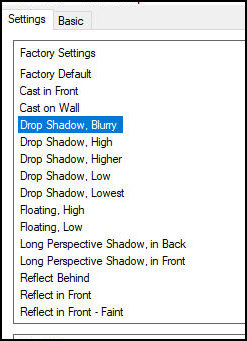
Effects / Plugins / Eye Candy 5: Impact / Perspective
Shadow - Preset [drop shadow, blurry]
Copy the tube [Leny-wordart91]
Paste as new layer
Position according to the model
Drop shadow same as above
Copy the tube [Leny-bloem167a]
Paste as new layer
Effects / Image Effects / Offset
Merge all
Borders: 2px / color 2
5px/color 3
2px / color 2
20px / color 3
Select this border with the Magic Wand (tolerance/Feather=0)
Effects / Plugins / Graphic Plus / Cross Shadow - same
as above
Select none
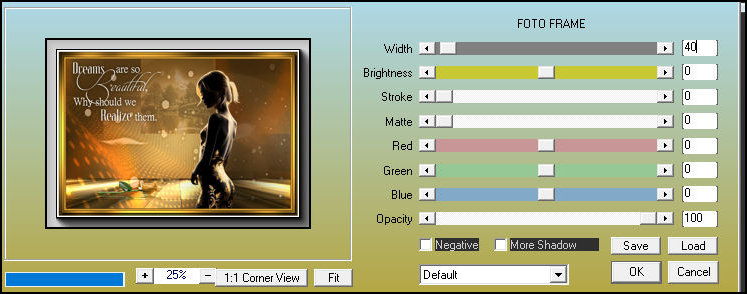
Effects / Plugins / AAA Frames / Photo Frame - width: 10

Border: 50px / white
Effects / Plugins / AAA Frames / Photo Frame - width: 40
Border: 2px / color 2
Image / Resize: 650px - width (optional)
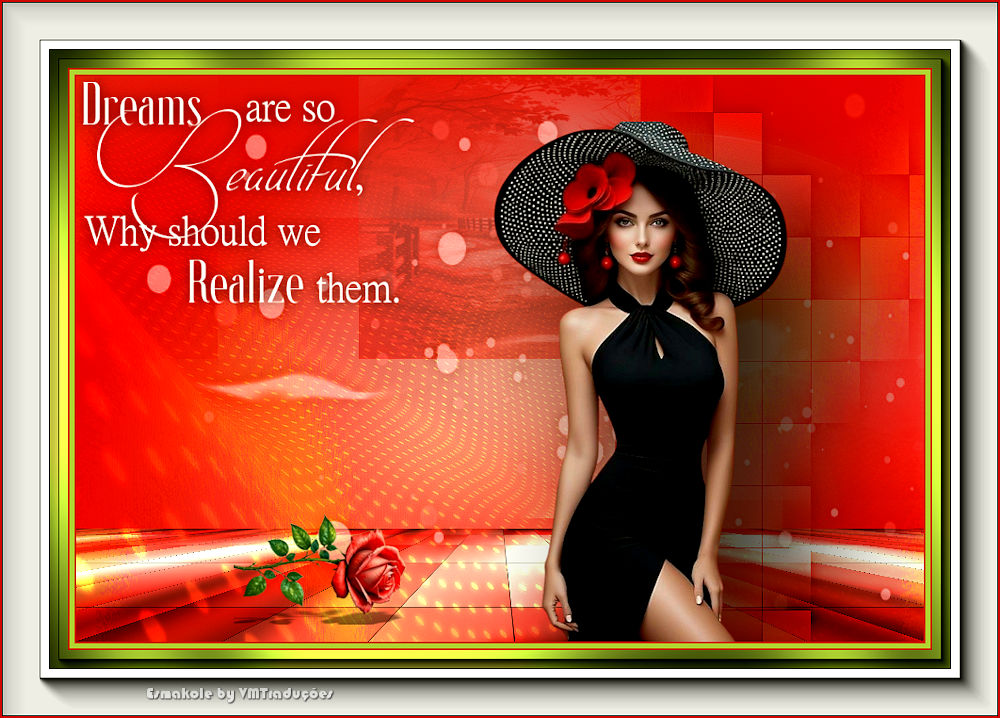
Insert signatures
Merge all
Save as jpeg |