|

This tutorial is from Esmakole who I thank for
letting me translate their tutorials.

Original here
Tubes

Tubes: Esmakole
Material

Plugins
&Bkg Designer sf10l
Filter AAA Frames
Filter Flaming pear
Filter unlimited 2.0.
You can find these plugins on the websites of:
Renée
Cloclo
You can also find this tutorial translated into these languages:
(Click on the flag)


|
Notes:
> Open the material / Duplicate (shift+d) / Close the originals
> Change the blend mode of the layers to match their colors.
> In older versions of PSP, Mirror Horizontal=Mirror / Mirror Vertical=Flip /
Pick tool=deformation
> Open the masks in psp and
minimize
>Adjust the size of the tubes according to your images
|
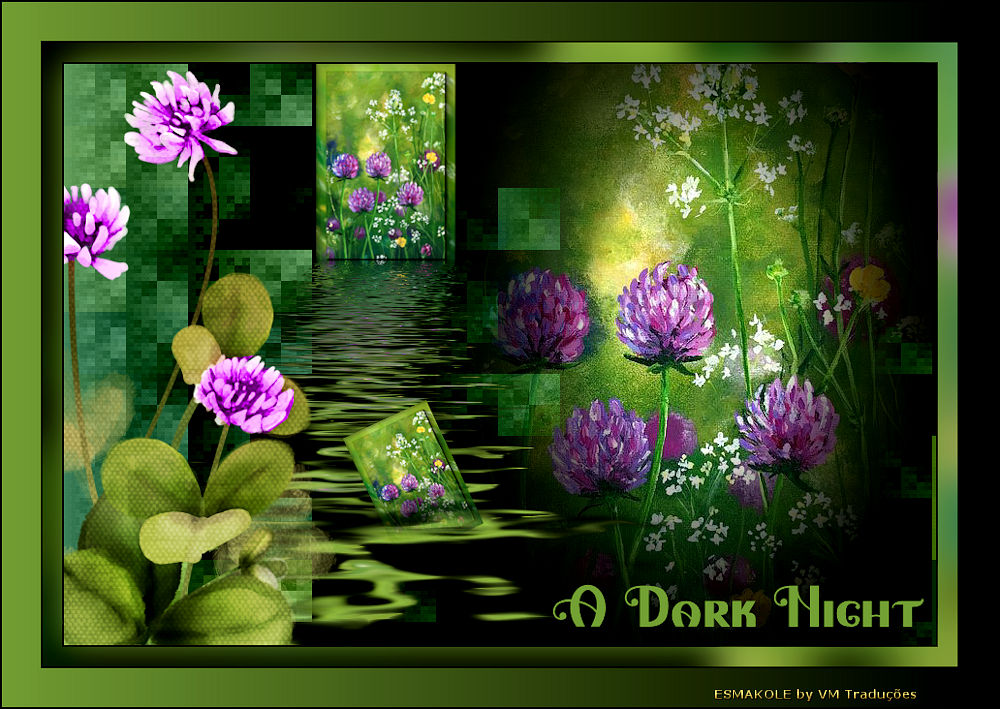
SCRIPT
Required Images:
Floral Images
*
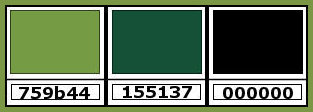
1. Colors: foreground: #759b44 - background: #155137
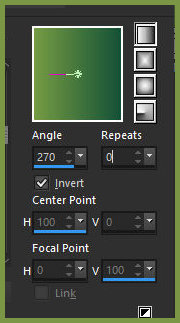
2. Prepare a Linear gradient
3. Open the alpha file [alpha] / Duplicate (shift+d) / Close the
original
4. Paint the image with the gradient
5. Effects / plugins / unlimited 2 / bkg designer sf10 I / Bee morph

6. Open the image [plaatje] in PSP
7. Duplicate (shift+d)
8. Minimize the copy and continue editing the original
9. Layers / Promote background layer
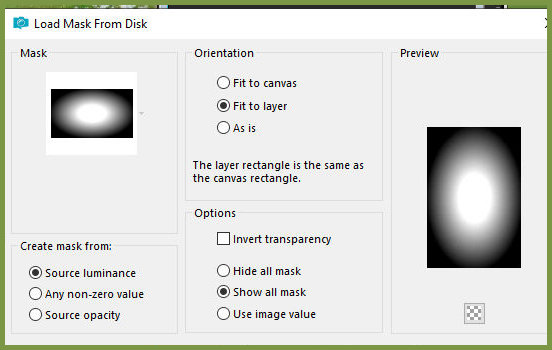
10. Layers / Load mask from disk / Mask [20 20]
11. Layers / Duplicate
12. Merge group
13. Copy
Return to your main image
14. Paste as a new layer
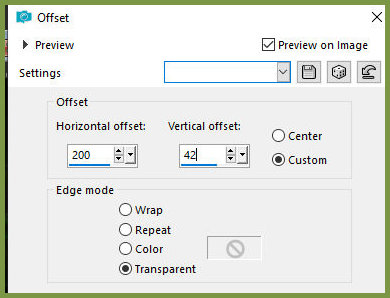
15. Effects / Image Effects / Offset 200/42
16. Minimize this image
17. Activate the image minimized previously in item 8
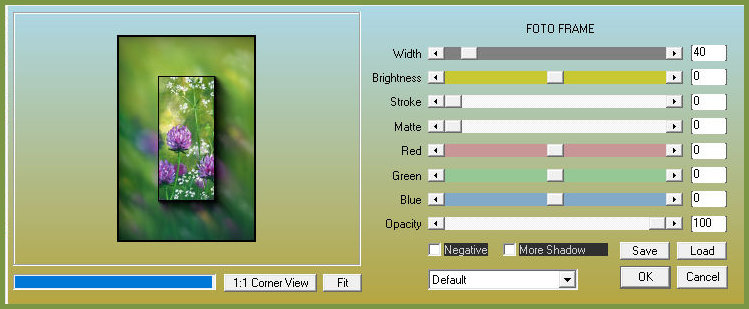
18. Effects / Plugins / AAA Frames / Photo Frame
19. Image / Resize: 35% - all layers checked
20. Image / Resize: 75% - all layers checked
21. Duplicate the image (shift+d)
22. Minimize this new image
23. Return to the original image
24. Copy
Return to your main image
25. Paste as a new layer
26. Effects / Image Effects / Offset -118/195

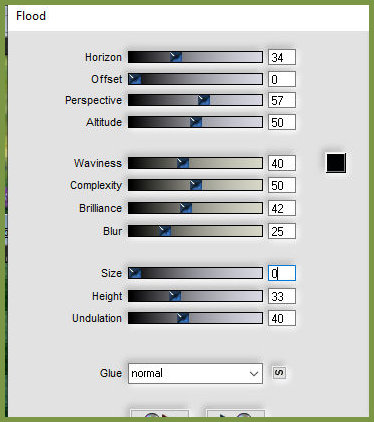
27. Effects / Plugins / Flaming Pear / Flood
28. Activate the minimized image in item 22
29. Image / Resize: 65% - all layers checked
30. Copy
31. Return to your main image
32. Paste as a new layer
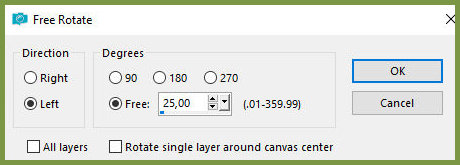
33. Image / Free rotate left 25
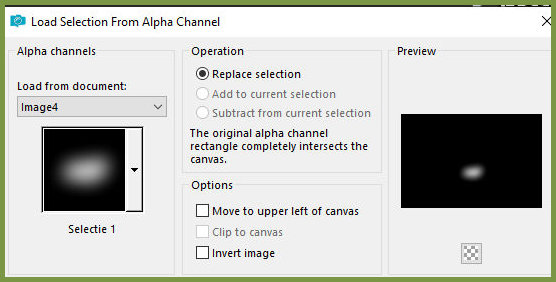
34. Selections / Load selection from alpha channel / Selection 1
35. Press Delete 3 times
36. Select none
37. Effects / Image Effects / Offset -90/-130

38. Adjust / Sharpness / Sharpen
39. Copy the tube [clovers]
40. Paste as a new layer
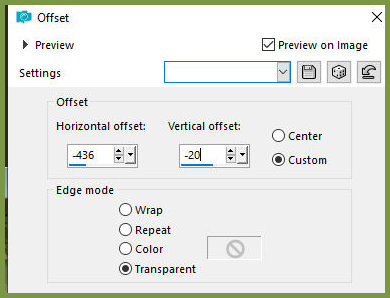
41. Effects / Image Effects / Offset -436/-20
42. Copy the tube [leny-tekst]
43. Paste as a new layer
44. Position the text where you prefer
45. Merge all
46. Copy
47. Set the background color to black
48. Image / Add Borders / 2px / black
49. Image / Add borders / 20px / foreground color
50. Select this 20px border with the Magic Wand
51. Add a new layer
52. Paste the copied image above into the selection
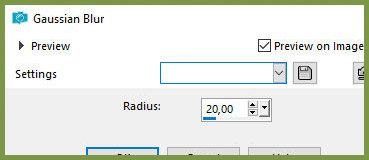
53. Adjust / Blur / Gaussian Blur: 20
Select none
54. Image / Mirror / Mirror Horizontal
55. Merge all
56. Image / Add borders / 2px / black
57. Image / Add borders / 40px / foreground color
58. Image / Add borders / 2px / black
59. Select the 40px border with the magic wand
60. Set the background color to black
61. Paint the selection with the gradient from the beginning
62. Select none
63. Add the signatures
64. Merge all
65. Image / Resize: 900px (width)
66. Save as jpeg

|