|

This tutorial is from Edda Tutorials who I thank for
letting me translate their tutorials.

Original here

Tubes

Etelka Samu
Material

Many thanks to the creators of
these materials
Plugins
Carolaine and Sensibility - Eye
Candy 5: Nature
You can find these plugins on the websites of:
Renée
Cloclo
You can also find this tutorial translated into these languages:
(Click on the flag)


SCRIPT
Notes:
> Open the material / Duplicate (shift+d) / Close the originals
> Change the blend mode of the layers to match their colors.
> In older versions of PSP, Mirror Horizontal=Mirror / Mirror Vertical=Flip /
Pick tool=deformation
> Open the masks in psp and
minimize
>Adjust the size of the tubes according to your images
*
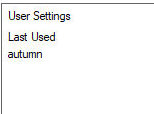
>>Double click on the [Autumn]
preset to install it in the plugin
>>Save the [BrushTip_Starry Night 100] brush in the PSP Brushes
folder
>>Colors: Foreground: #fdda7e - Background: #613707
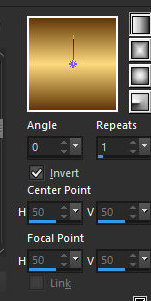
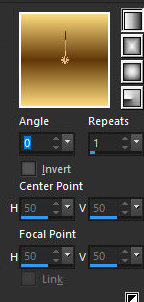
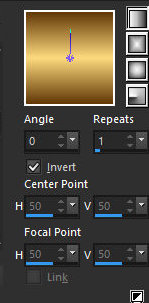
>>Gradient 1
>>Gradient 2
Step 1
Open the alpha file [walpha] - Duplicate (shift + d) - Close the
original
Paint the image with the background color
Add a new layer
Paint with the foreground color
Step 2
Layers - New Mask Layer - From Image - Mask [Mask5]
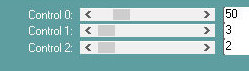
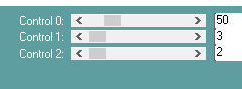
Effects - Plugins - Carolainde and
Sensibility - CS_LDots
Merge Group
Step 3
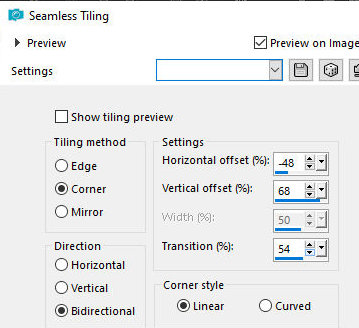
Effects - Image Effects - Seamless Tiling
Effects - Edge Effects - Enhance
Merge Down
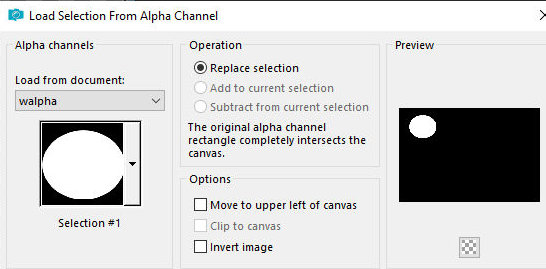
Selections - Load selection from alpha channel - Selection #1
Selections - Promote selection to
layer
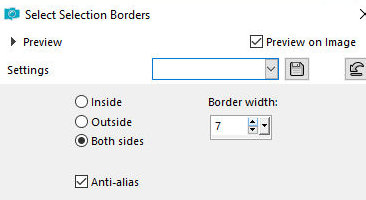
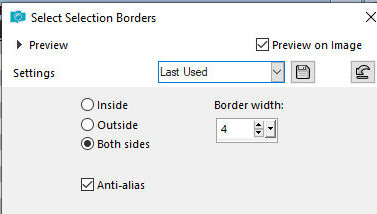
Selections - Modify - Select selection borders
Add new layer
Paint the selection with gradient 1
Effects - Plugins - Eye Candy 5:
Nature - Drip - Preset [Autumn]
Select none
Merge down
Adjust - Sharpness - Sharpen
Step 4
Add new layer
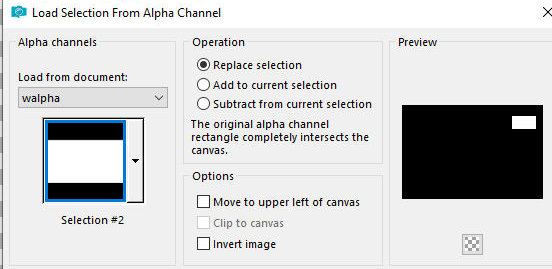
Selections - Load selection from alpha channel - Selection #2
Selections - Promote selection to
layer
Selections - Modify - Select selection borders
Paint the selection with gradient 2
Select none
Drop Shadow: 1 1 50 5 Black (blue)
Repeat the Drop Shadow with negative V and H
Click in the center with the magic Wand - tolerance/feather=0
Copy the image [winter] and paste it into the selection
Select none
Layers - Duplicate
Activate the Promoted Selection 1 layer
Activate the Pick Tool and set:
Activate the Copy of layer Promoted
Selection 1
Merge Down
Step 5
Copy the image [winter] and paste as a new layer
Image - Resize: 80% - all layers unchecked
Activate the Pick tool and configure
Layers - Arrange - Move Down
Effects - Edge Effects - Enhance
Merge all
Step 6
Image - Add borders - 2px - foreground color
Image - Add borders - 2px - background color
Image - Add borders - 2px - foreground color
Selections - Select all
Image - Add borders - 20px - white
Selections - Invert
Selections - Promote selection to layer
Paint the selection with gradient 2
Selections - Invert
Drop Shadow: 1 1 50 5 black
Repeat the drop shadow with negative V and H
Select none
Step 7
Image - Add borders - 2px - foreground color
Image - Add borders - 2px - background color
Image - Add borders - 2px - foreground color
Select all
Image - Add borders - 20px - white
Selections - Invert
Selections - Promote selection to layer
Paint the selection with gradient 1
Effects - Plugins - Carolaine and Sensibility - CS-LDots
Repeat CS-LDots
Select none
Image - Add borders - 2px - background color
Step 8
Add new layer
Activate the Paint Brush Tool and select the brush [BrushTip_Starry
Night 100]
Set according to the print
Stamp in the upper right corner as
many times as you want, using the foreground color
Note: The provided brush did not
work on my version of psp, so I chose not to apply it.
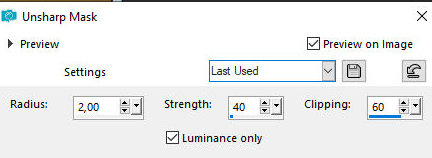
Adjust - Sharpness - Unsharp Mask
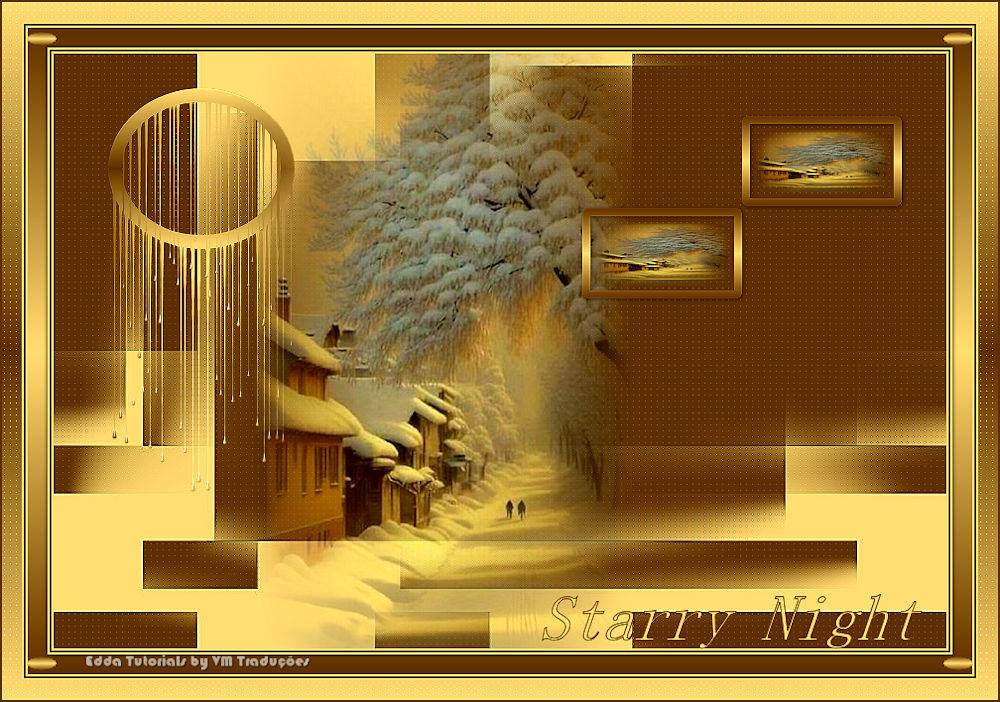
Copy the title [Starry_Night] and
paste as a new layer
Position according to the model
Copy the tube [pearl] and paste as a new layer
Position in the upper left corner, on the edge according to the
model
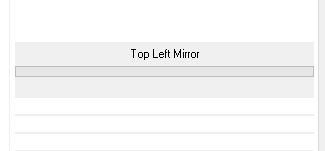
Effects - Plugins - Simple - Top Left Mirror
Merge all
Image - Resize: 1000 x 700px
Adjust - Sharpness - Unsharp Mask
Put signatures
Mege all
Save as jpeg
*
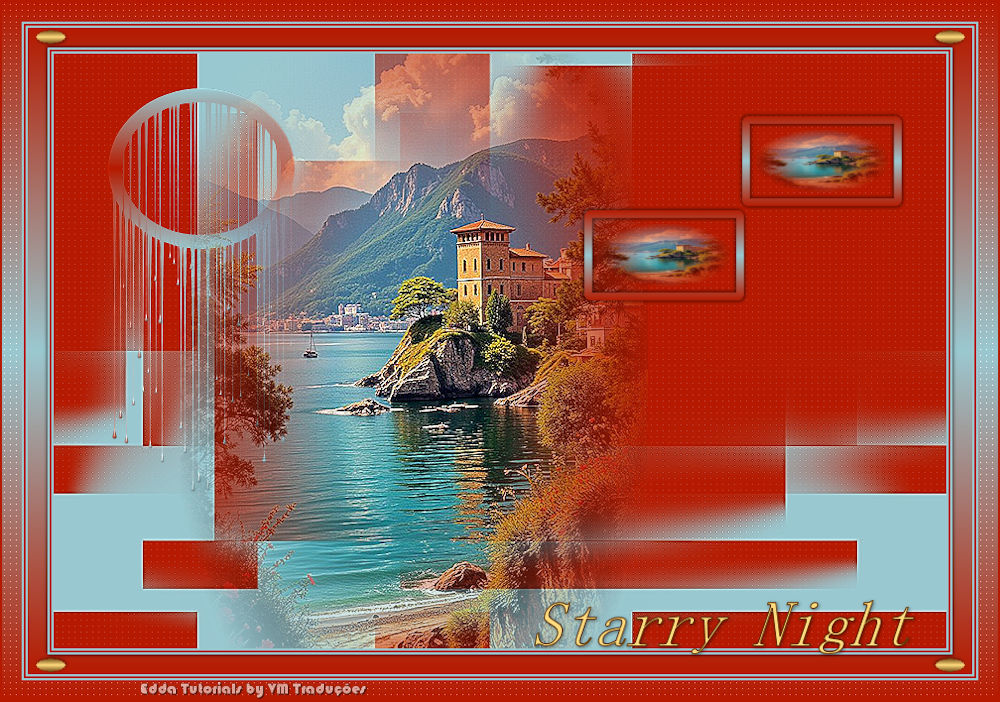
Minha versão

|